


In this article you will learn all about:
Tools and materials
Material
- Green paint
- White paint
- Black chalkboard paint
- 4 castors with brakes
- 2 lengths of square timber: 2 m x 5 cm x 2.5 cm
- Wooden boards in various sizes:
- 2 x side panels: 40 cm x 80 cm x 1 cm each
- Tabletop: 120 cm x 60 cm x 1.5 cm
- 2 x signboards: 120 cm x 20 cm x 0.5 cm each
- 2 x raised counter panels: 20 cm x 120 cm x 2 cm each
- 2 x side wedges: 17.5 cm x 19.5 cm x 2 cm each
Outdoor Bar Instructions
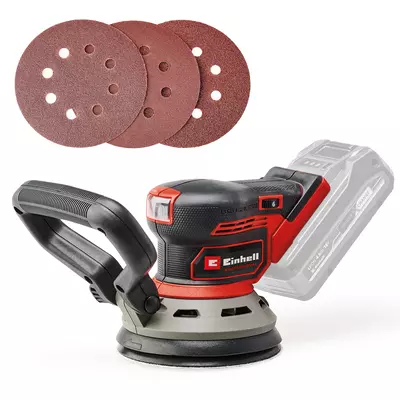
Step 1: Sanding the euro pallets
Before you start assembling, you should thoroughly sand the euro pallets. This will remove splinters, dirt and rough spots. In addition, the wood will look much nicer later and feel more pleasant to the touch. You should work particularly carefully on the visible surfaces and edges.

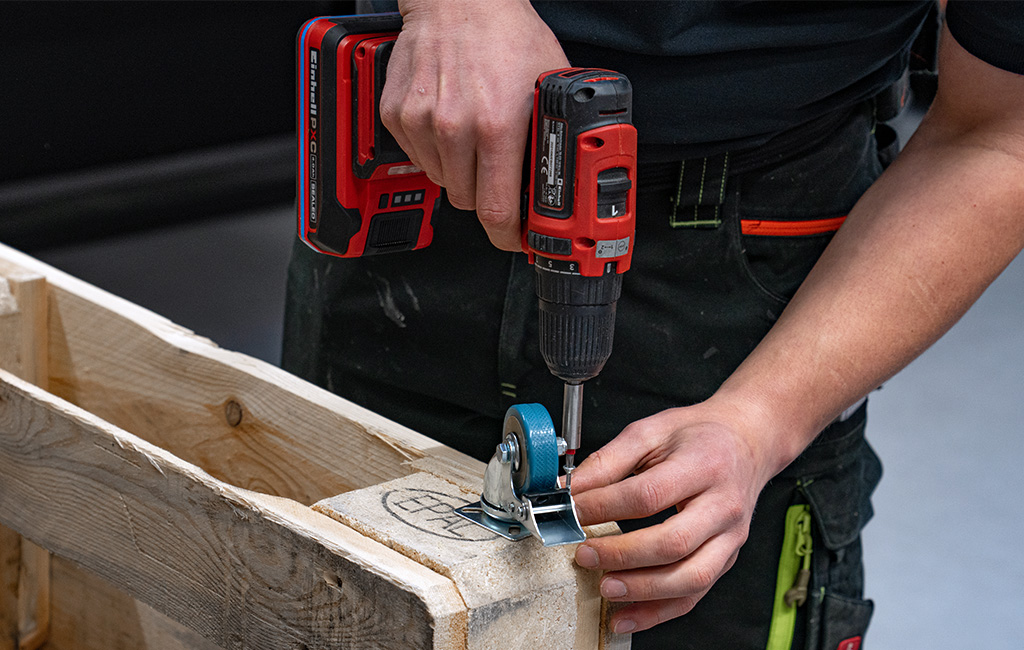
Step 2: Screwing on four castors
To allow you to move your outdoor bar around flexibly, attach four sturdy castors to the underside of the pallets. Castors with a locking brake are particularly practical, so that the bar remains standing securely later on.
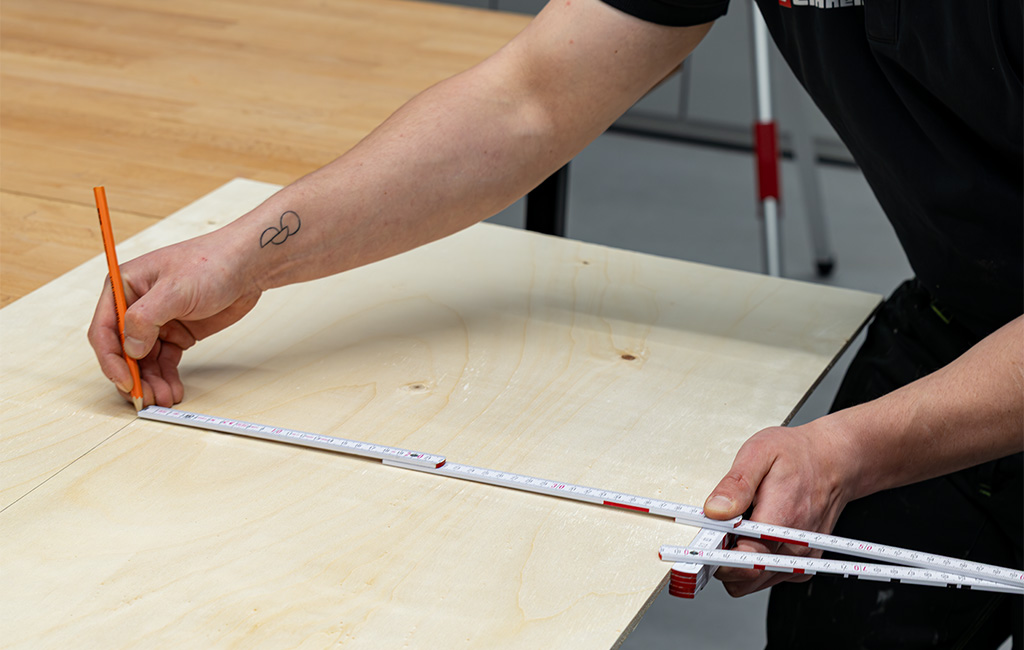
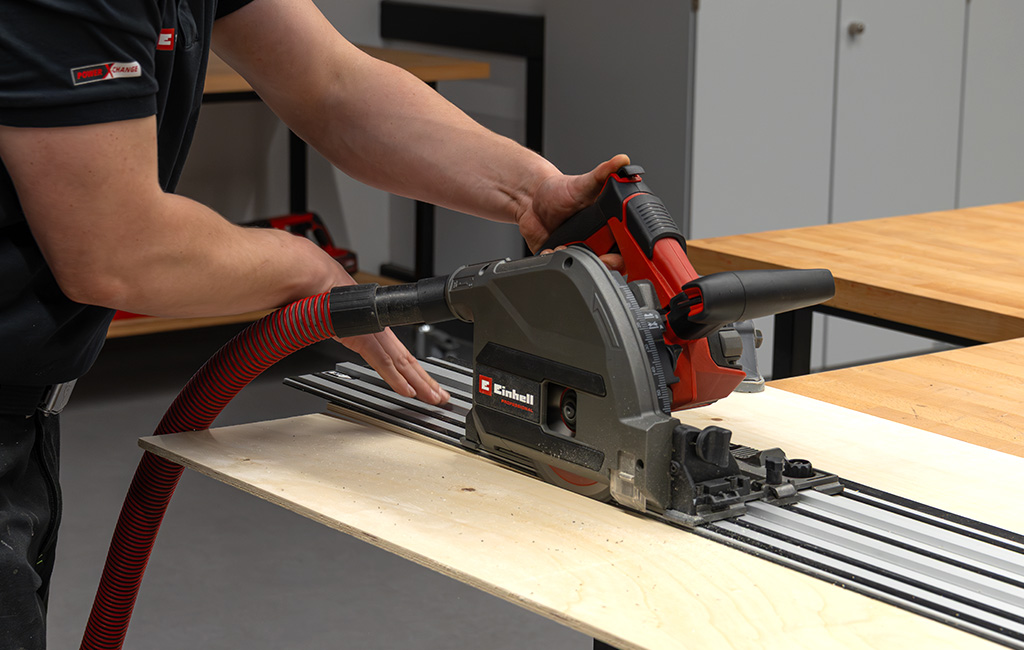
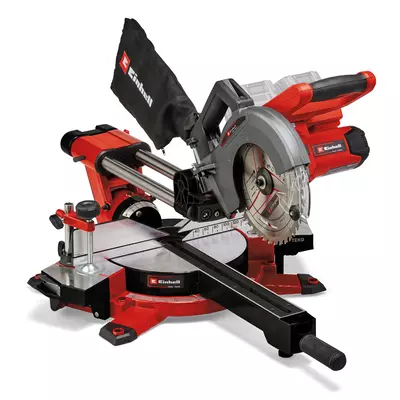
Step 3: Cutting the wooden boards to size
Next, you cut two wooden boards with a thickness of 1cm to the dimensions 40cm x 80cm. These will later serve as the side panels for your outdoor bar and ensure that the construction looks cleaner, more stable and significantly more premium. When cutting, make sure to work as precisely as possible so that everything sits straight in the end and the sides look even.
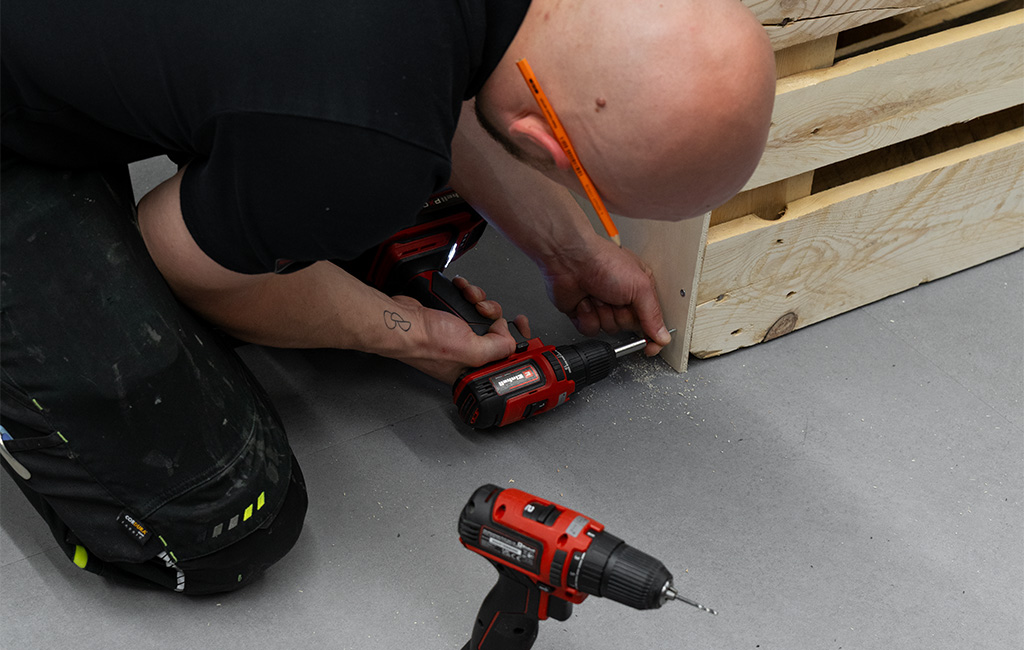
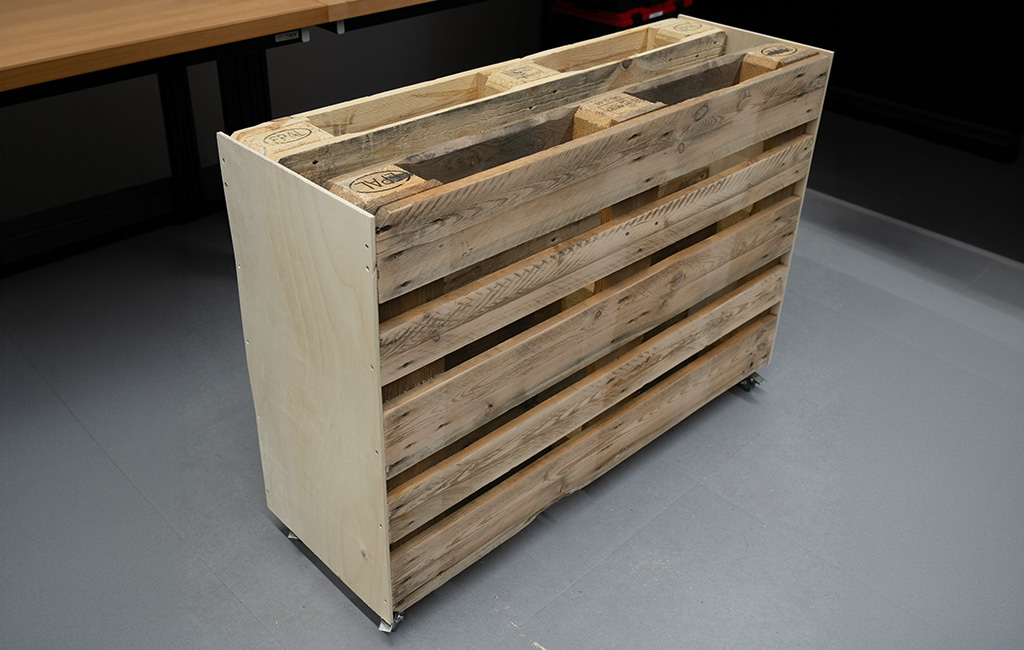
Step 4: Screwing the pallets together on boards with a small gap
For the basic construction, you now attach the two euro pallets to the previously cut wooden boards. You should leave a small gap between the pallets. This not only ensures a more open and harmonious look, but also makes the subsequent assembly and alignment of the bar easier. Align the pallets carefully before screwing them together so that everything looks straight and even in the end. Then, screw the pallets securely to the wooden boards to create a firm and resilient basic structure. Make sure to use enough screws so that the bar stands securely later and can be moved without any problems.
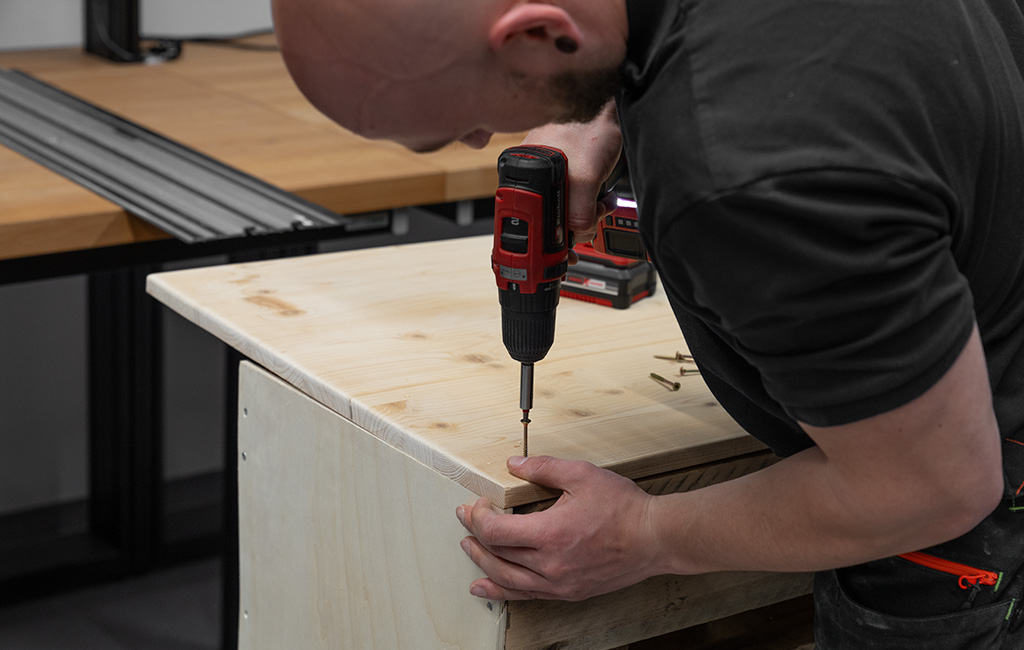
Step 5: Attaching the counter surface
For the upper counter surface or the subsequent tabletop of your bar, cut a wooden board with a thickness of 1.5cm to the dimensions 120cm x 60cm. This board will later form the main surface of the bar and offer sufficient space for glasses, drinks, snacks or decoration. Next, place the cut wooden board on top of the construction and align it carefully so that it lies flat and finishes neatly on all sides. Then, screw the board securely to the substructure. Make sure to place the screws evenly so that the tabletop is firmly attached and remains stable even with frequent use.
Step 6: Building the raised counter
For that typical bar look, you can build a practical raised counter or a small bar shelf on the front of your outdoor bar. This not only ensures a nicer look, but also provides additional space later on for drinks, glasses or snacks.
To do this, first cut two boards with a thickness of 2cm to the dimensions 20cm x 120cm. One of the boards will be attached horizontally as the upper shelf, while the second board will be mounted vertically underneath it. Together, this creates the typical shape of a small bar counter at the front of the bar.
To make the construction look more stable and visually neatly finished, you can additionally attach a triangular side wedge on each side. These small side pieces give the raised counter a more premium look and provide more stability at the same time. To do this, cut two triangles with the dimensions 17.5cm x 19.5cm and attach them to the sides of the counter.
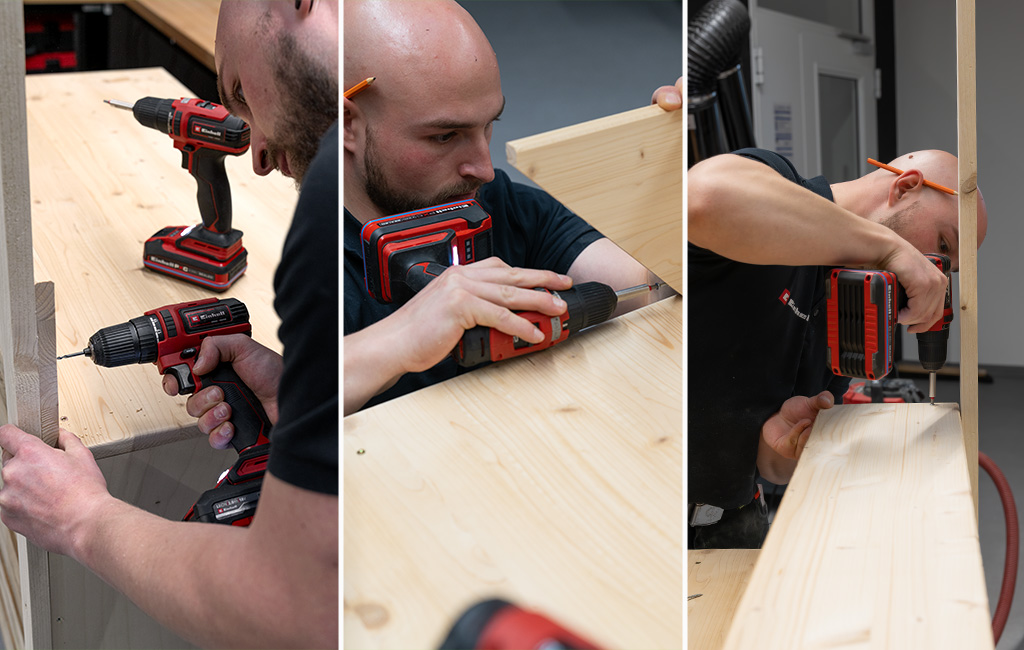
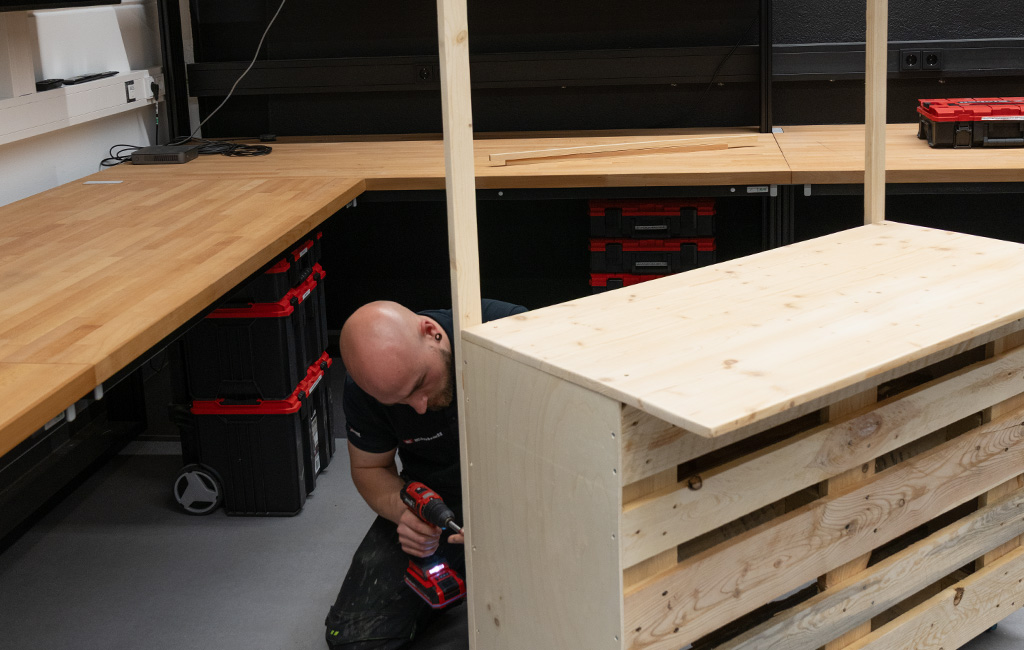
Step 7: Attaching square timber to the sides, building and fixing the signboard
In the next step, you build the upper signboard for your outdoor bar. To do this, first attach two lengths of square timber to the sides of the bar. These will later serve as a stable mount for the signboard and additionally give the entire construction more stability and height. Next, cut two thin wooden boards with a thickness of 0.5cm to the dimensions 120cm x 20cm. These boards will later form the front and back of your signboard. Attach one board to the front and one to the back of the square timber, creating a double-sided signboard.

Step 8: Painting the signboard with chalkboard paint
Now you can design the signboard entirely according to your ideas – for example, with a cool bar name, a funny quote or a personal motto. This gives your outdoor bar its very own character and is guaranteed to become an eye-catcher at every garden party.
Step 9: Painting
Now you can give your outdoor bar its final look. We painted the individual elements alternately in sage green and white, which gives the bar a modern yet cosy vintage look. Of course, you can also customise the colour scheme entirely according to your own taste.

If you prefer to preserve the natural and rustic character of the euro pallets, you can also simply leave the bar in its wood look and only treat the wood with clear varnish or wood preservative. This maintains the typical pallet look, and the bar feels particularly natural and cosy.
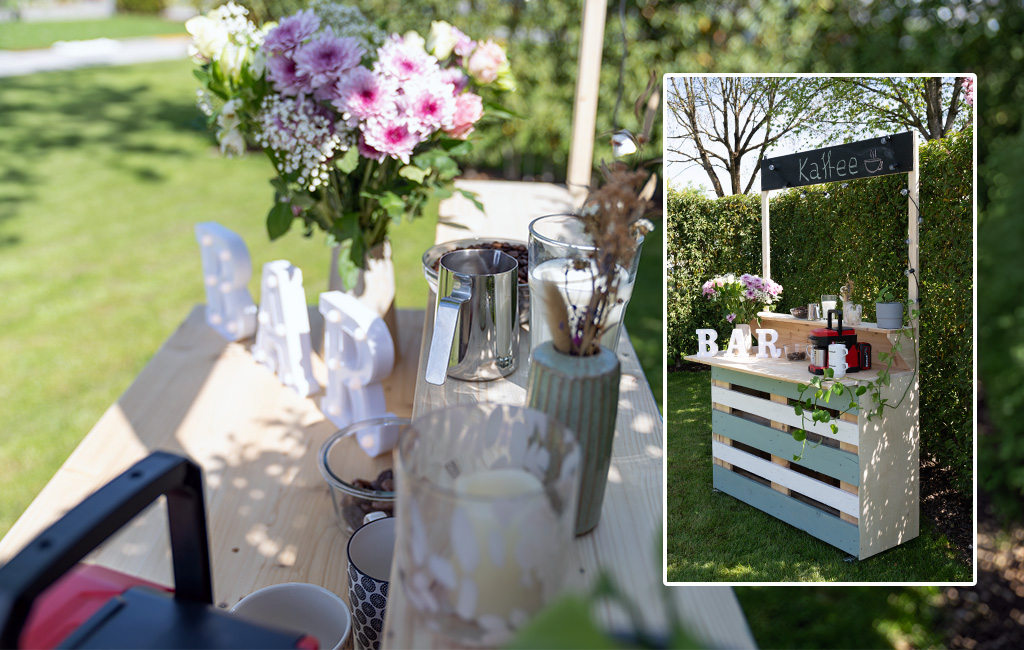
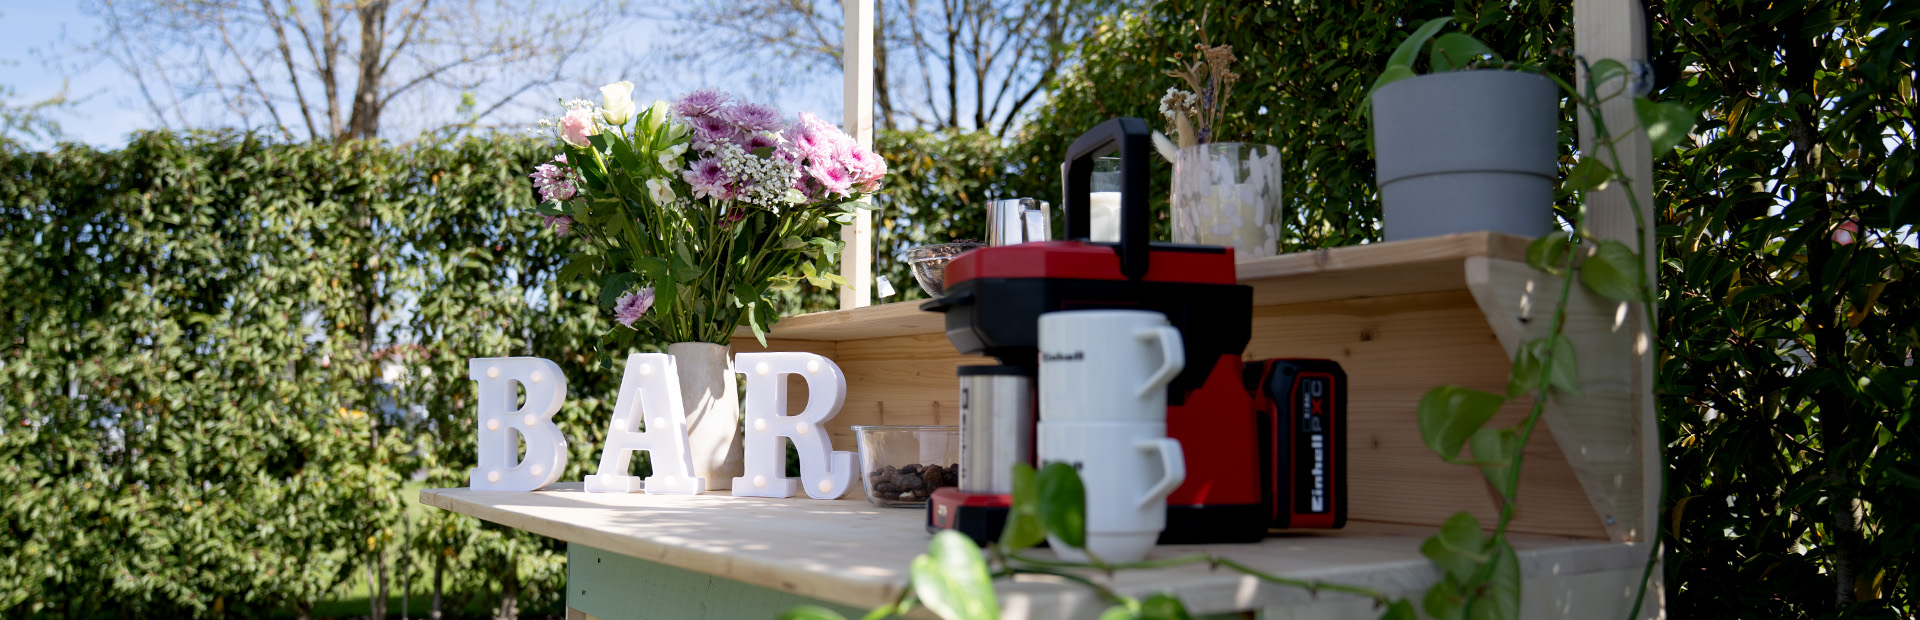
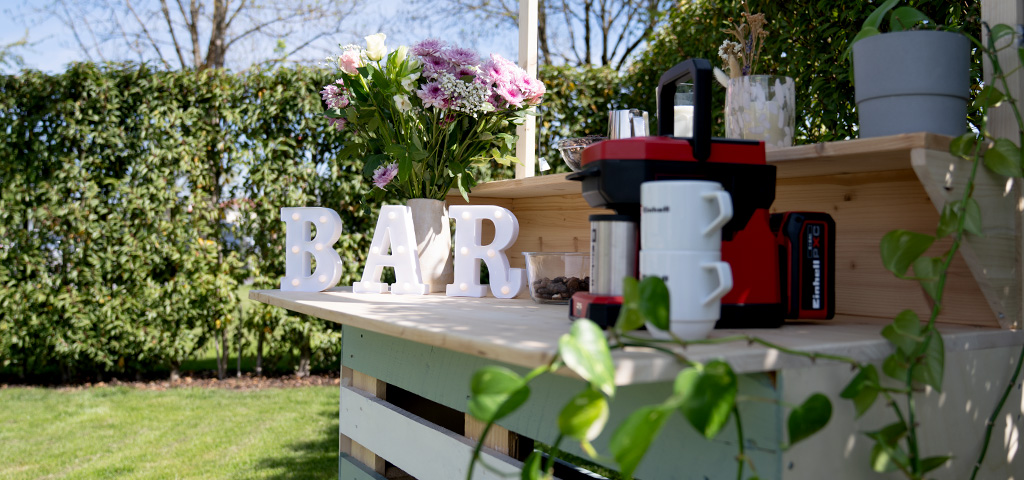
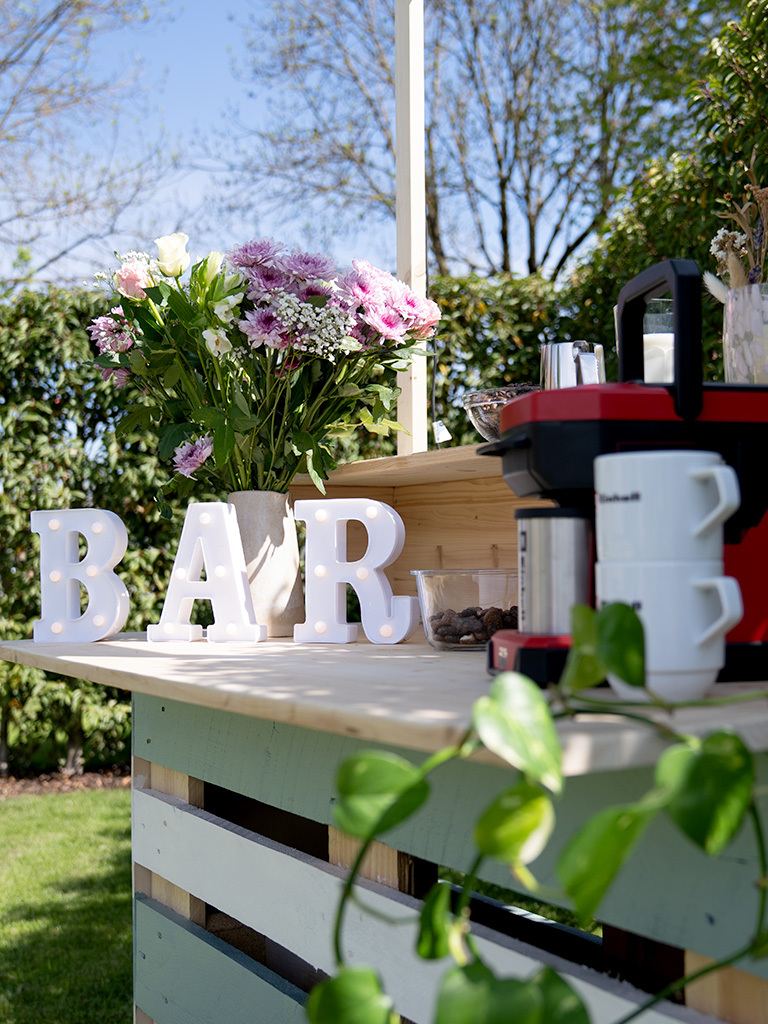
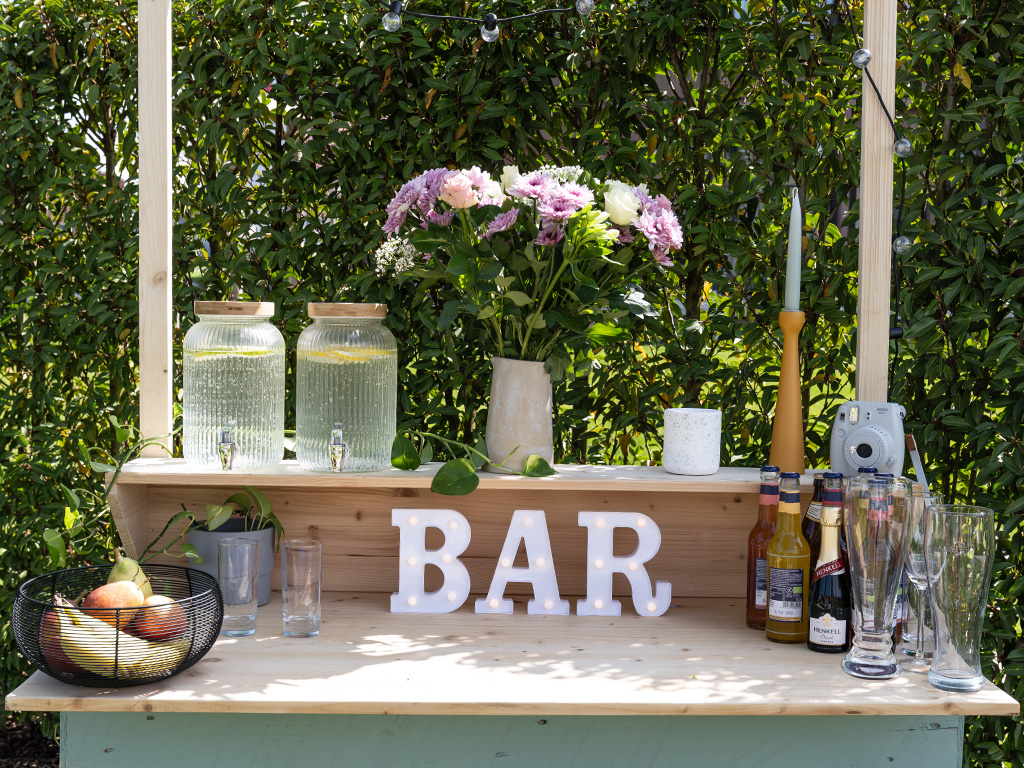
Step 10: Decorating
Finally comes the best part: decorating. With fairy lights, plants, drinks, snacks or matching bar decorations, you can make your outdoor bar really cosy. Here you can let your creativity run wild and implement your very own style.
Off to the bar!
✨🍹 With a few euro pallets, some tools and creativity, you can easily build your own outdoor bar. The project is perfect for summer in the garden. And the best part: your bar is guaranteed to be truly unique.
Suitable Tools for the Project
Here you'll find Einhell tools and accessories that are perfect for bringing this DIY project to life.


Published on 02.06.2026
Sophia Schlender supports the online marketing team as a working student and contributes creative ideas. When she’s not sitting in university lectures, she prefers to spend her time as a working student coming up with new creative blog ideas. And when she gets creative herself, she prefers to do so with a plan, structure and a good set of instructions to hand. Her undisputed favourite device from the Einhell range is therefore clear: the DAB+ radio because the right music simply puts her in the best mood in every situation – whether at her desk or in the workshop.