


Electrical installation done yourself
DO IT YOURSELF
Anyone planning a new build or renovating their home will eventually deal with electrical installation. Since such work can be a significant cost factor, many homeowners and skilled DIYers ask what they are allowed to do themselves.
Here you can find out which minor electrical tasks can be done yourself.
Note
According to DIN VDE 1000-10, among other reasons related to safety and liability, only a trained qualified electrician is permitted to install an electrical system. Nevertheless, there are some tasks that can also be carried out by a layperson in coordination with the electrical contractor in order to reduce costs.
Tools and material
Tools
- Cordless rotary hammer
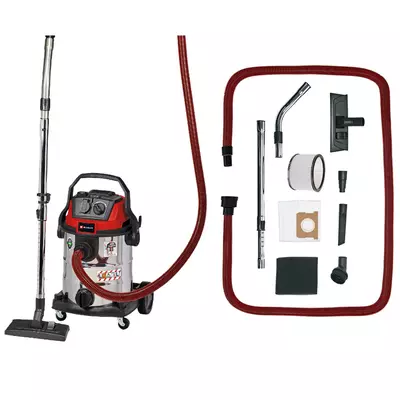
- Wet and dry vacuum cleaner
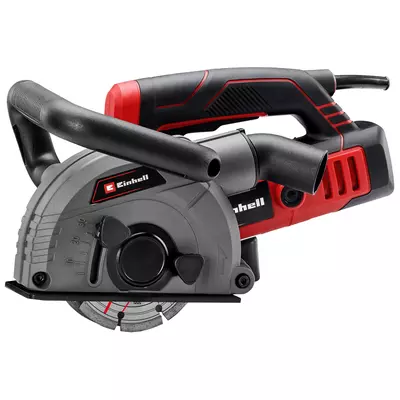
- Wall chaser
- Pilot drill bit with a 6.8 cm hole saw
Material
- Pencil
- Ruler
- Small putty knife
- Plaster cup
- Electrician’s plaster
Let's go!
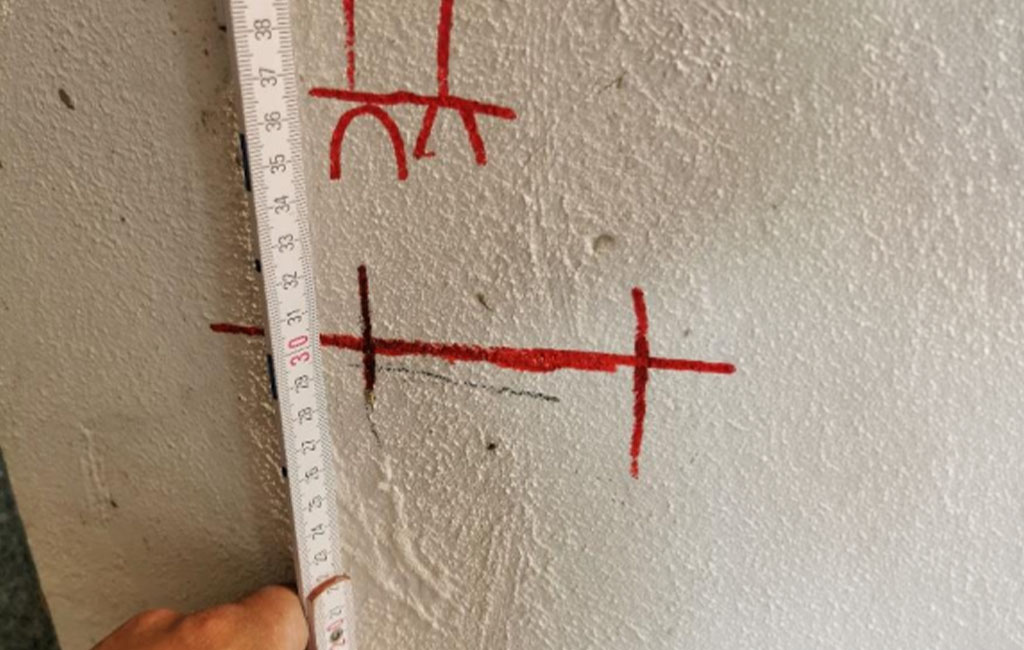
At the beginning: Planning and marking out
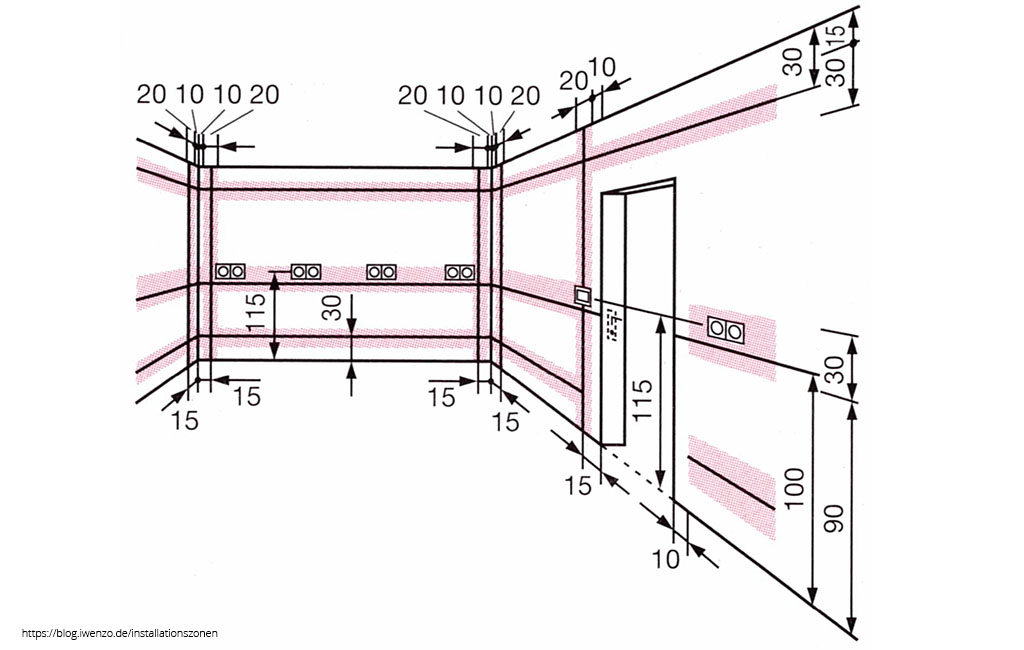
In electrical engineering, there are also defined installation zones that should be followed. These specify the cable routes when laying lines. For example, power cables are installed horizontally in the wall at a height of 30 cm above the finished floor and 15 cm next to a door frame.
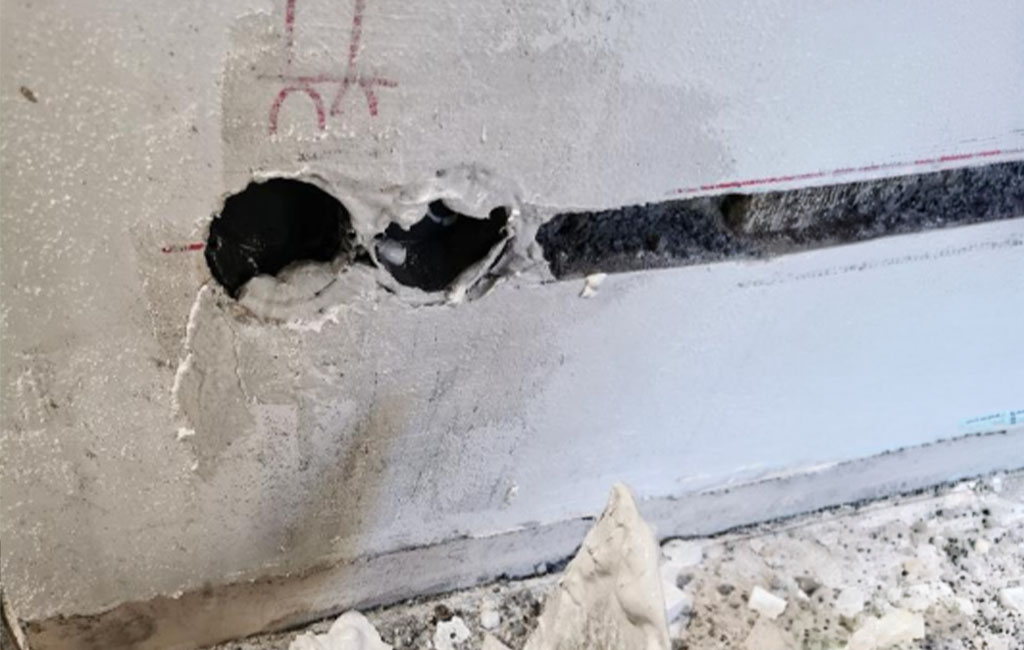
Step 1: Drilling holes for boxes
Once the installation points and cable routes have been defined, drilling the holes for the boxes can begin. For a socket, switch or other components, you usually need a device box with an inner diameter of 6.0 cm, which requires drilling a hole with a diameter of 6.8 cm. If you want to place two device boxes next to each other, a distance of 7.1 cm between the two drilling points is required.
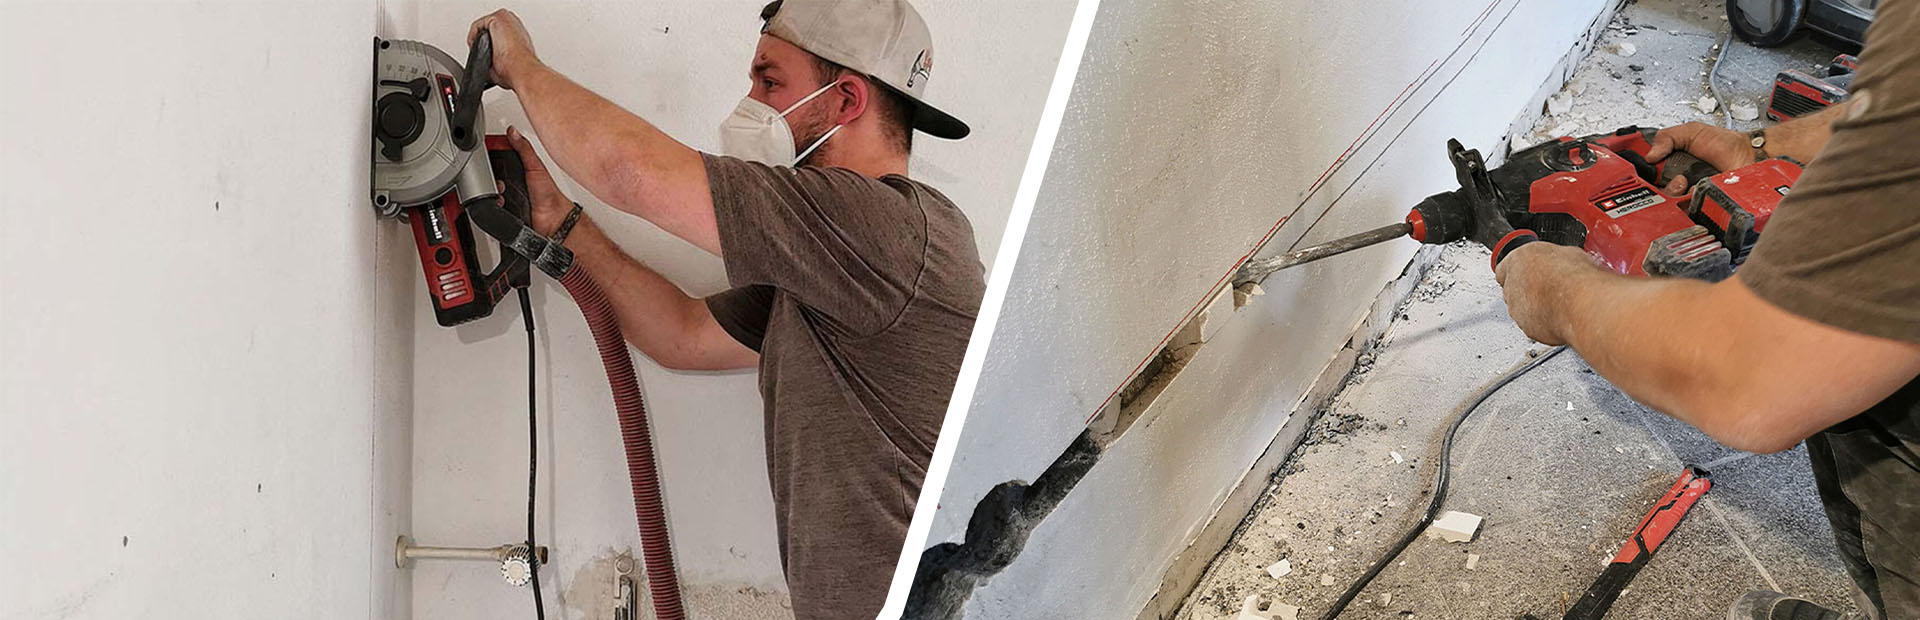
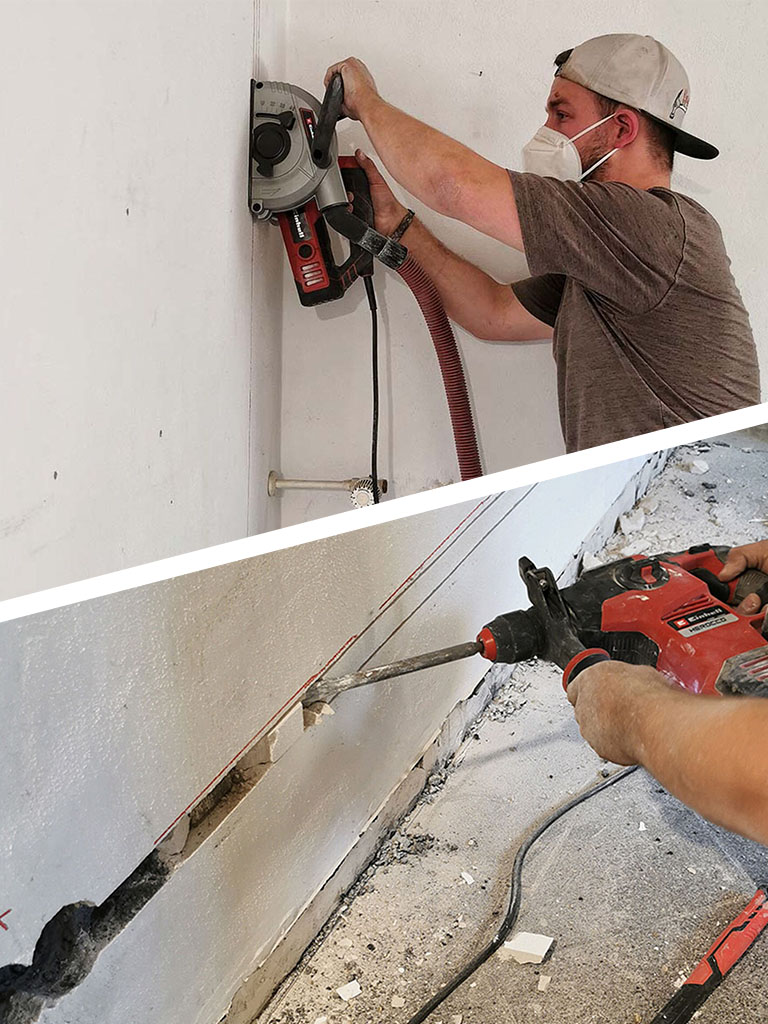
For drilling, I use the HEROCCO 36/28 cordless rotary hammer and the TE-VC 2025 SACL wet and dry vacuum cleaner. Alternatively, you can also use a standard drill. You will also need a centring drill with a 6.8 cm hole saw.
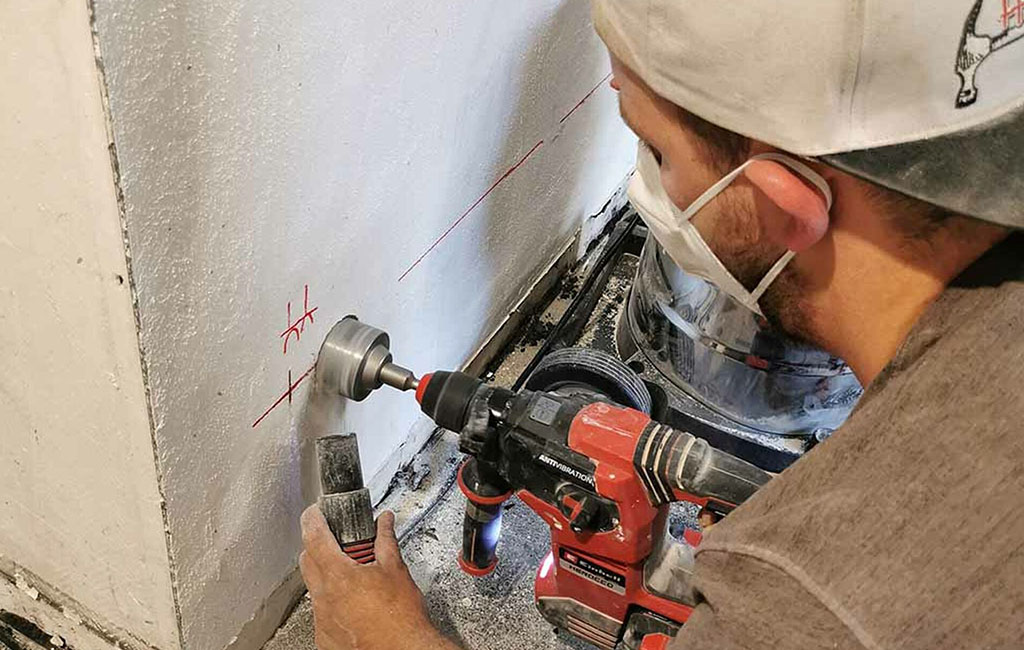
Now place the centring drill in the middle of the hole and drill until the hole saw has penetrated about 1 cm into the wall. Then remove the centring drill and continue drilling without it to the required depth of the box (4.6 cm or 6.6 cm). During drilling, remove masonry debris from the hole saw at intervals by holding the vacuum cleaner close to it. Remaining material can be removed with a chisel, and the hole should then be thoroughly cleaned again with the vacuum.
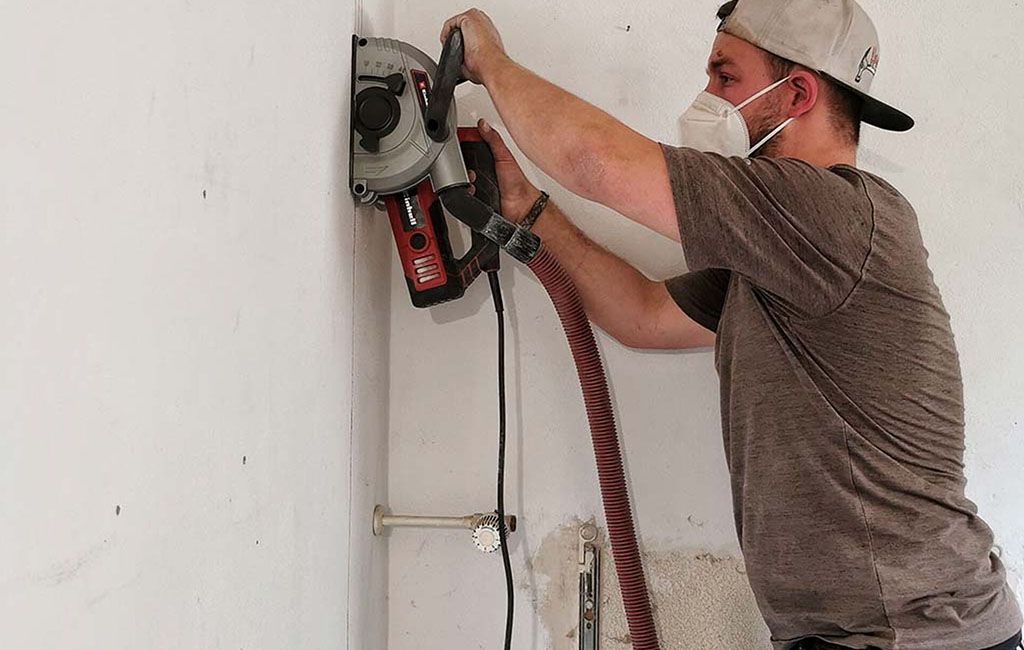
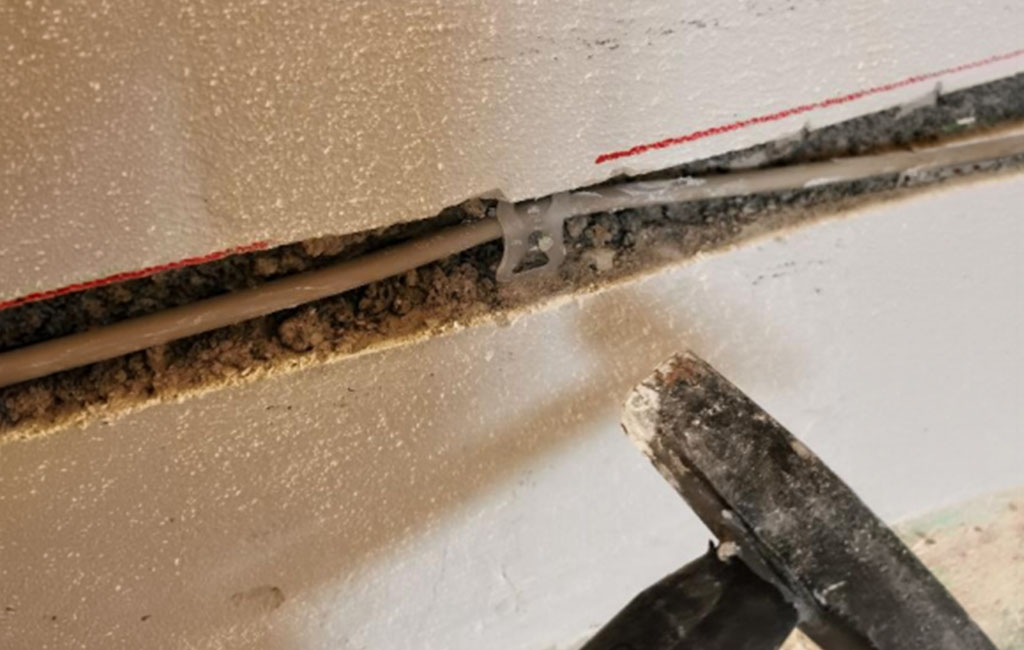
Step 2: Cable grooves
Now I cut grooves into the wall for laying the cables. Depending on the wall, this can be very strenuous and messy work. For this, I use the TE-MA 1700 wall chaser; alternatively, a slot cutter can also be used. The cutting depth can be set to 30 mm, providing enough space for the cable and fastening. If the vacuum cleaner is connected, you can start cutting along the marked lines.
💡 Tip: For vertical cuts, it is best to move the machine from top to bottom.
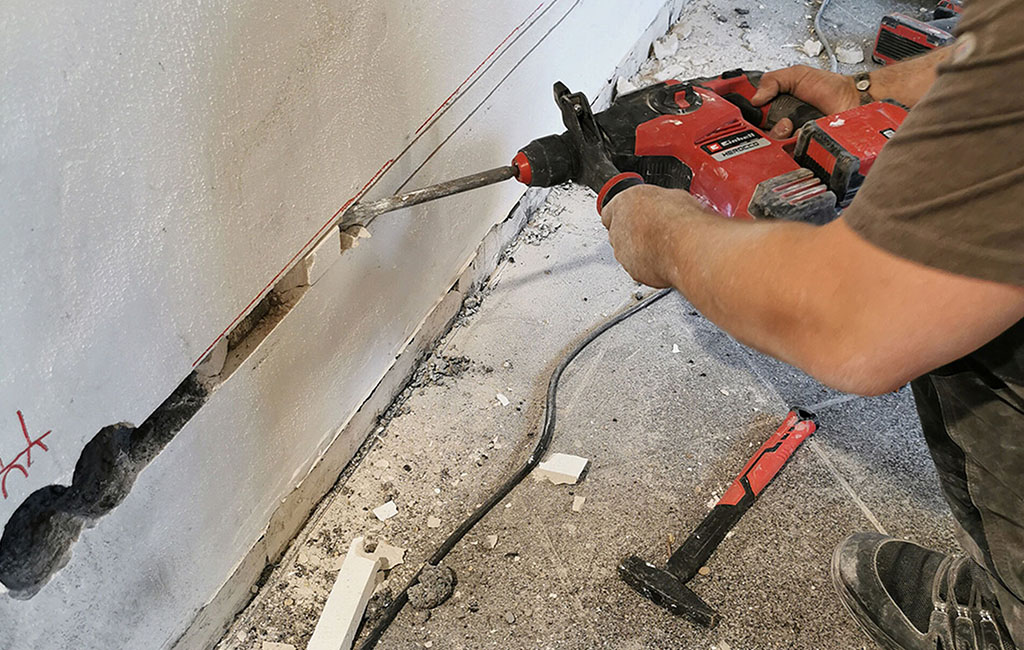
Once the grooves are cut, the remaining material between the two cuts can be removed using a demolition hammer. Again, ensure a depth of about 30 mm. After drilling the socket holes and cutting the grooves, everything should be thoroughly cleaned again.
Step 3: Plastering in the boxes
To plaster the device boxes into the drilled holes, you need the following tools: a small spatula, a plaster cup and electrical plaster. First, check that the drilled hole is completely free of dust. Then open the designated cable entry in the device box and slightly moisten the hole with water. Next, apply some plaster to the edge of the hole using the spatula. Now press the box into the hole. Plaster should squeeze out around the edges and may also enter small gaps—this indicates a secure hold.
Finally, quickly align the box before the plaster hardens. It is best to use a small spirit level and check that the two screw mounts are horizontal.
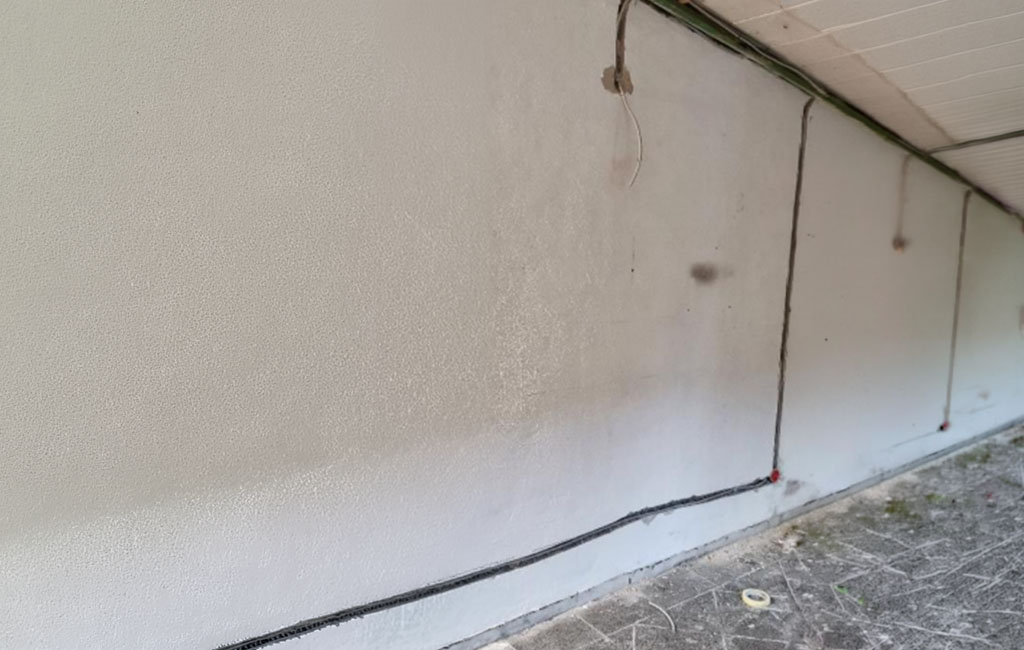
Step 4: Laying cables
First, you need to clarify with your electrician which cables are required. Then you can carefully fix the cables to the wall using nail clips and a hammer.
💡 Tip: A cable coming out of a socket, switch or electrical device should be secured with a clip after a maximum of 10 cm. The maximum spacing between clips is 25 cm horizontally and 40 to 50 cm vertically.
You can then feed the cables into the device boxes and cut them to length after about 20 cm using side cutters.
- From this point on, your electrician will take over the work.
We wish you lots of fun and success with the installation!

In this article you will learn all about:

Published on 11.08.2022
Tobias Peters is a passionate DIY enthusiast who shares a wide range of projects on Instagram @tobis_handcraft and his website tobis-handcraft.de – from furniture making and decoration to lighting design. Together with his partner Steffi, he is also renovating a 1950s country house. On the Einhell Blog, Tobi offers practical tips and step-by-step guides for creative home improvement projects.