


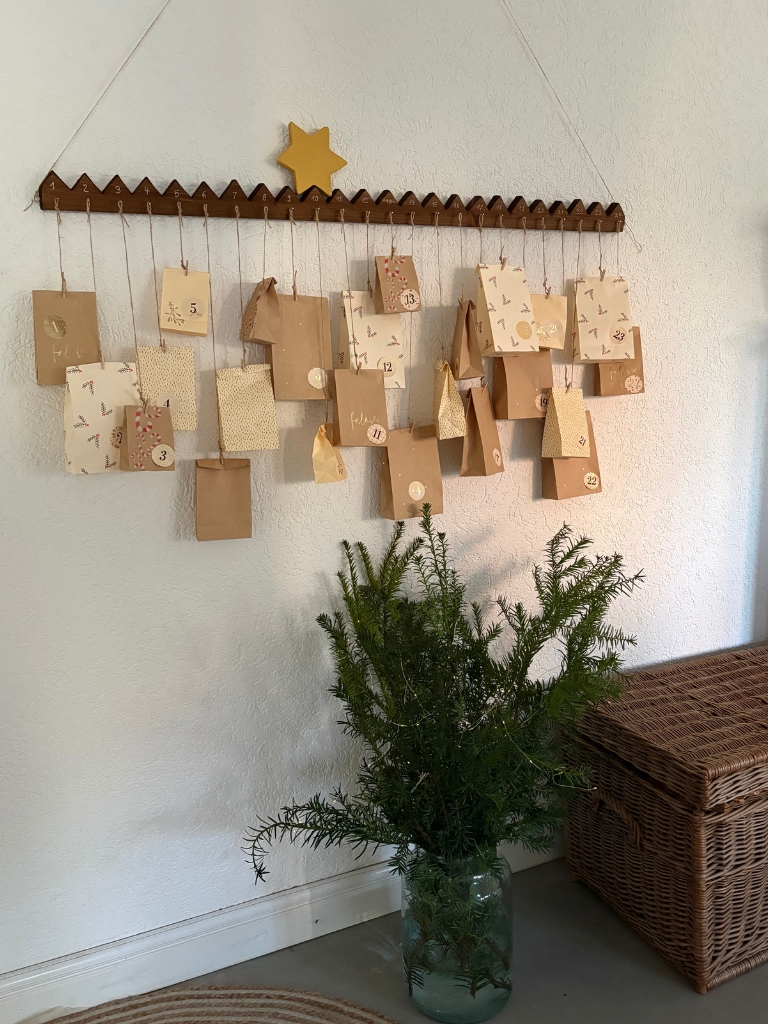
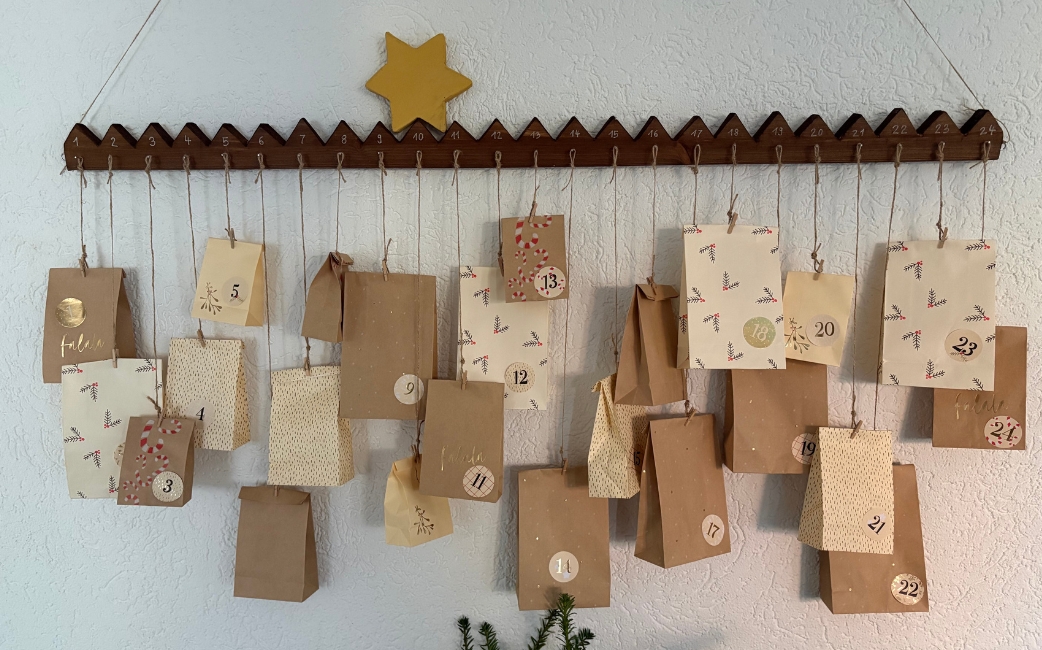
In this article you will learn all about:
Tools and Materials
Materials
- 1 wooden slat, originally 200 cm in length, 6 cm wide and 2 cm thick (cut down to 120 cm)
- A scrap of wood for the star
- 24 small nails for securing the parcels
- 24 paper bags or small gift bags
- Jute twine for hanging
- Small wooden clips
- Wood varnish or wood stain, as desire
- Acrylic paint for the star
- Masking tape for masking the cut lines
Step-by-step guide
Step 1: Prepare and trim the wooden slat
First, trim your two-metre-long wooden slat down to a length of 120 cm. This ensures the Advent calendar has enough space for all 24 doors, whilst still being compact enough to fit on a wall.
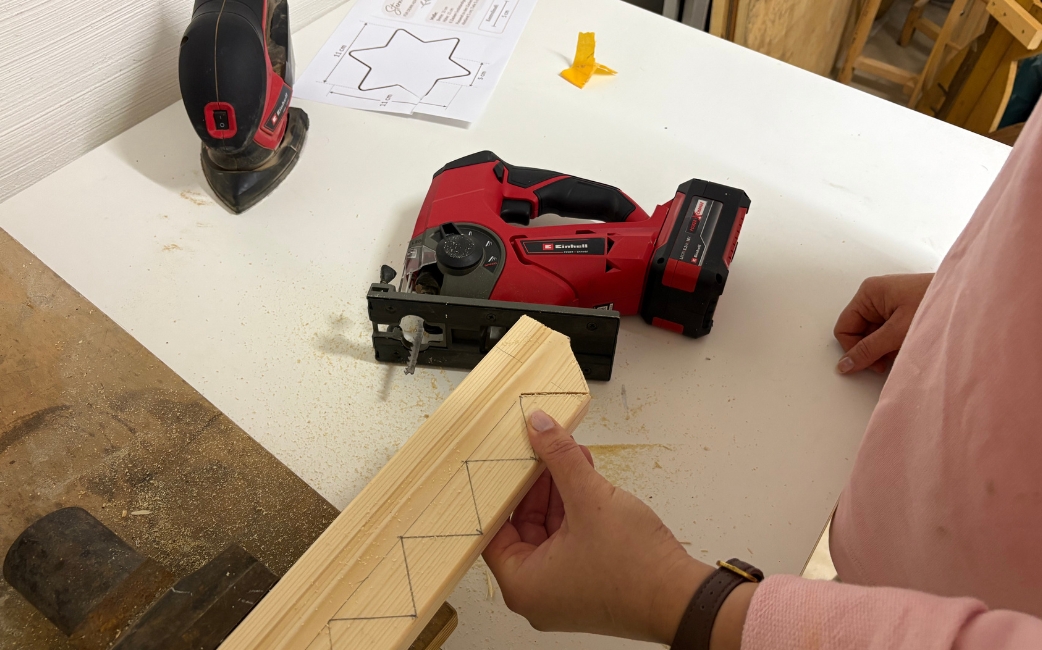
Next, prepare the top edge to create the classic Christmas tree shape. To do this, mark out the individual notches at 5 cm intervals. Each notch should be 3 cm deep. Mark the cutting lines carefully to ensure the notches are even.

Step 2: Sawing out the fir tree points
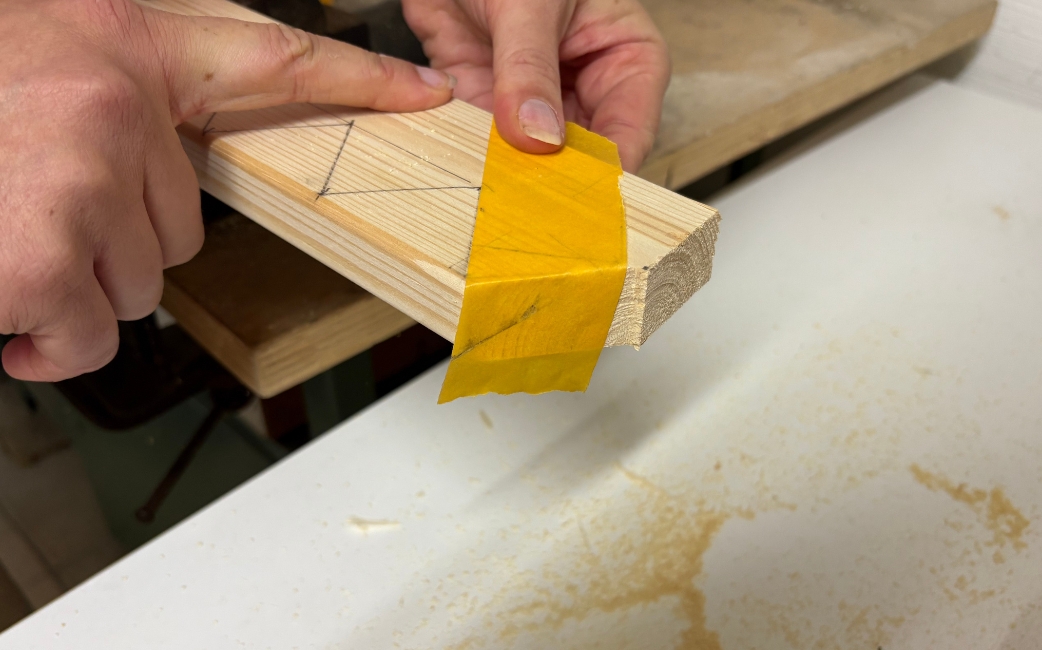
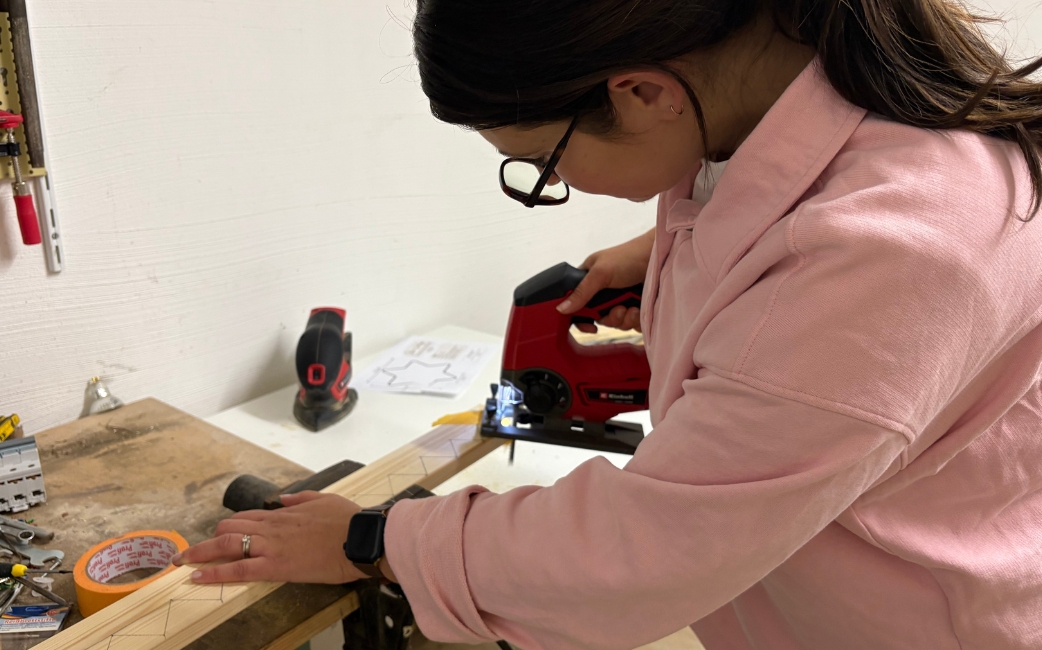
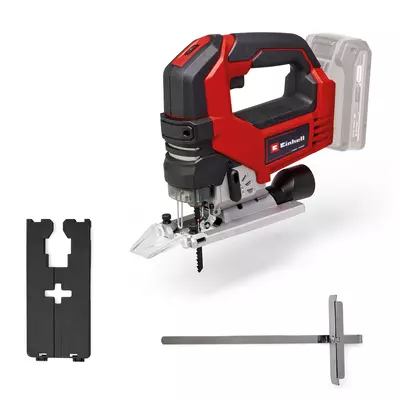
Now it’s time to use the Einhell cordless jigsaw. A quick tip for achieving the cleanest possible cutting edges: mask off the cutting areas with masking tape beforehand and mark the cutting lines onto it. This can help reduce fraying of the wood whilst sawing.
Next, cut out the sloping sides of the individual prongs using the jigsaw. Work your way along the entire wooden slat bit by bit up to the point where the typical Christmas tree shape emerges. Clamp the workpiece securely in place and keep your hands clear of the cutting line.
Step 3: Sawing out the star
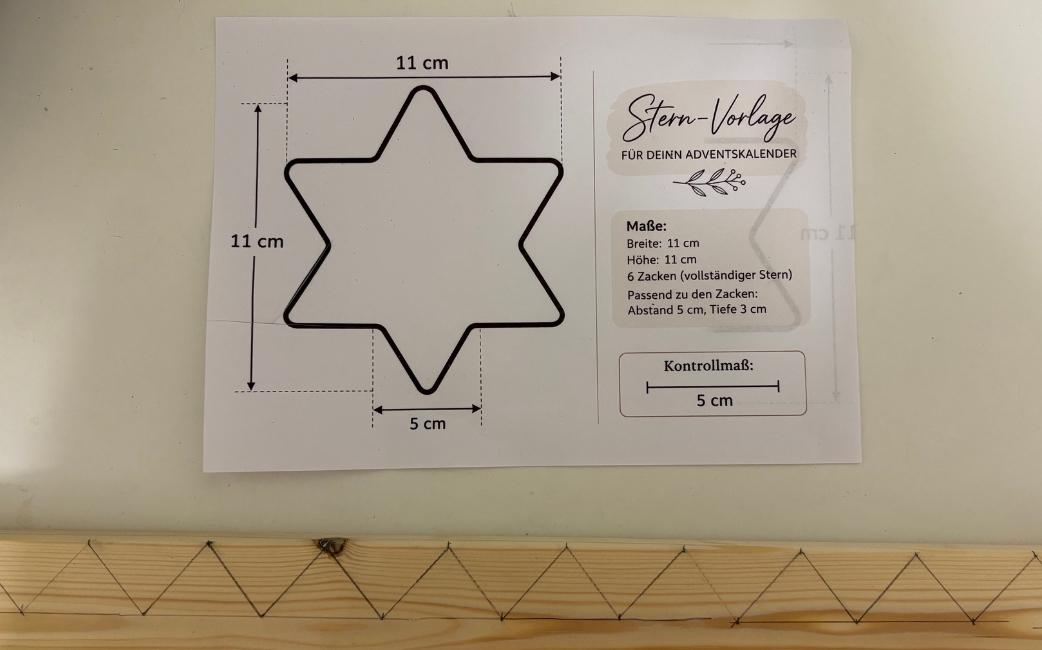
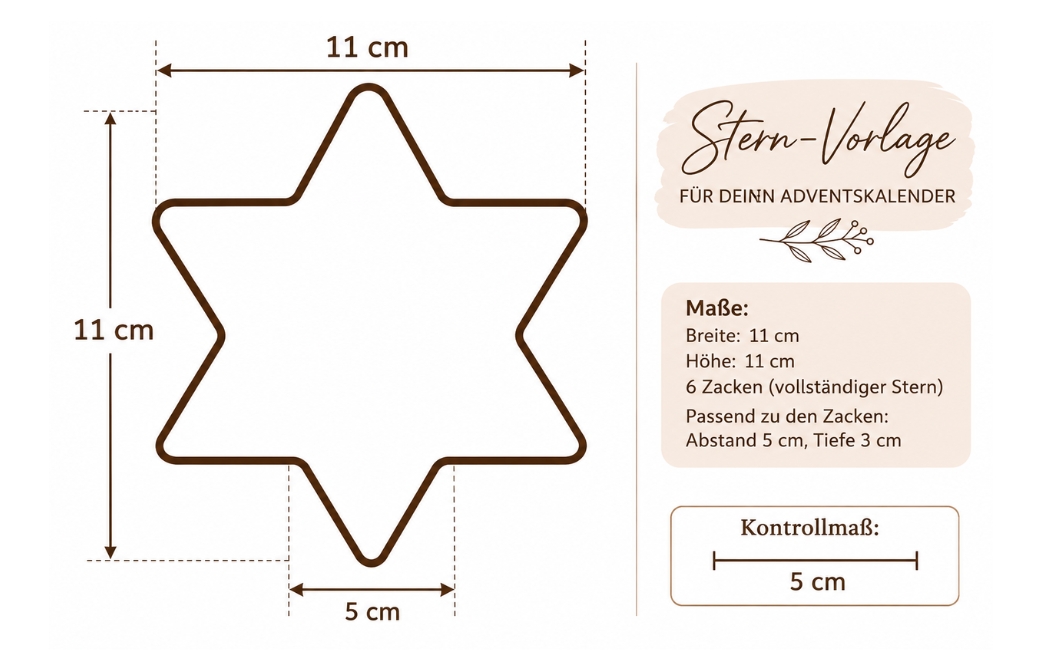
What would a Christmas tree be without its star? Using a star template, I sawed out the top section from a compatible scrap of wood.
Star Template
JPGThe cordless jigsaw was used for this as well. It’s ideal for cutting out the individual points and angles.
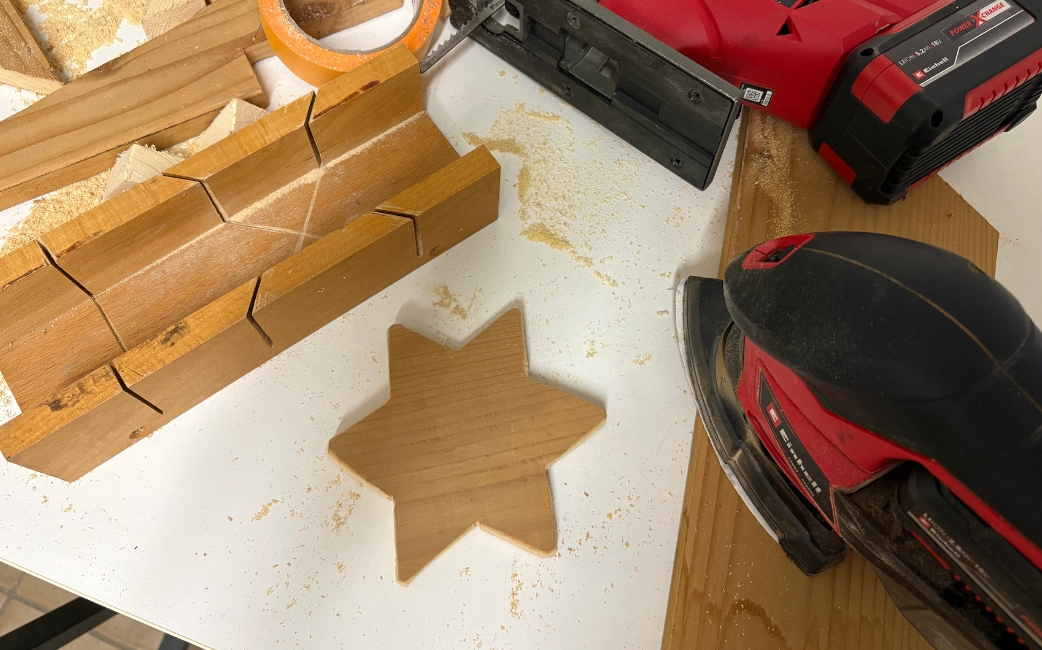
It is important to saw slowly and carefully, particularly in the tighter sections. Make sure you secure this workpiece firmly as well.
Step 4: Sanding cutting edges and surfaces
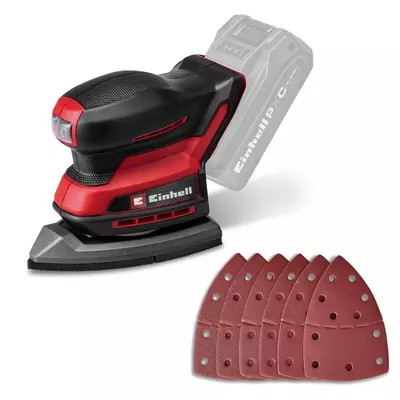
After sawing, carefully sand all edges and surfaces. Use the Einhell cordless multi-sander for this.
You should take particular care to sand the cut-out points and the individual tips of the star smoothly. This will remove any minor unevenness and give the wood a nice, smooth finish. Then remove the sanding dust thoroughly.

Step 5: Decorating the wood and painting the star
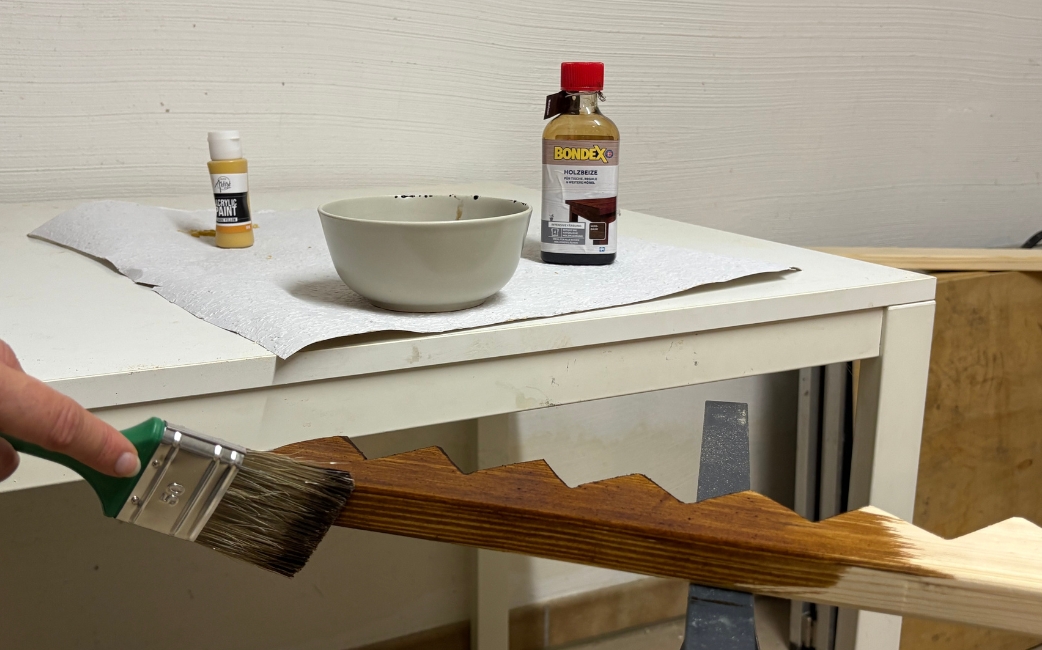
To achieve a natural look, I then stained the wooden strip a dark colour so that the grain still stands out beautifully.
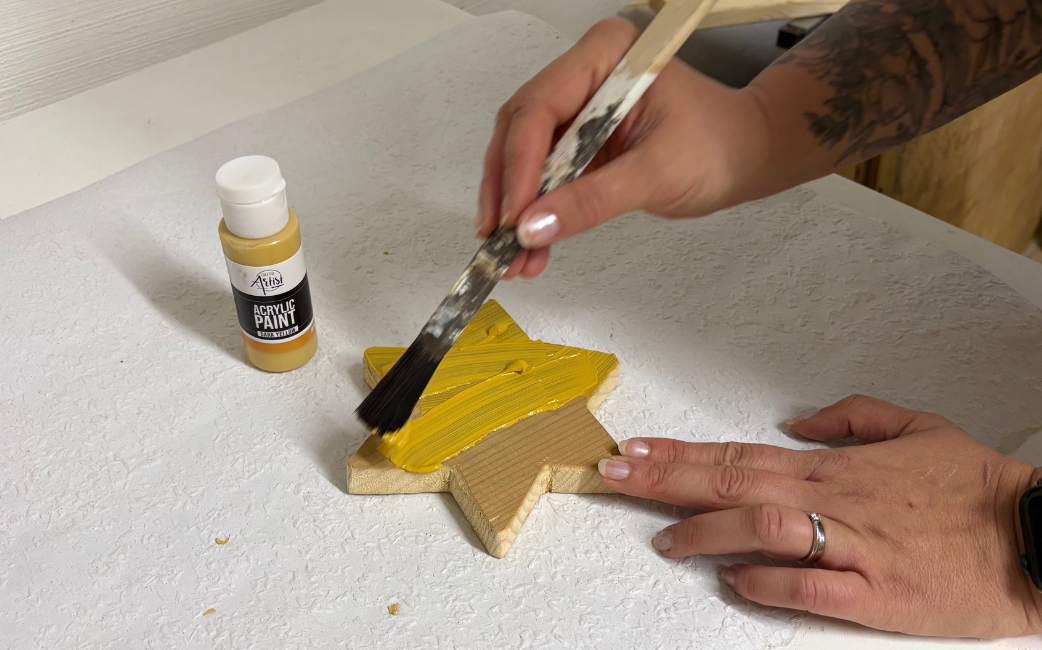
Add a splash of colour to the sawn-out wooden star using mustard-yellow acrylic paint. Leave it to dry thoroughly and then place it in the centre of the top row of points.
Step 6: Attach the 24 Advent calendar doors
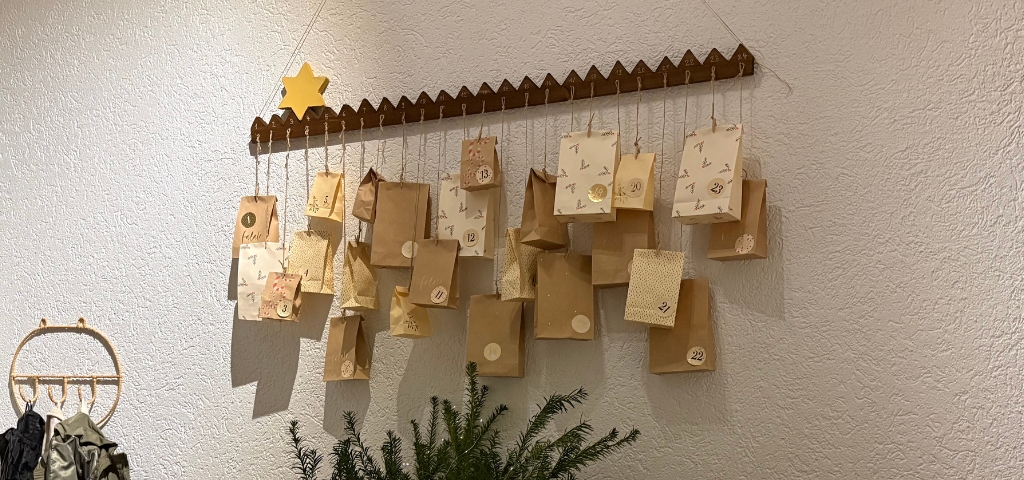
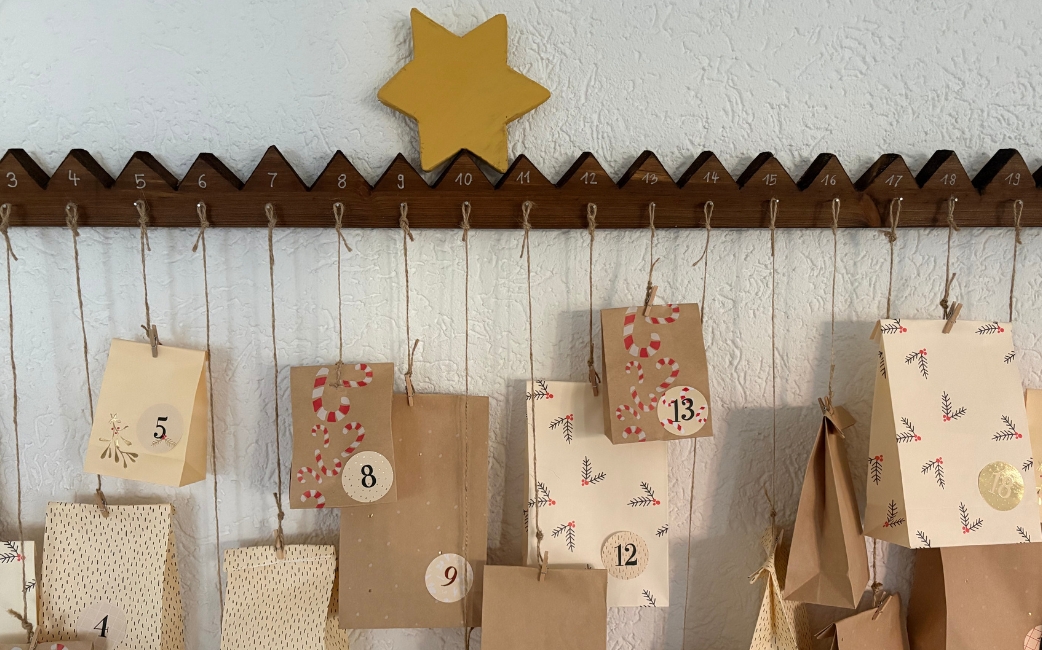
To ensure that all 24 little parcels have their own place later on, hammer a total of 24 small nails into the underside of the wooden strip. You can then easily hang the individual little bags from these using jute twine.
It’s best to choose natural-coloured paper bags in different sizes. With jute twine, small wooden clips and lovingly designed numbers, each little parcel becomes a unique little treasure.
Tip
When fixing the nails in place, make sure they are evenly spaced and securely fastened. Also check that no nail tips are sticking out dangerously from the back.
Step 7: Hang up and decorate the Advent calendar
Finally, fill the 24 little parcels, number them and attach them to the nails. Then hang up the finished strip using a fixing suitable for your wall and the weight. Make sure the fixing is secure and that the strip hangs level.
A homemade Advent calendar that brings joy year after year
I love DIY projects where a simple piece of wood is transformed into something truly special. You can refill the Advent calendar every year, decorate it to your own taste and adapt it to your home décor.
And the best bit is: it’s not just an Advent calendar for a single season, but a homemade piece of Christmas décor that will be with you for many years to come.
Have fun making your own and enjoy a wonderful run-up to Christmas!
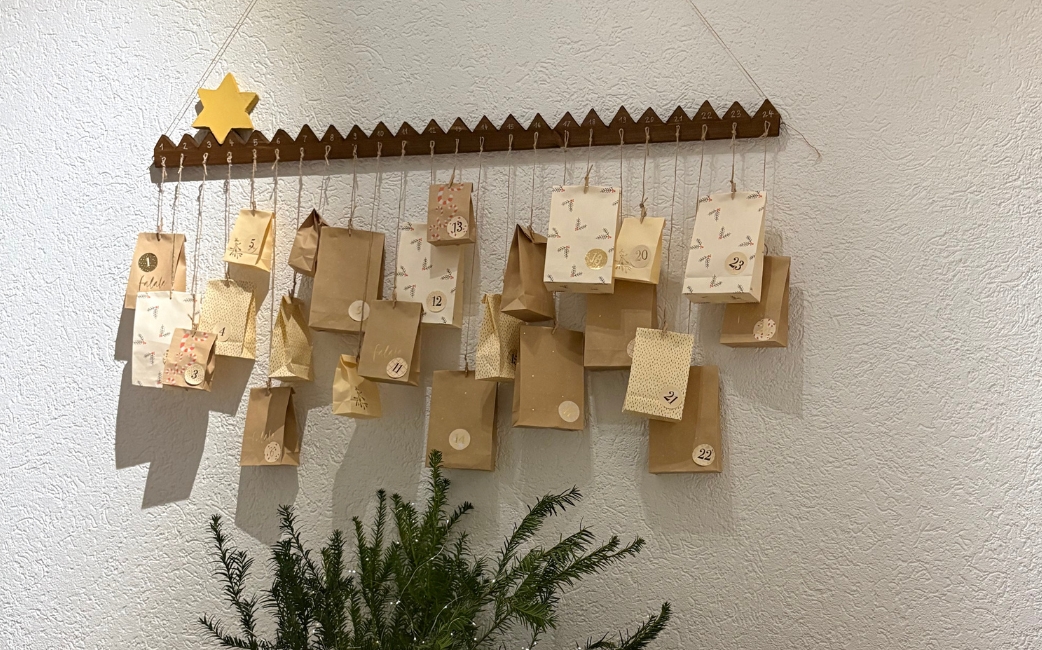
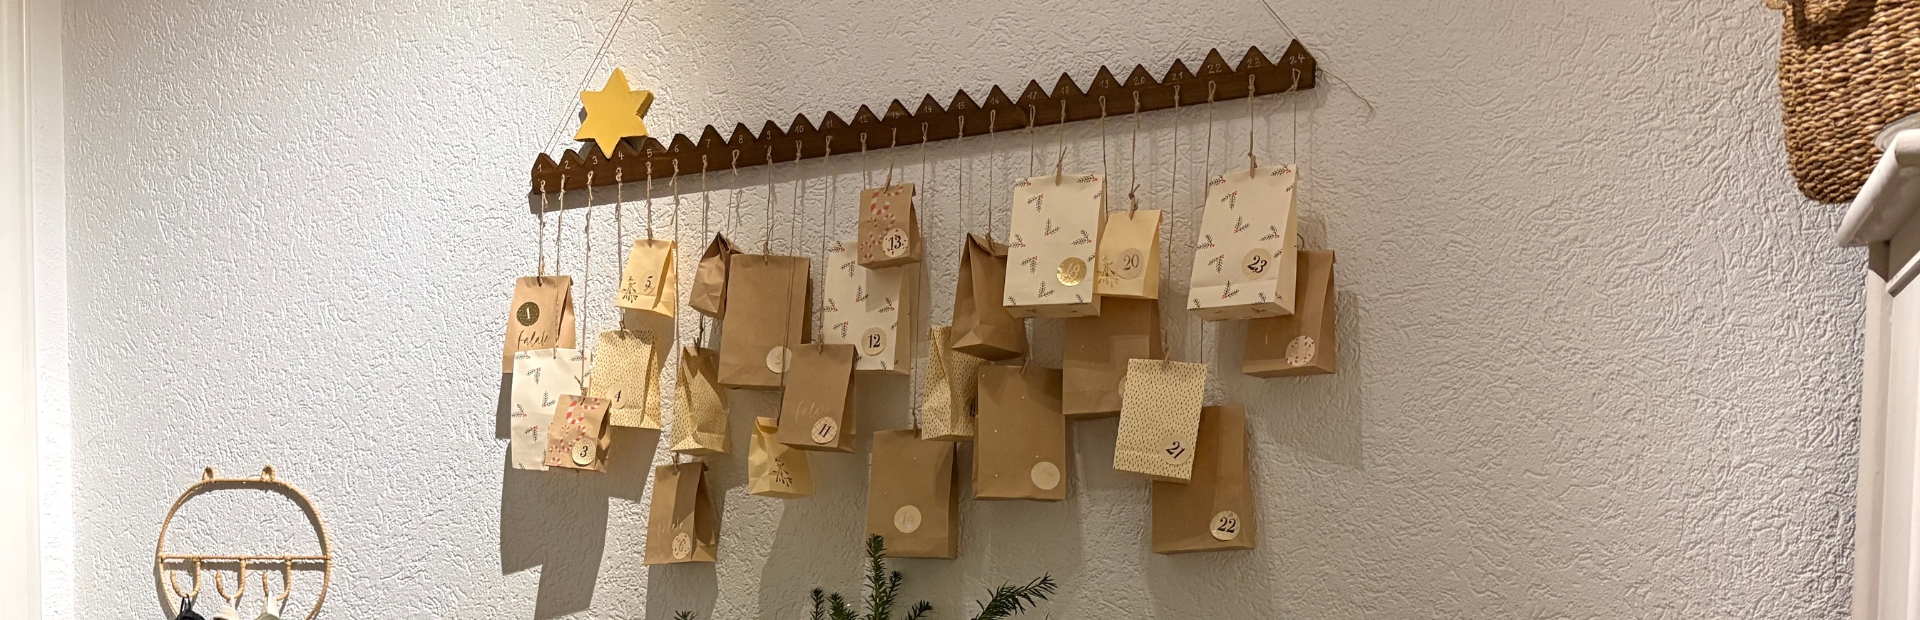
Handmade and refillable time and time again: a wooden Advent calendar that will last for years to come.
Suitable Tools for the Project
Here you'll find Einhell tools and accessories that are perfect for bringing this DIY project to life.



Published on 16.11.2026
Whether lifestyle content or DIY ideas, Jennifer from @jestil.de has been sharing her passion for her home, as well as for interior design, styling and craftsmanship, for many years. The 33-year-old entrepreneur works as a journalist, author and creative director. Alongside personal stories and inspiration, her community can follow her journey towards owning her own home, including the refurbishments and renovations, on a daily basis. Her posts combine everyday practicality with a distinct sense of aesthetics.