


In this article you will learn all about:
Tools and materials
Tools
- Cordless sliding mitre saw
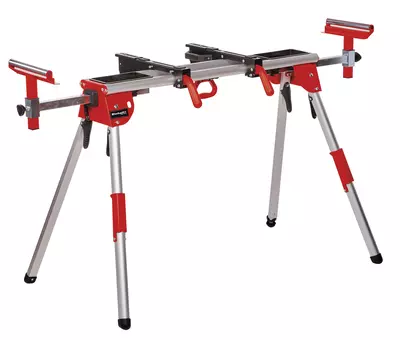
- Saw stand
- Cordless drill driver
- Cordless edge router
- Chisel
- One-handed planer
- Paintbrush
Materials
- 4 Douglas fir decking boards (160 x 14 x 2.7 cm)
- 8 smooth-edged spruce boards (300 x 9.5 x 1.8 cm)
- 2 planed spruce squared timbers (200 x 6 x 6 cm)
- 5 planed spruce squared timbers (200 x 6 x 6 cm)
- 3 spruce slats (300 x 4.5 x 1.6 cm)
- 16 wood construction screws, 6 cm each
- 24 wood construction screws, 3.5 cm each
- 24 wood construction screws, 9 cm each
- 40 wood construction screws, 3 cm each
6 wood construction screws, 7 cm each
Decoration:
- 2 hanging baskets including mounting hardware and screws
- 6 hooks including screws
Step-by-step potting bench guide
Step 1: Preparation
Before you get started, you need to decide on a design and determine the dimensions. For my potting bench, I wanted not only a tabletop for planting, but also a second level for storing materials. I also needed a back panel to hang up my smaller garden tools and attach a bit of decoration. I chose a potting bench measuring 160 x 57 cm. The table is 88 cm high, which provides a comfortable working height when standing. The back panel measures 160 x 75.5 cm.
Step 2: Material selection and cutting
Tabletop:
- 4 Douglas fir decking boards, 160 x 14 x 2.7 cm
- 16 wood construction screws, 6 cm each
Intermediate level:
- 4 smooth-edged spruce boards, 149 x 9.5 x 1.8 cm (inside)
- 2 smooth-edged spruce boards, 111 x 9.5 x 1.8 cm (outside)
- 24 wood construction screws, 3.5 cm each
Back panel:
- 6 smooth-edged spruce boards, 141 x 9.5 x 1.8 cm (inside)
- 2 smooth-edged spruce boards, 160 x 9.5 x 1.8 cm (frame)
- 2 smooth-edged spruce boards, 75.5 x 9.5 x 1.8 cm (frame)
- 3 spruce slats, approx. 82.5 x 4.5 x 1.6 cm
- 2 spruce slats, approx. 70 x 4.5 x 1.6 cm
- 40 wood construction screws, 3 cm each (for attaching the boards to the slats)
- 6 wood construction screws, 7 cm each (for attaching the back panel to the terrace)
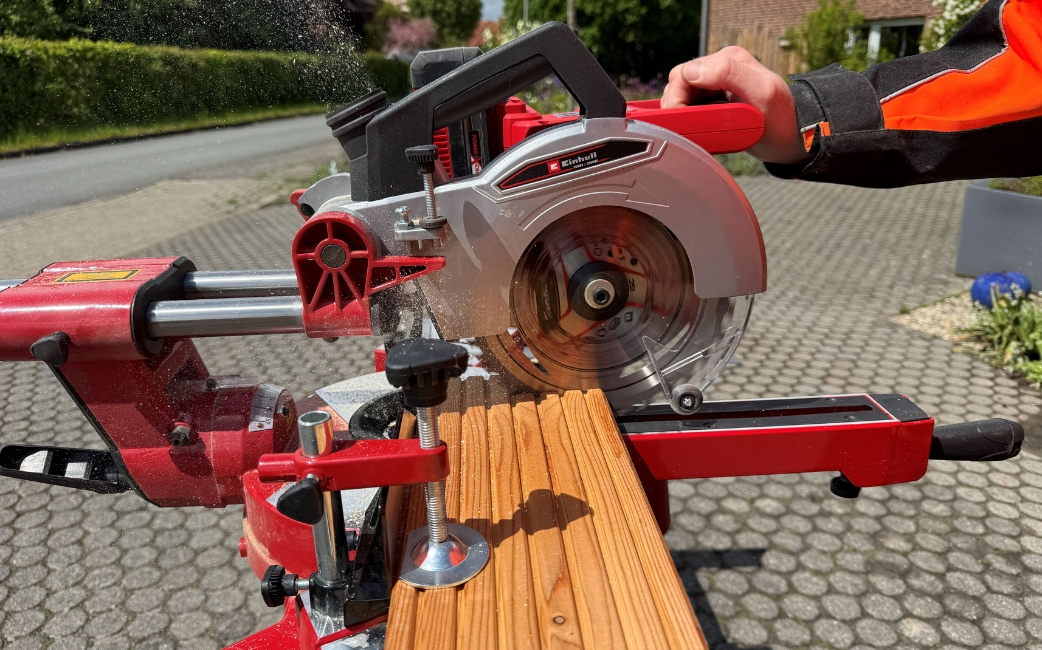
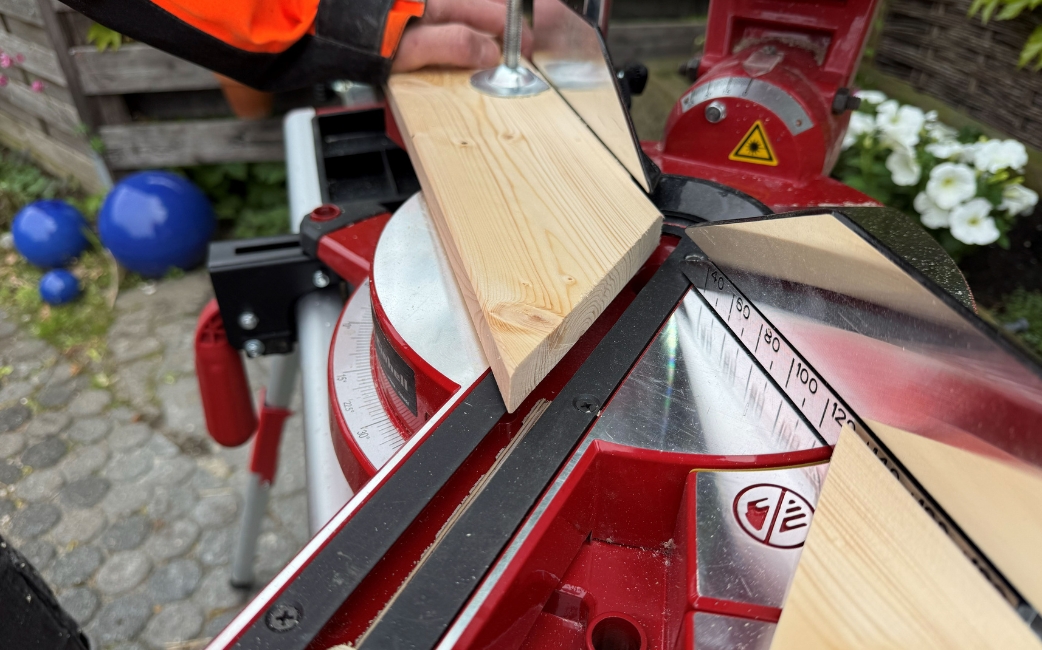
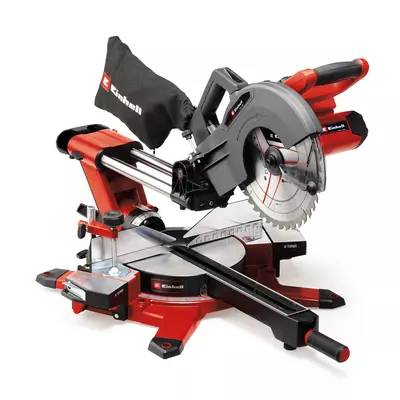
With the Einhell cordless sliding mitre saw, you can cut the wooden boards for your DIY potting bench precisely to size.
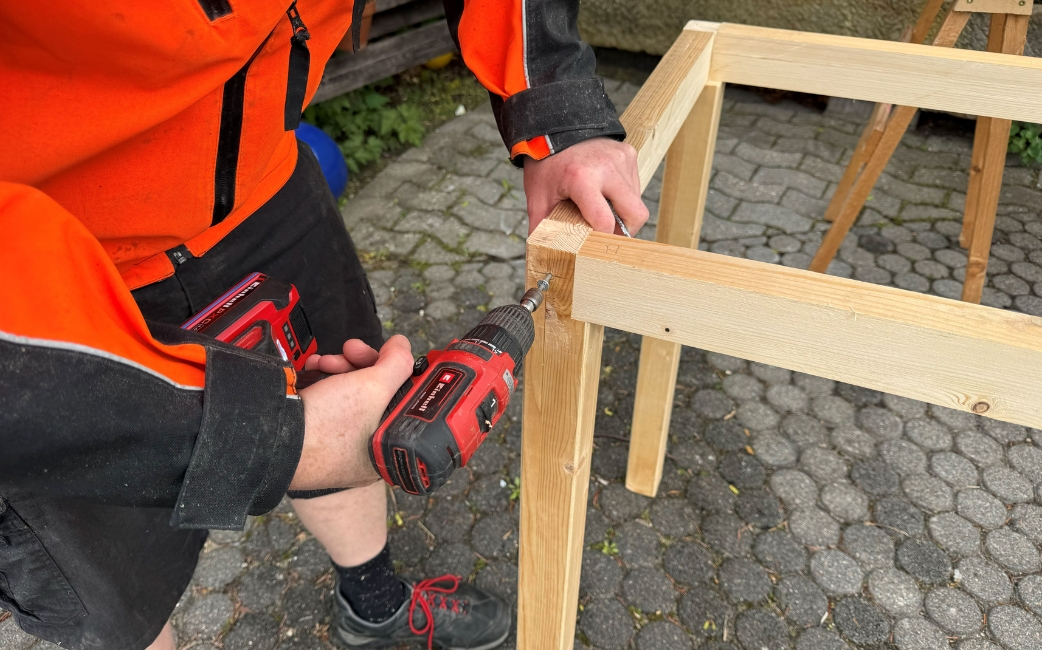
Step 3: Building the base frame
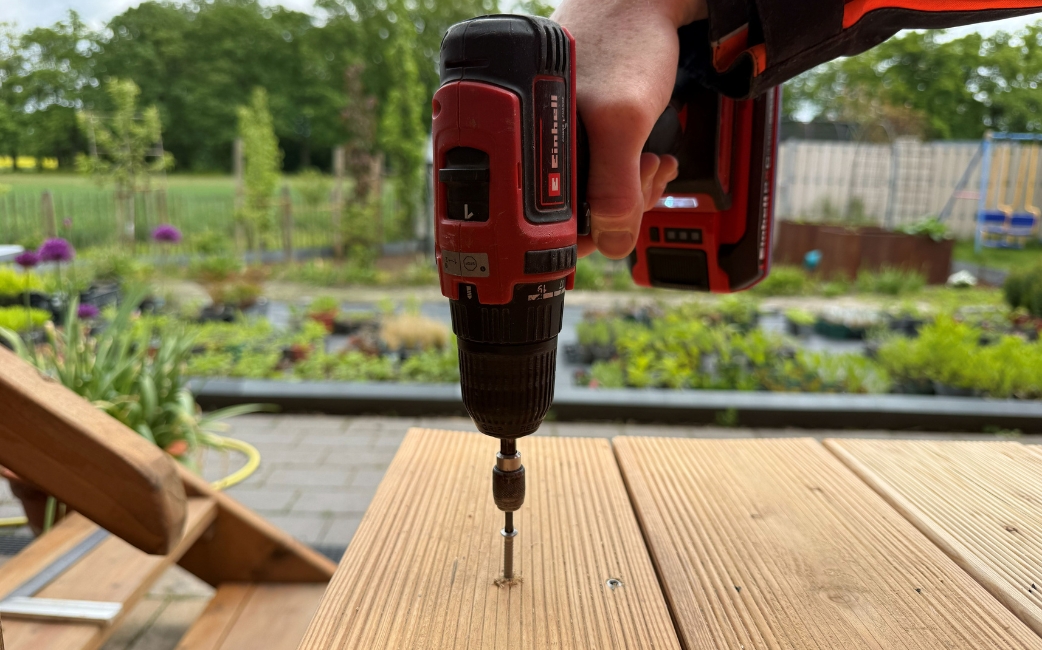
For the base frame, use the planed spruce squared timbers. You can create wood joints with a chisel. This is not absolutely necessary, but it does provide additional stability. Then pre-drill the holes for the screws so that the wood does not split when screwed together. Next, screw the squared timbers together to form the base frame.

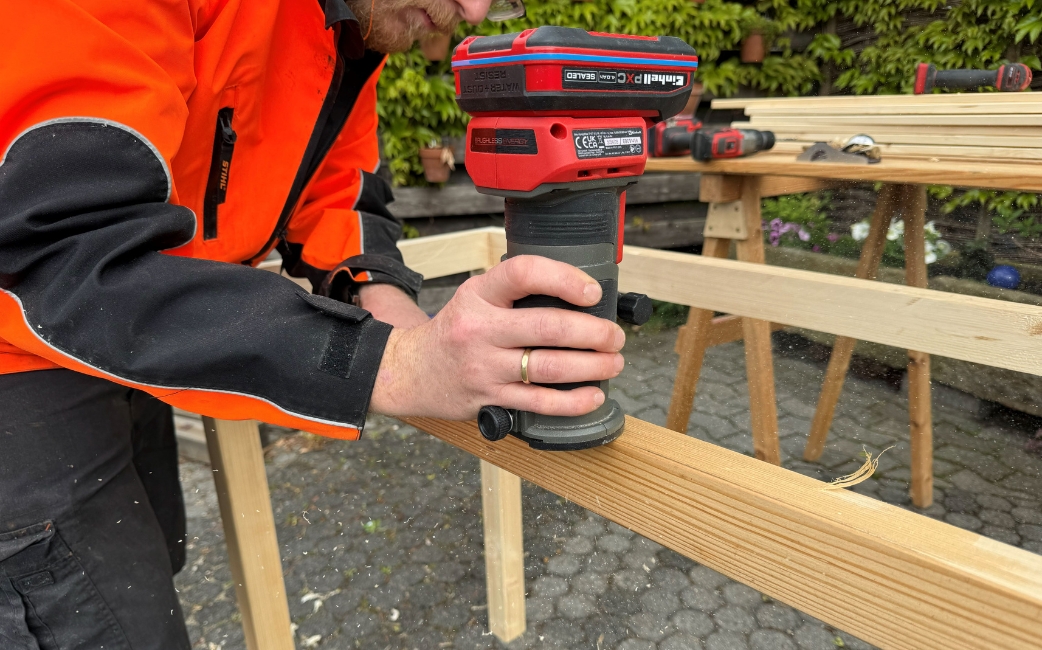
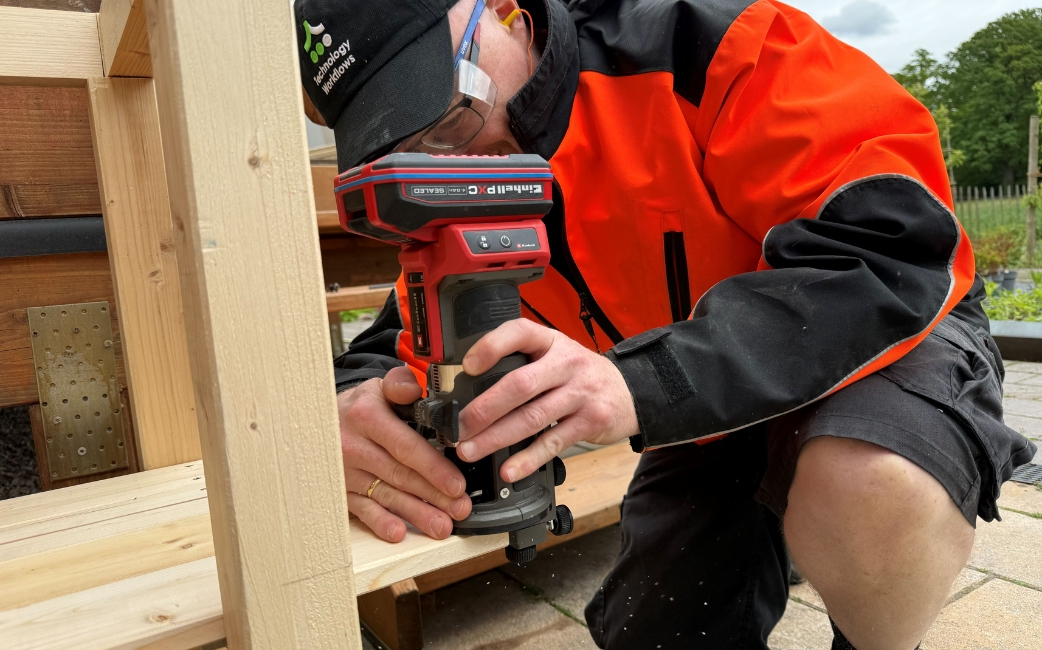
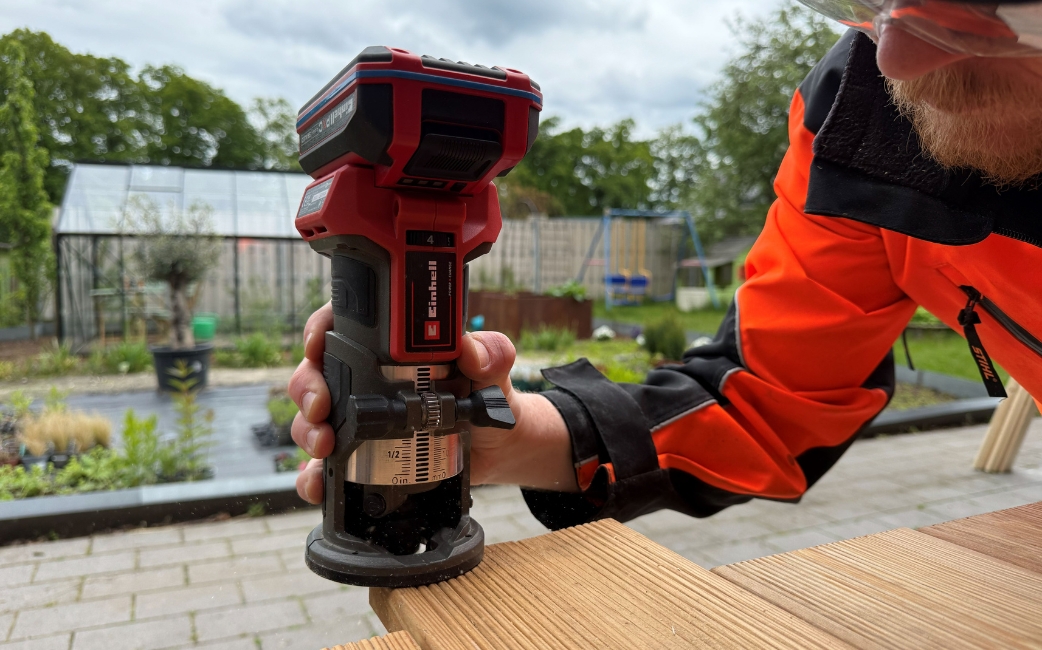
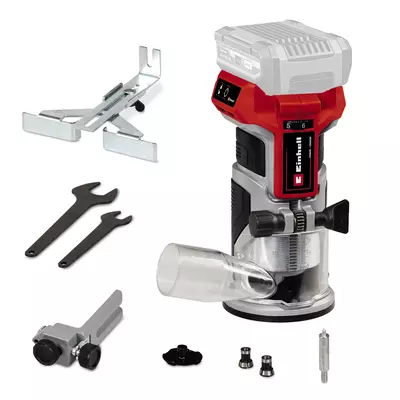
You can use a one-handed planer to smooth down any protruding corners. For a nicer look and feel, you should then round off the edges a little with the cordless edge router.

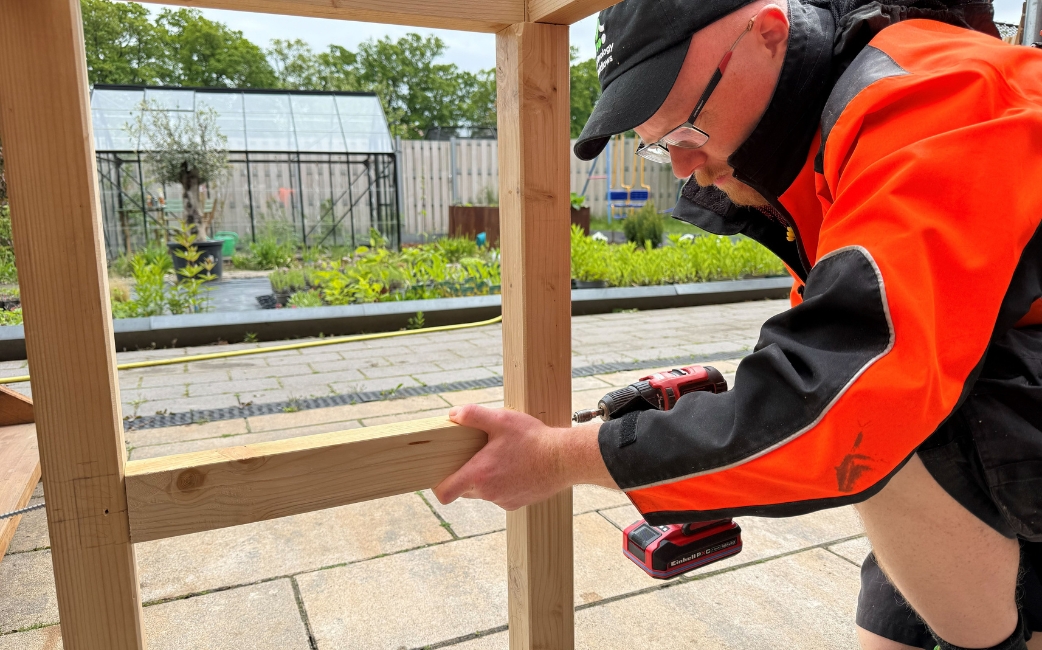
Step 4: Installing the second level
Next, pre-assemble the squared timbers for the second level of the table and install them. Pre-drill the holes for this step as well to prevent the wood from splitting.
You can then screw the smooth-edged spruce boards onto the substructure. We used four long boards in the centre and two shorter boards at the front and back, with their width and length determined by the table legs. Fit the boards into the frame and use a jigsaw to cut out recesses for the table legs. If you have a table saw available, you can also rip the boards lengthwise to achieve a precise width. Round off the edges again with the cordless edge router.
Step 5: Installing the tabletop
Decking boards are a good choice for the tabletop. Douglas fir is a great option thanks to its durability. Four decking boards are enough for a narrow table. If you want it to be wider, you can also use five boards. To prevent injuries while planting, the edges of the decking boards should also be neatly rounded off.

Step 6:
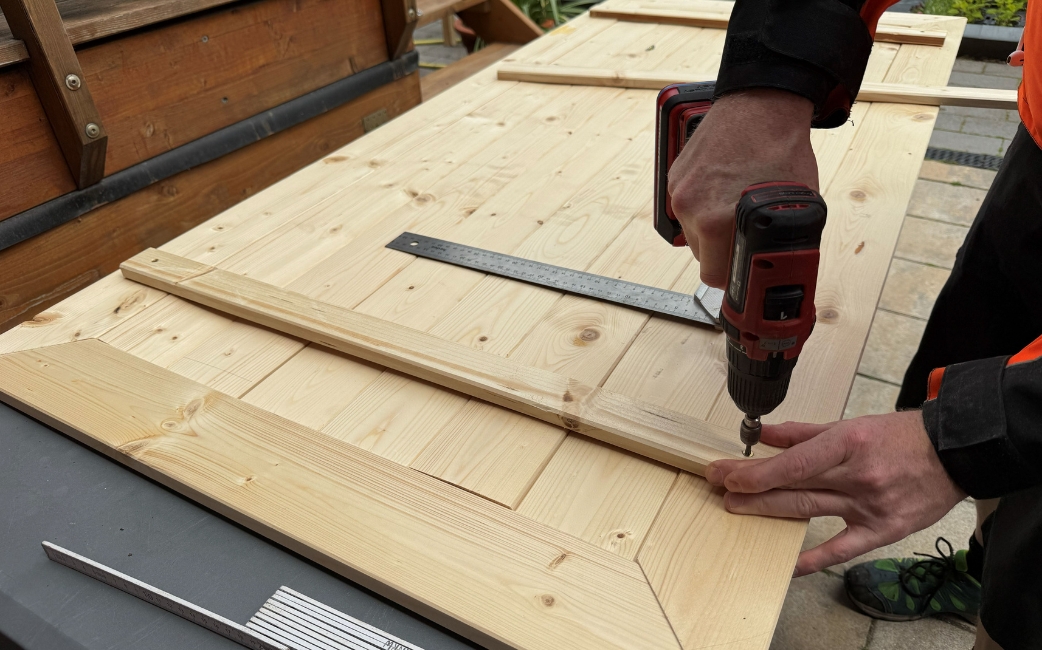
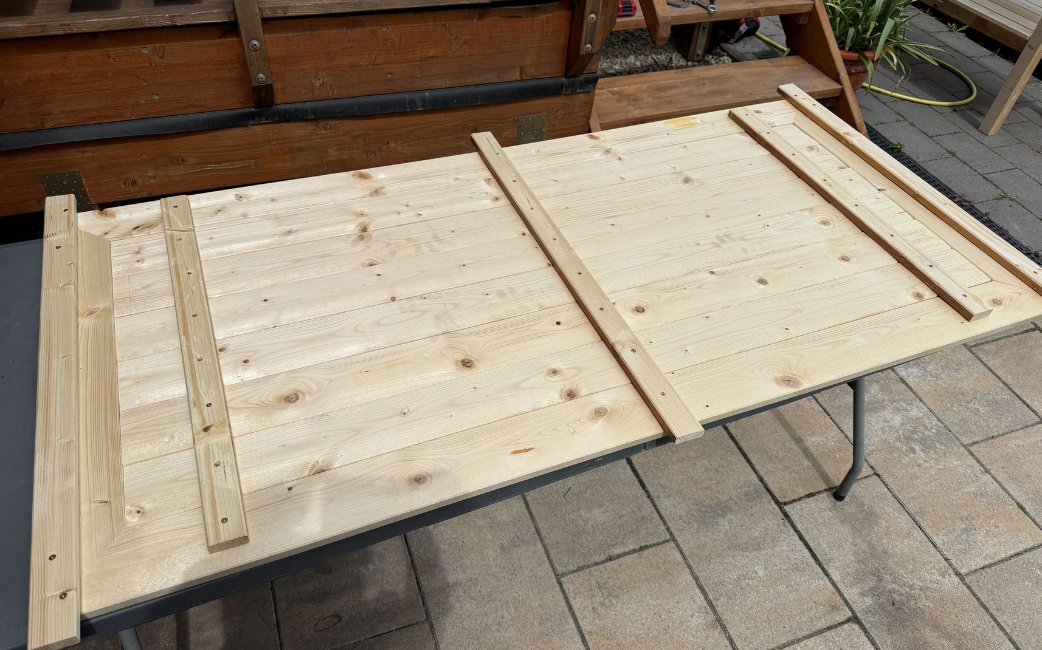
For the back panel, you need ten smooth-edged spruce boards. Use four of the boards to build a frame. To do this, cut them to mitre with the cordless sliding mitre saw. The angles should each be 45 degrees.
The boards are screwed onto five slats on the back. The back panel will later be hung from three of these slats. It is not connected to the table itself, but instead attached to the terrace railing, as in our case, or to a house wall.
Step 7: Oiling the wood
For better durability and a consistent look, the table and back panel are then treated with oil. Before moving on to the final steps, the wood needs to dry completely after oiling.

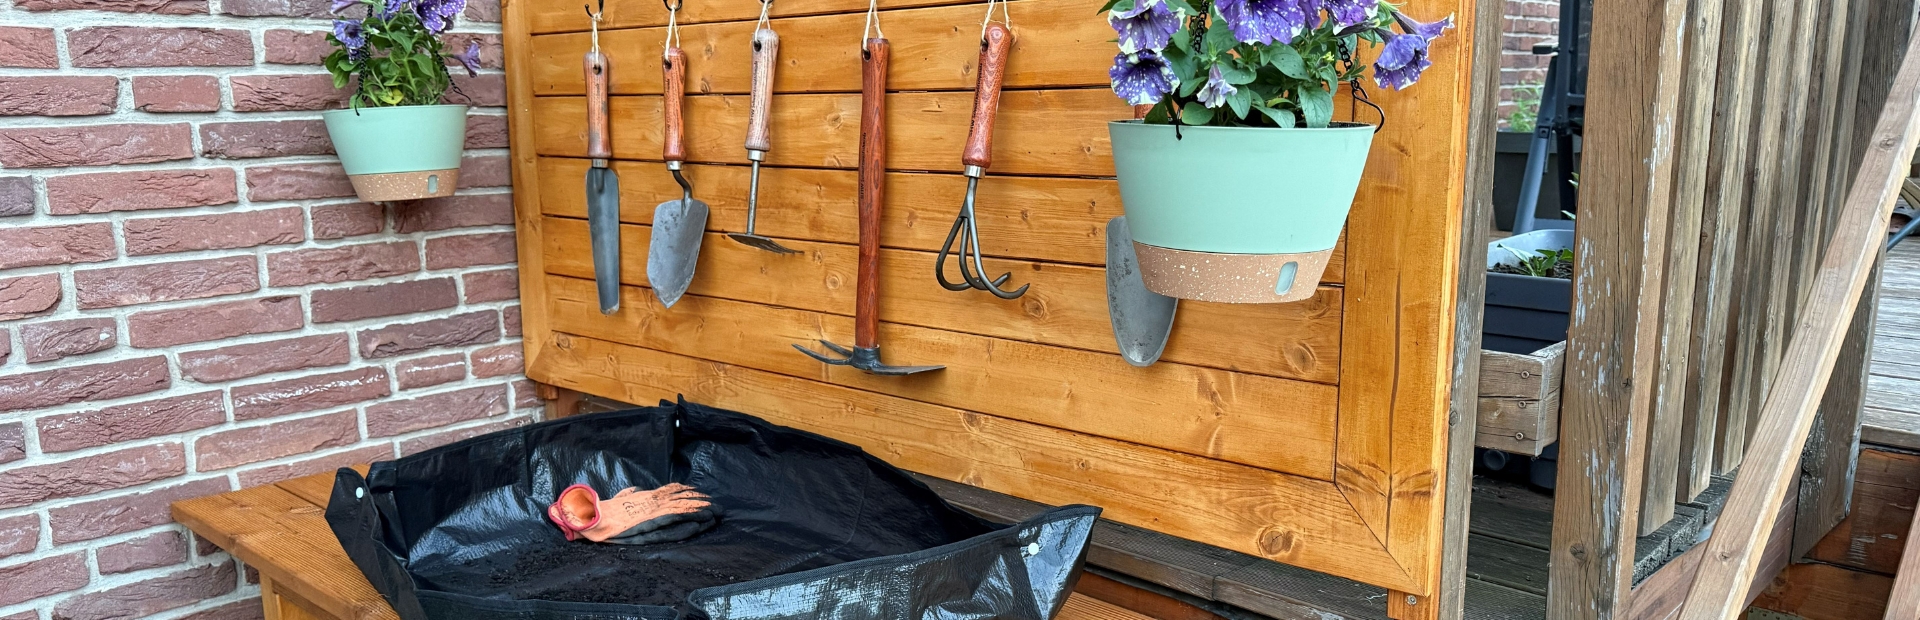
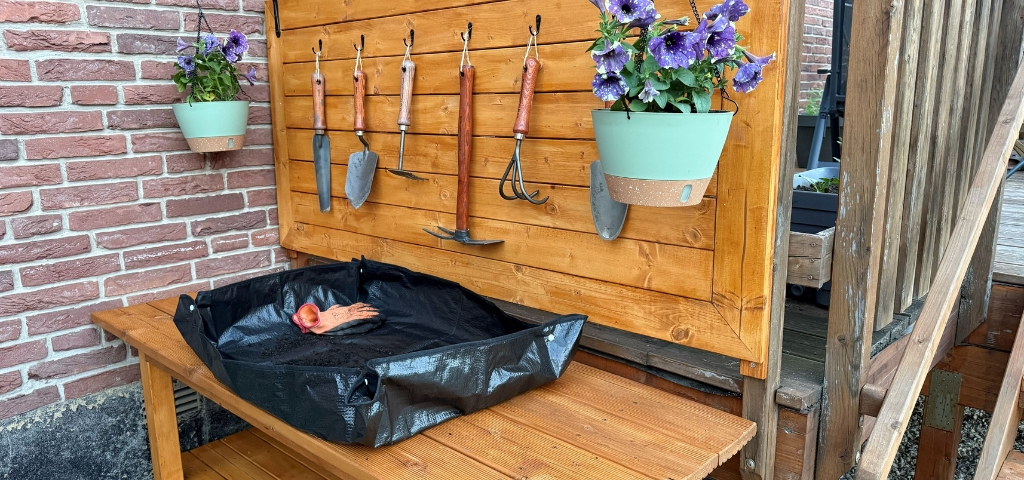
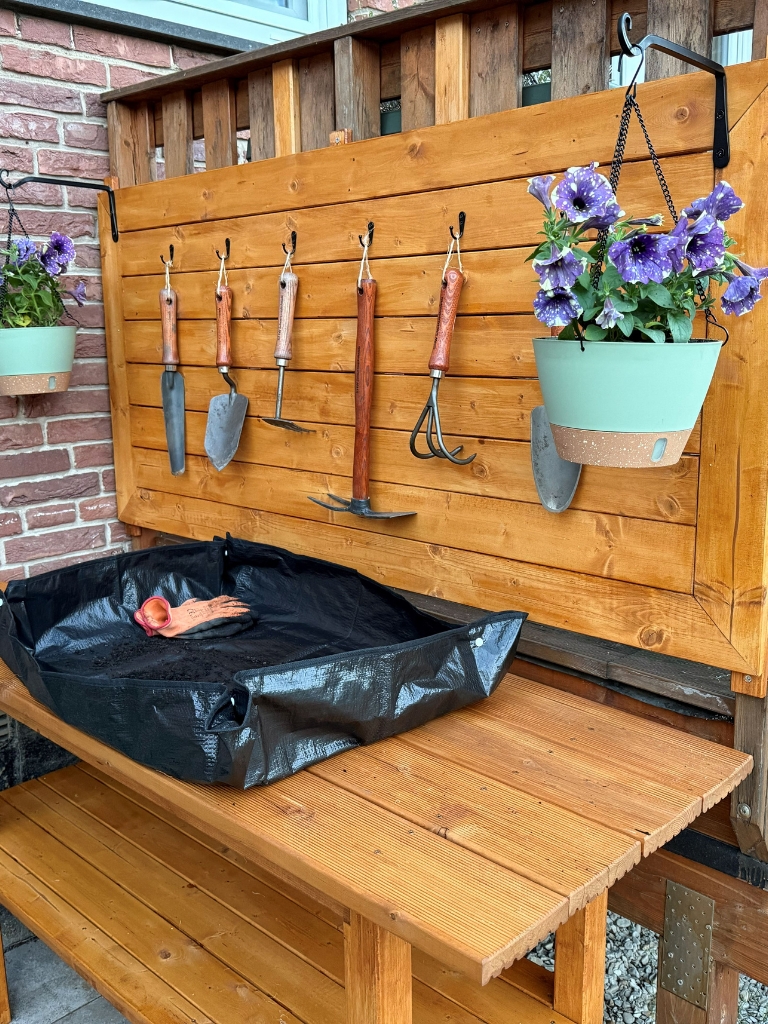
Step 8: Attaching decorative elements
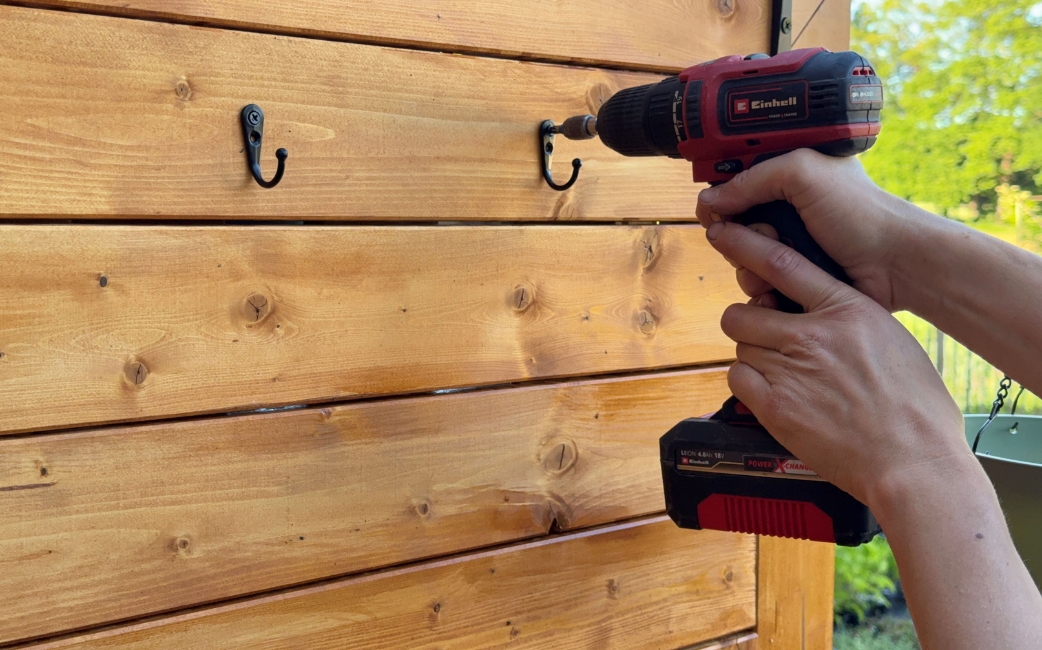
Now you can personalise your potting bench however you like. The potting bench looks especially lovely when you add a few decorative elements, such as two hanging baskets on the left and right of the back panel. You will also need a few hooks for your smaller garden tools. This way, everything has its place and is always within easy reach.
Step 9: Using your potting bench for the first time
Once everything has found its place, you can start using the table and plant your first pots. It’s best to use a planting mat for this. This makes everything quick and easy to clean afterwards, so you can enjoy your potting bench for a long time.
Have fun building your own!

Thanks to your new potting bench, you finally have enough workspace for gardening!
Suitable Tools for the Project
Here you'll find Einhell tools and accessories that are perfect for bringing this DIY project to life.

Published on 03.07.2026
“A garden you can get involved in” – that’s what Lena Hartmann offers, known on Instagram as @lenas_staudengarten. On her channel, she regularly shares exciting DIY woodworking projects alongside tips and tricks for perennial beds that bloom all year round. Lately, this has resulted in a whimsical wooden fence with roofs and windows, a wooden deck with a pond, and wooden cladding for bee stones and other decorative objects. Her hands-on approach is infectious, and she inspires a growing community of gardening enthusiasts on Instagram.