

In this article you will learn all about:
Tools and materials
Materials
- 3 wooden dowel rods (18 mm diameter, 2400 mm length)
- 4 spruce battens (2400 x 300 x 180 mm)
- Assorted screws for joining the battens
- 2 partial-thread wood screws (8 cm long)
- UV-resistant fabric (4.2 m length)
- Optional: Pond liner or heavy-duty sheeting for lining
Step-by-Step Guide
Step 1: Cutting the wood to size
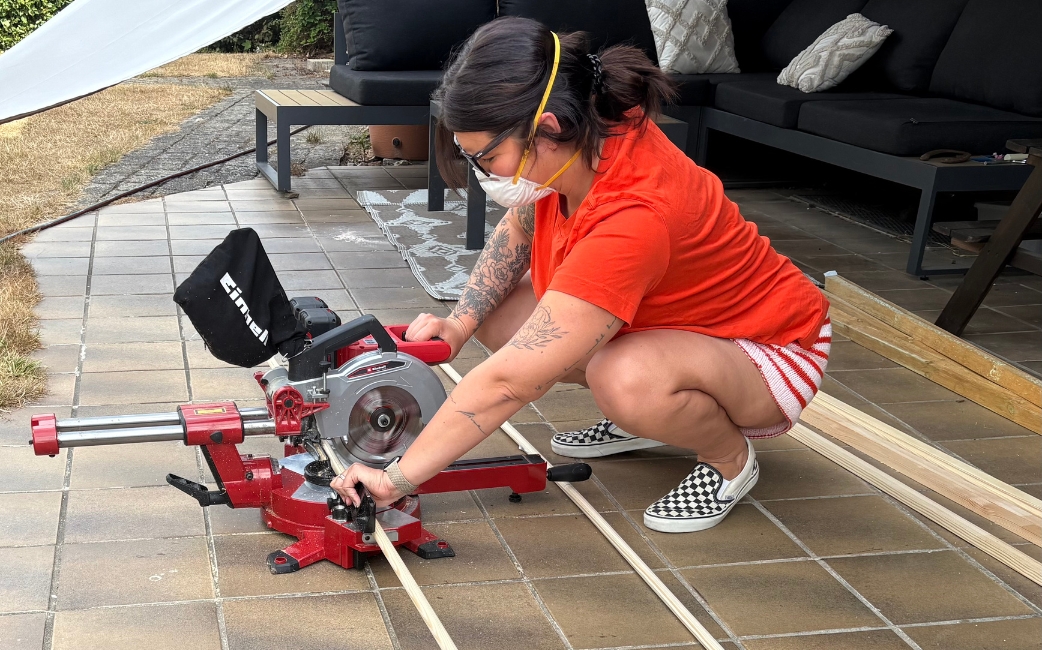
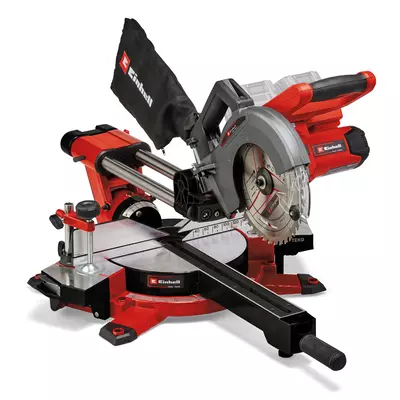
To begin, cut all the wooden pieces to the required dimensions. Shorten the dowel rods to 1.50 m and the spruce boards to 2.10 m. Tip: Use a cordless sliding mitre saw for quick and precise cuts.
Step 2: Pre-drilling the holes
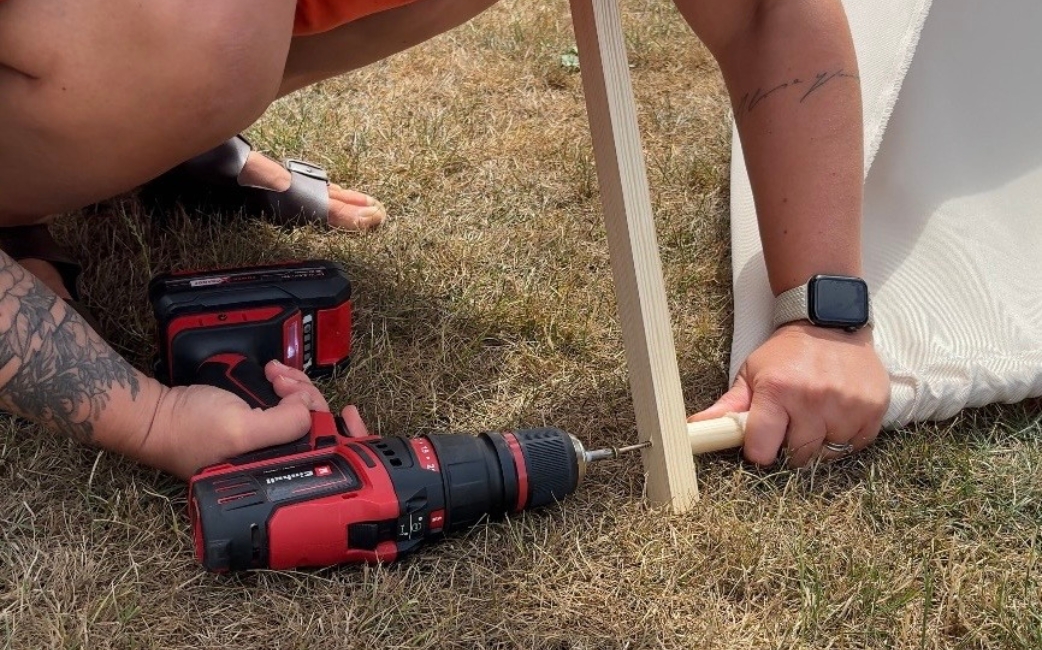
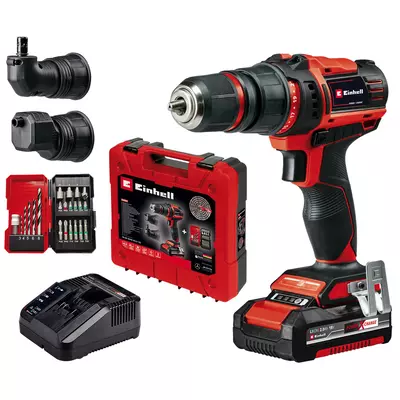
To keep the frame flexible, prepare the drill holes for the top tent pole now. To do this, drill a pilot hole in the centre of each batten, 5 cm from the top edge, using a cordless drill driver.
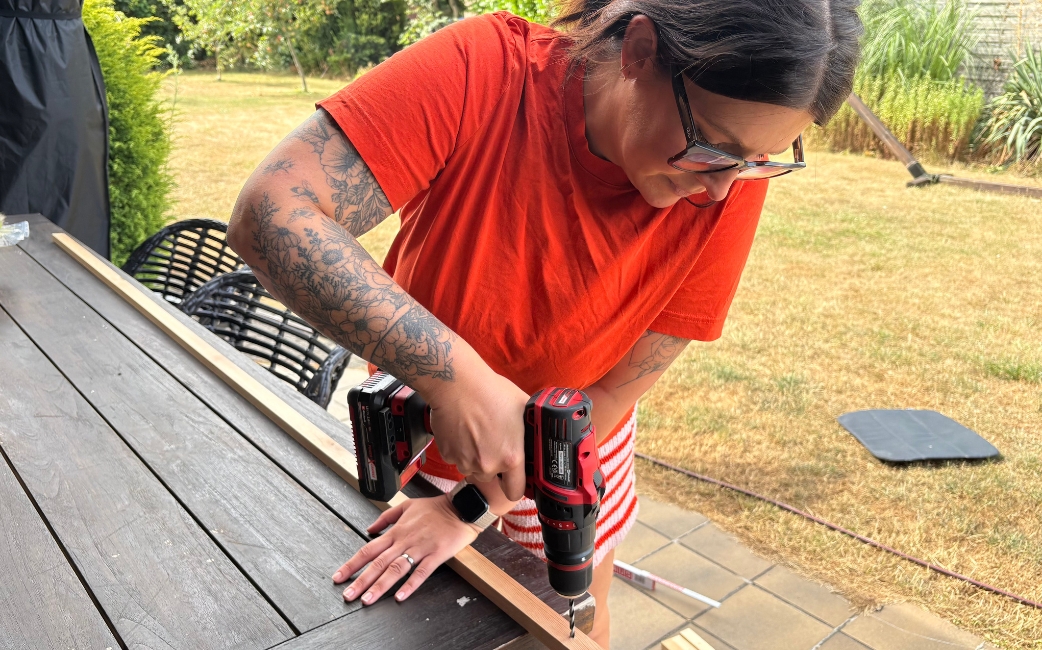
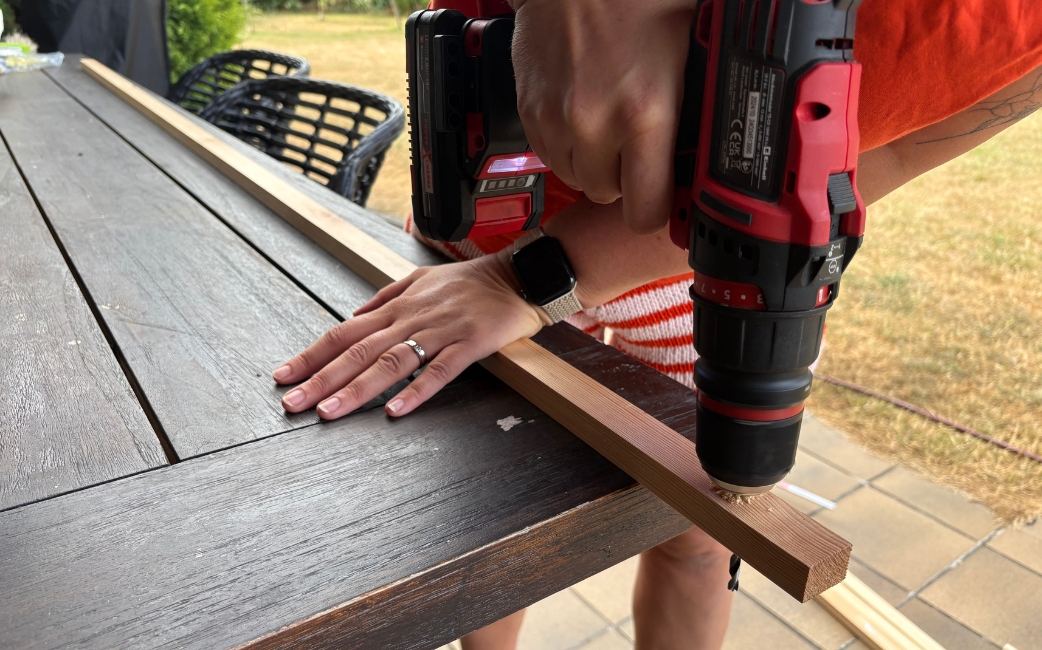
Step 3: Connecting the battens to the dowel rod
In the next step, connect the battens to the dowel rod. Carefully insert the 80 mm wood screws through the pilot holes and screw them into the dowel. Make sure not to tighten the wood screws fully so that the joint remains movable and the frame can be set up flexibly.
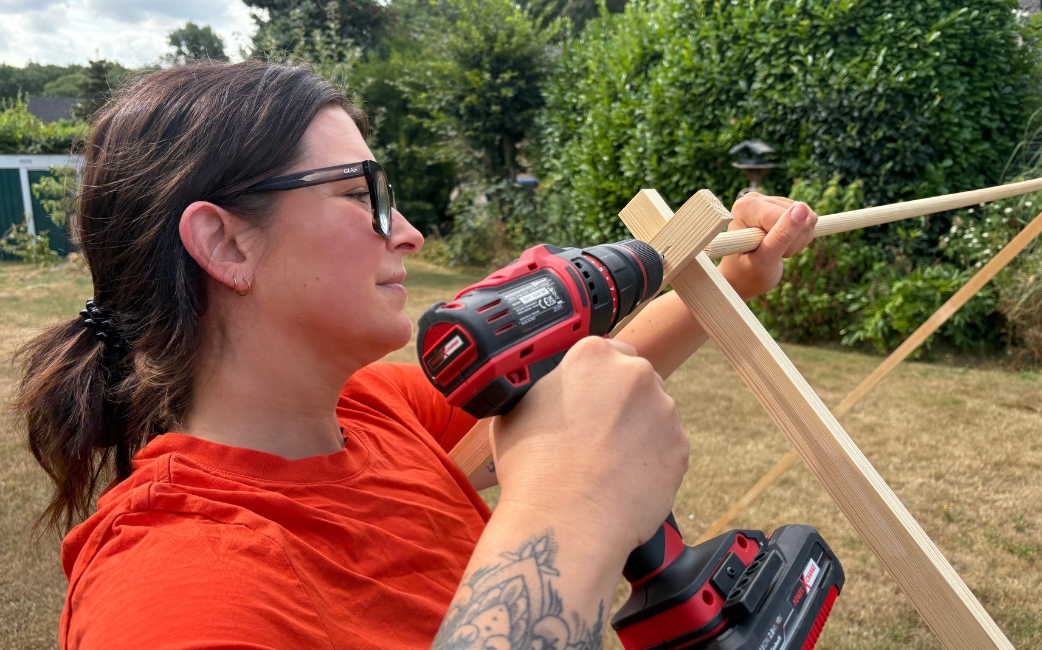
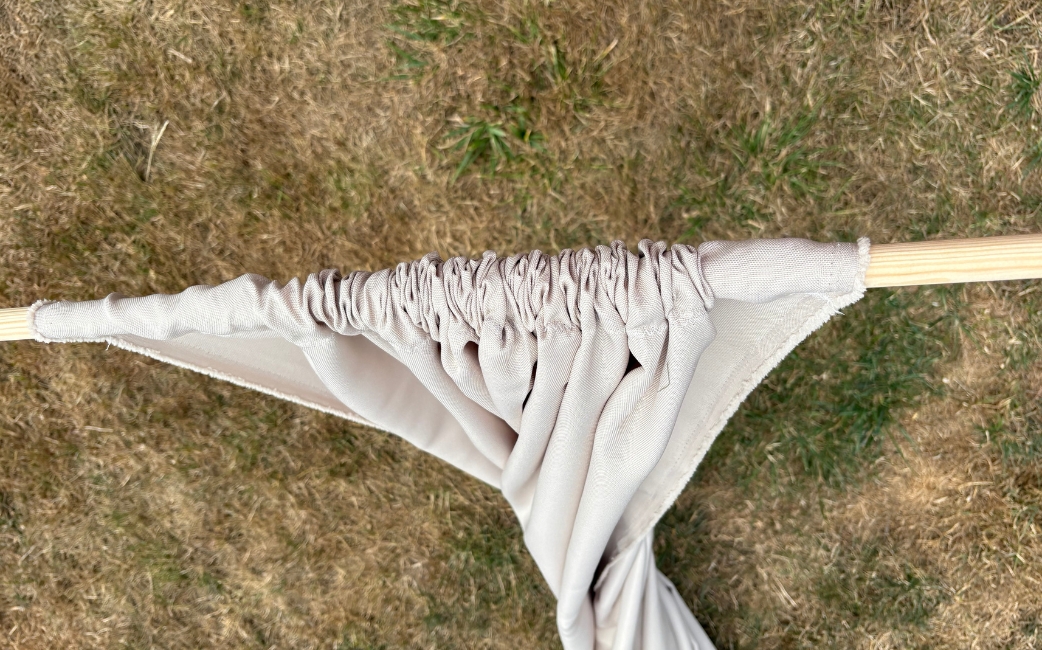
Step 4: Preparing the sunshade fabric
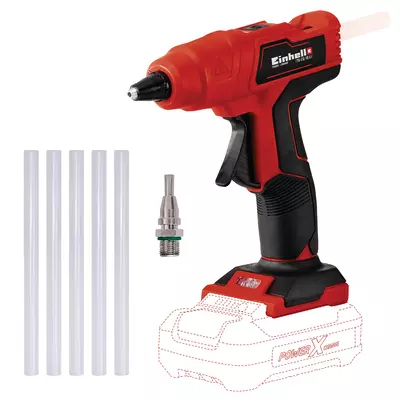
Next, prepare the fabric for the sunshade. The easiest way to do this is by sewing a sleeve (casing) that slides over the dowel rod. If you don't have a sewing machine, you can also secure the fabric to the dowel rod using a cordless hot glue gun. Both methods work reliably well.
Step 5: Securing and tensioning the lower dowels
Finally, attach the lower dowel rods to the feet of the frame and apply light tension. This gives the tent its stable shape.
Your new favourite spot in the garden
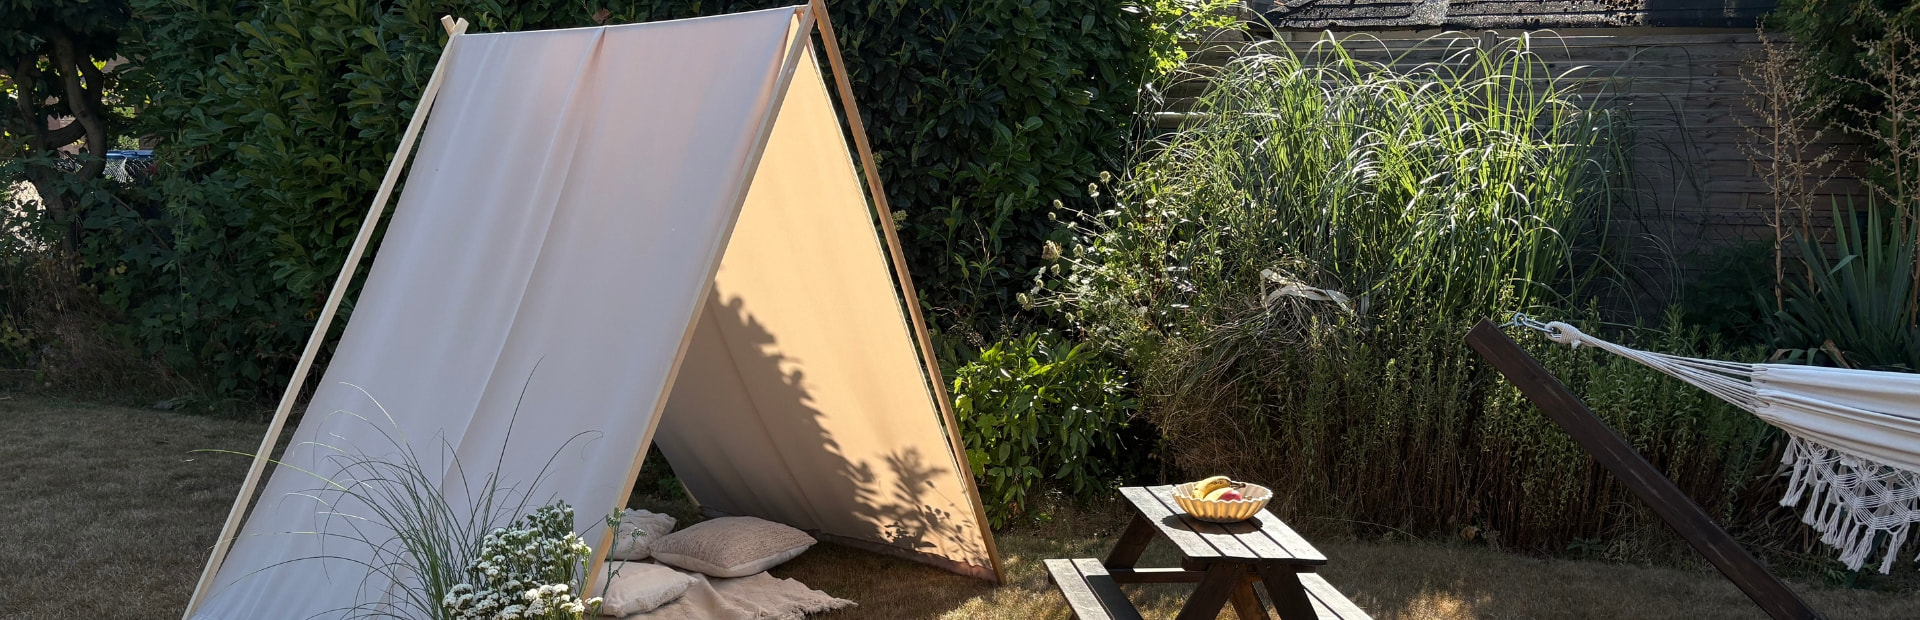
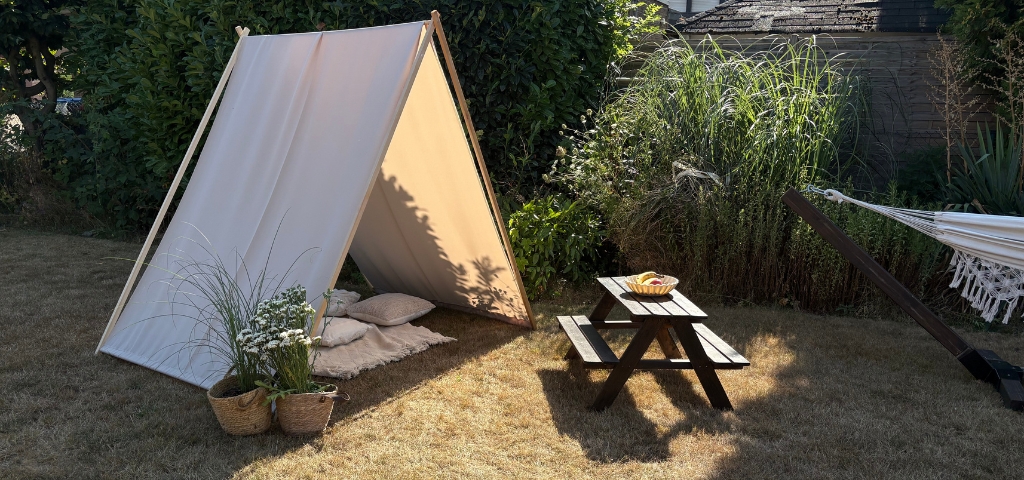
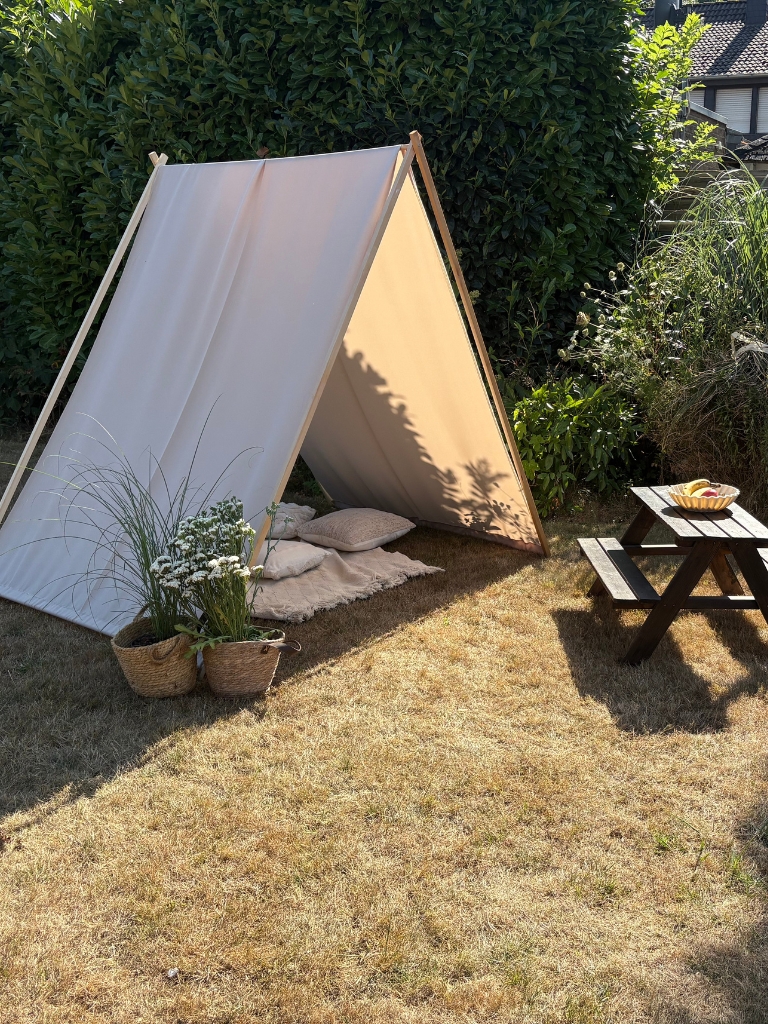
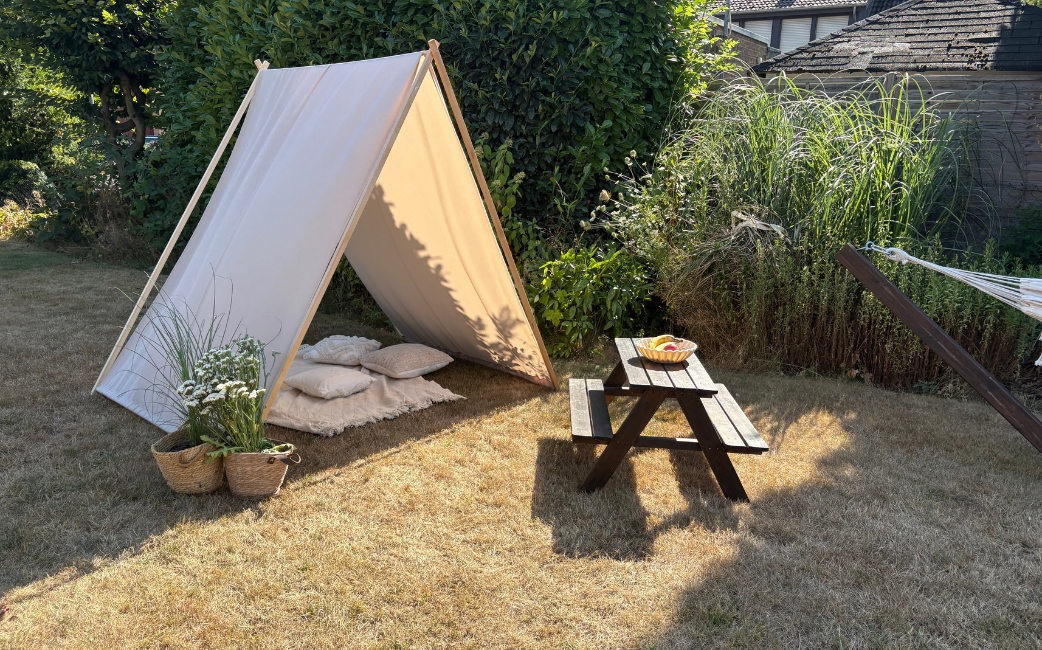
With just a few materials and the right Einhell tools, you can quickly build a practical sunshade that combines functionality with fun. In our garden, the tent gets used differently every day—as a cosy reading retreat or a den for little explorers. The best part is the flexible design, which lets you easily adjust the sunshade whenever you need to. Have fun building your own!
Tip: If you plan on leaving the sunshade outside permanently, it’s a good idea to secure the feet to the ground with tent pegs. This adds extra stability, even in a gentle breeze.
Enjoy the shade! ⛺
Suitable Tools for the Project

Published on 17.08.2026
Whether lifestyle content or DIY ideas, Jennifer from @jestil.de has been sharing her passion for her home, as well as for interior design, styling and craftsmanship, for many years. The 33-year-old entrepreneur works as a journalist, author and creative director. Alongside personal stories and inspiration, her community can follow her journey towards owning her own home, including the refurbishments and renovations, on a daily basis. Her posts combine everyday practicality with a distinct sense of aesthetics.