


In this article you will learn all about:
Tools and materials
Tools
Material
- 7 hinges: 60 mm × 60 mm
- 5 picture ledges: 60 × 7 × 6 cm
- Wooden boards in various sizes:
- 1 five-layer spruce wood panel: 70 × 200 cm
- 6 wooden blocks for reinforcing the angle: 9 × 4 cm
- 2 support feet: 30 × 60 cm
- 1 crossbar for the feet: 10 × 70 cm
- 2 wedges: 8 × 3 × 2.5 cm
- Chipboard screws: 3.5 × 25 mm
- 2 pieces of tensioning strap, approx. 7 cm each
- Compass and pencil
- White paint
- Vinyl lettering, or pens/paint for adding your own text
Instructions for the champagne wall
Step 1: Cut the back panel to size
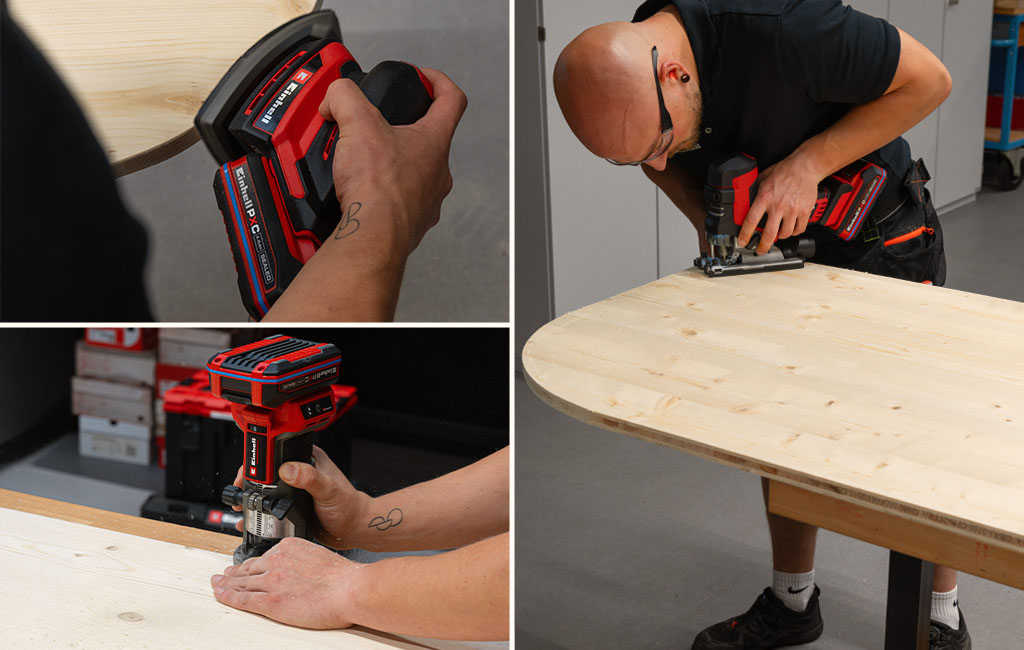
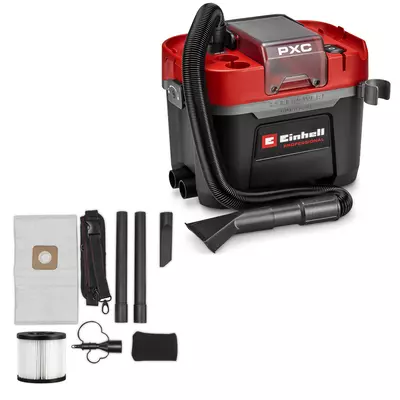
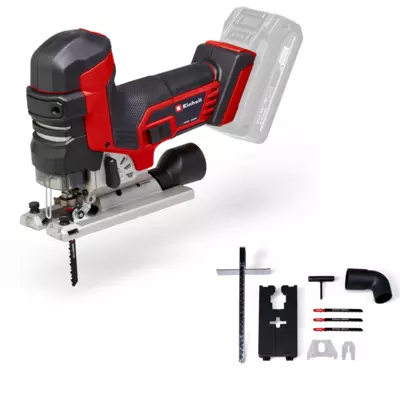
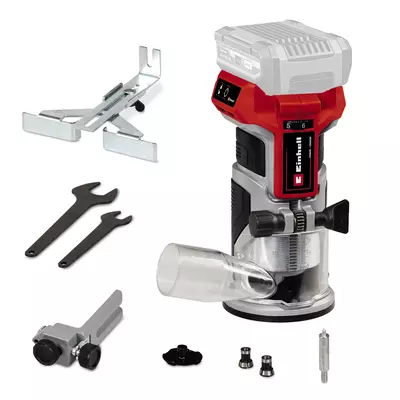
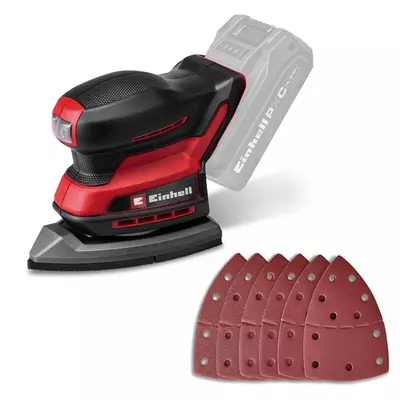
Start by marking out the curve for the back panel on the 70 × 200 cm wooden board. A compass is the best tool for creating a smooth, even curve. Next, cut out the curve with a jigsaw and round off all the edges of the board using an edge router. Finally, sand the board with a multi-sander to achieve an especially smooth surface. For cleaner working, we recommend connecting a wet and dry vacuum cleaner to remove the sanding dust directly.
Step 2: Cut the back panel in half
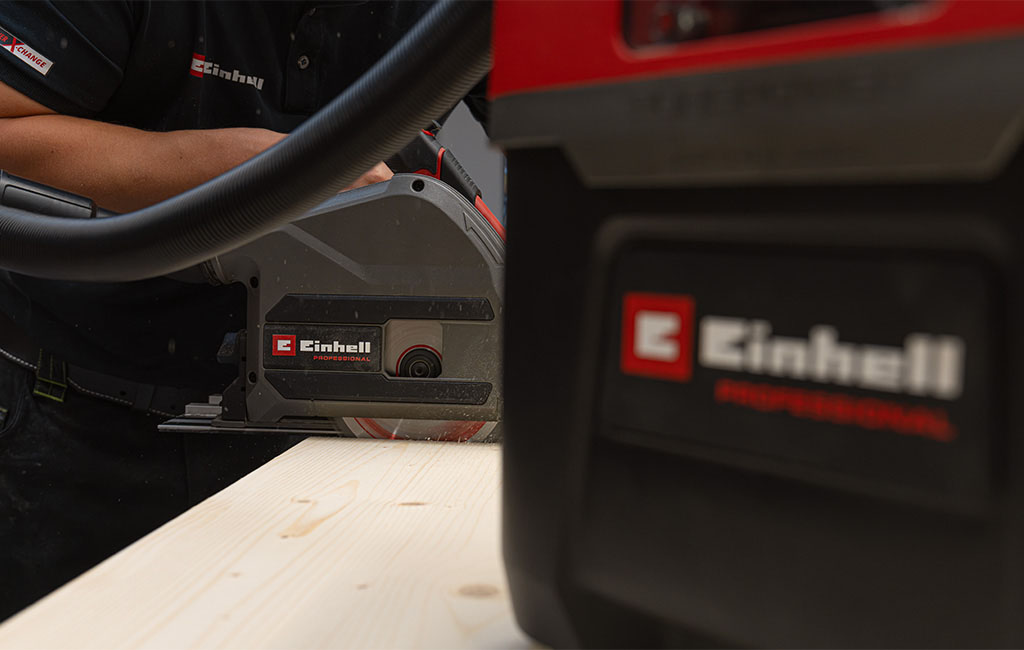
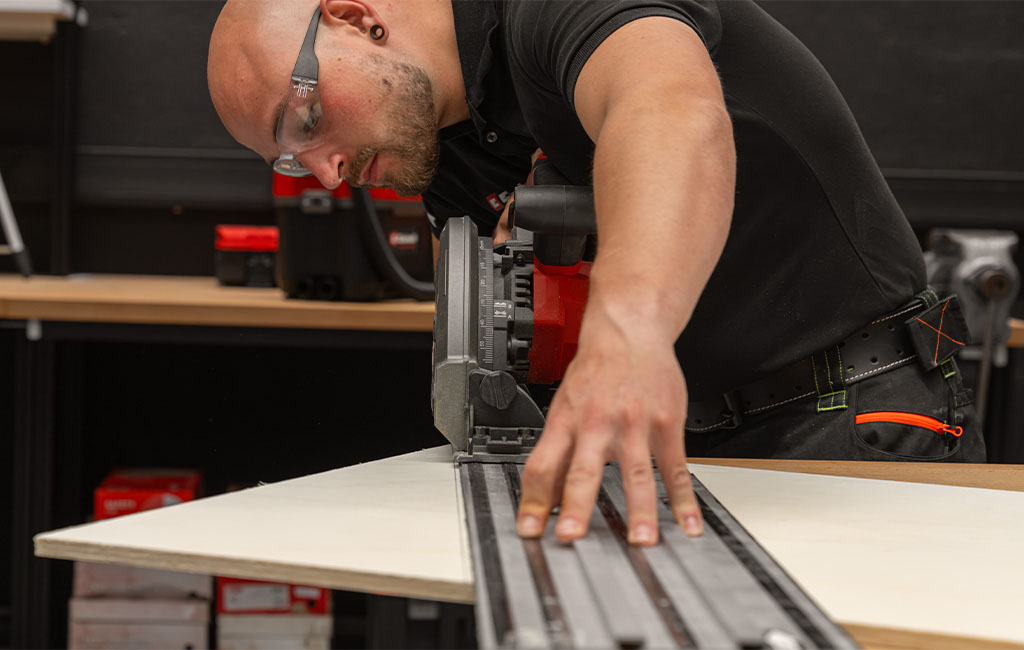
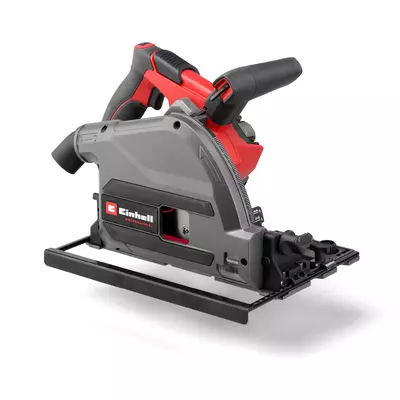
As the champagne wall is designed to fold up for space-saving storage and easy transport, use a plunge saw to cut the back panel into two equal halves. For the straightest possible cut, we recommend using a guide rail. You can also connect a vacuum cleaner to extract the wood chips directly while cutting.
Step 3: Build the folding mechanism
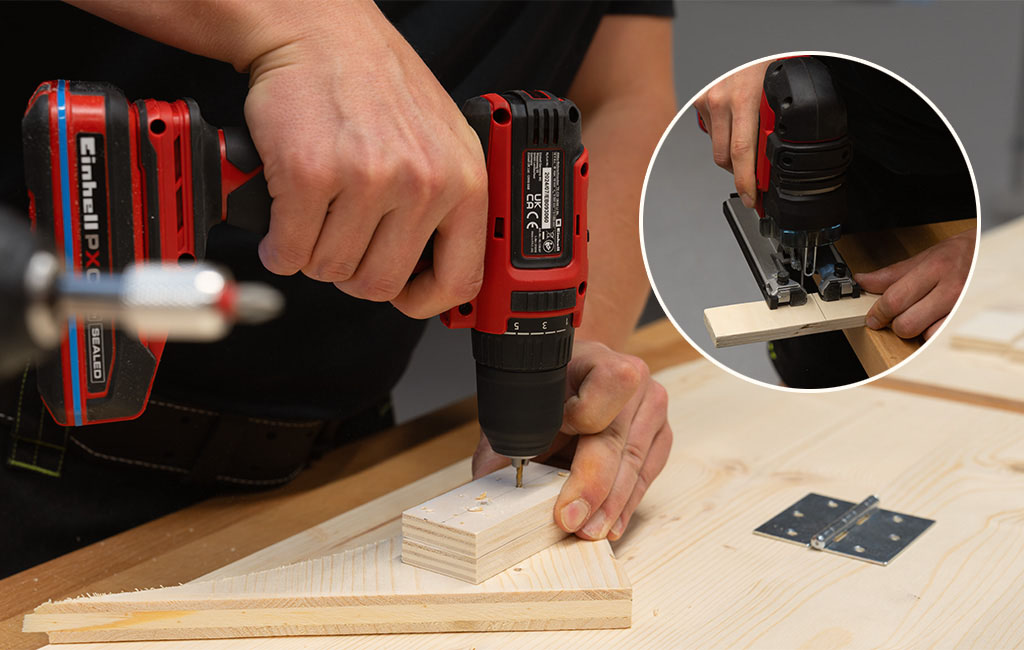
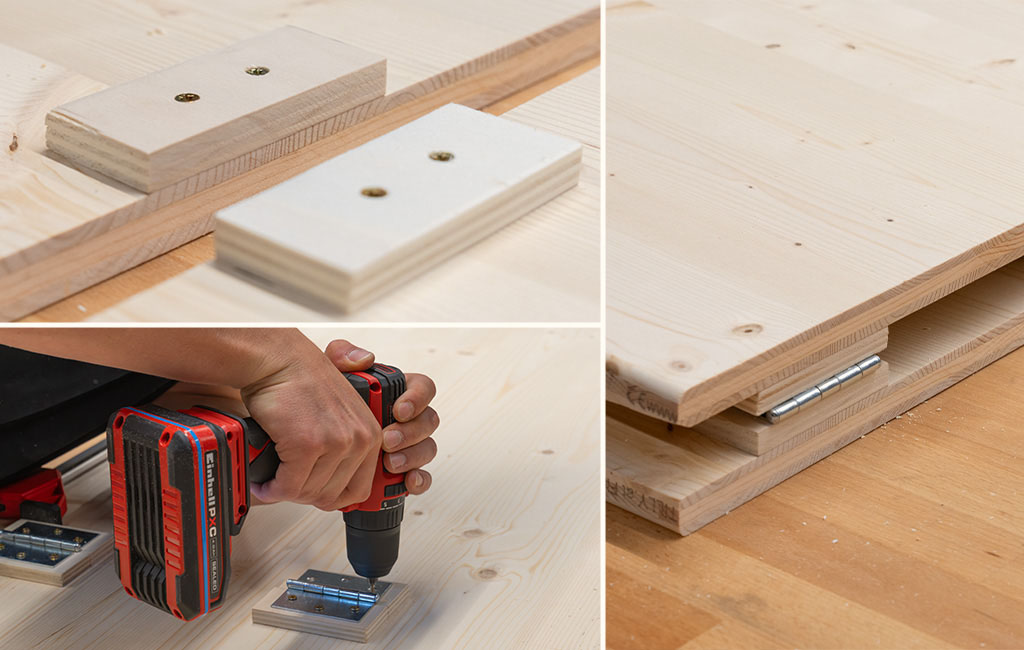
To attach the hinges for the folding mechanism, first make the wooden blocks used to reinforce the mounting points. Using a plunge saw, cut a 4 cm-wide strip from a wooden board, then divide it into six 9 cm-long pieces with a jigsaw. Pre-drill the blocks evenly, then secure them to the back of the wall together with the three hinges using chipboard screws. Position them 5 cm from the edge and space them evenly apart. This will allow the champagne wall to be folded up easily later.
Step 4: Stabilize the folding back panel
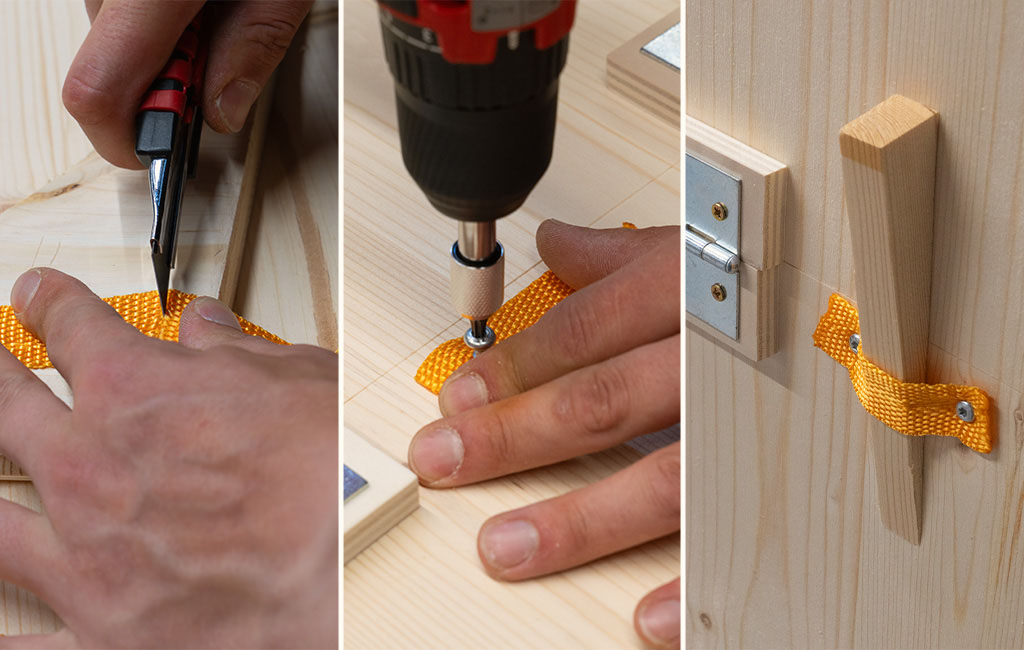
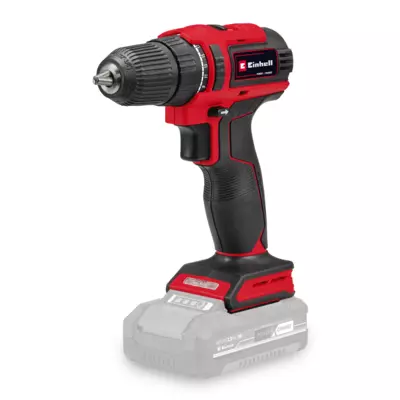
To keep the hinges securely in place when the wall is unfolded and prevent the back panel from folding in during use, you will also need retaining loops and wedges. Cut the wedges from a piece of square timber. We made ours 8 × 3 × 2.5 cm. You can make practical retaining loops from a tensioning strap and insert the wedges into them. Simply cut two short pieces of strap and screw them onto the lower half of the back panel using a cordless drill driver. Position the loops so that the wedges can be inserted approximately halfway.
Step 5: Prepare the support feet and crossbar
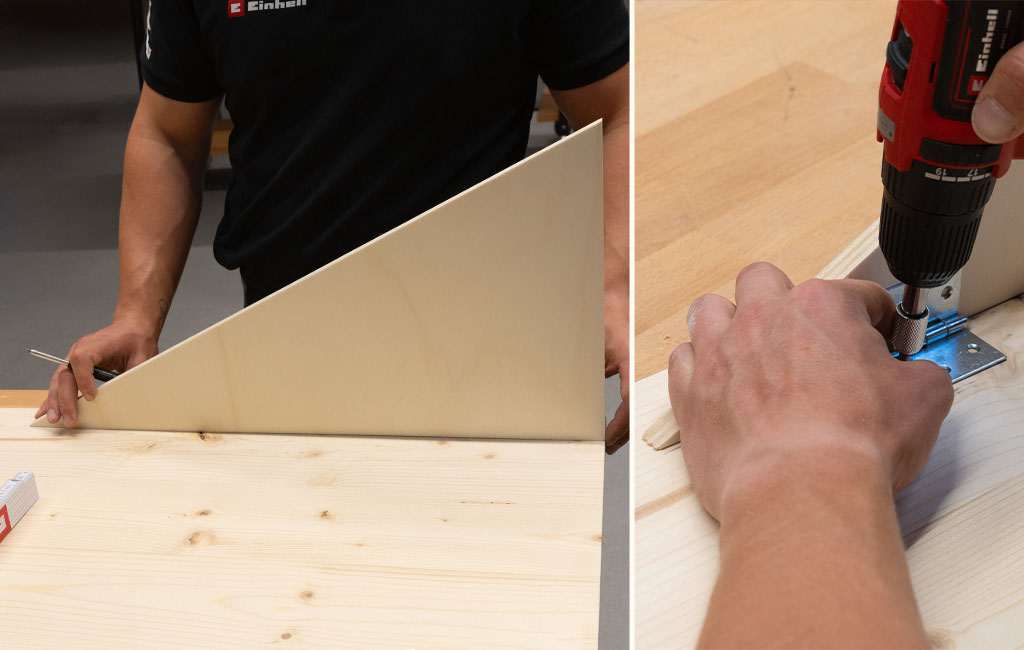
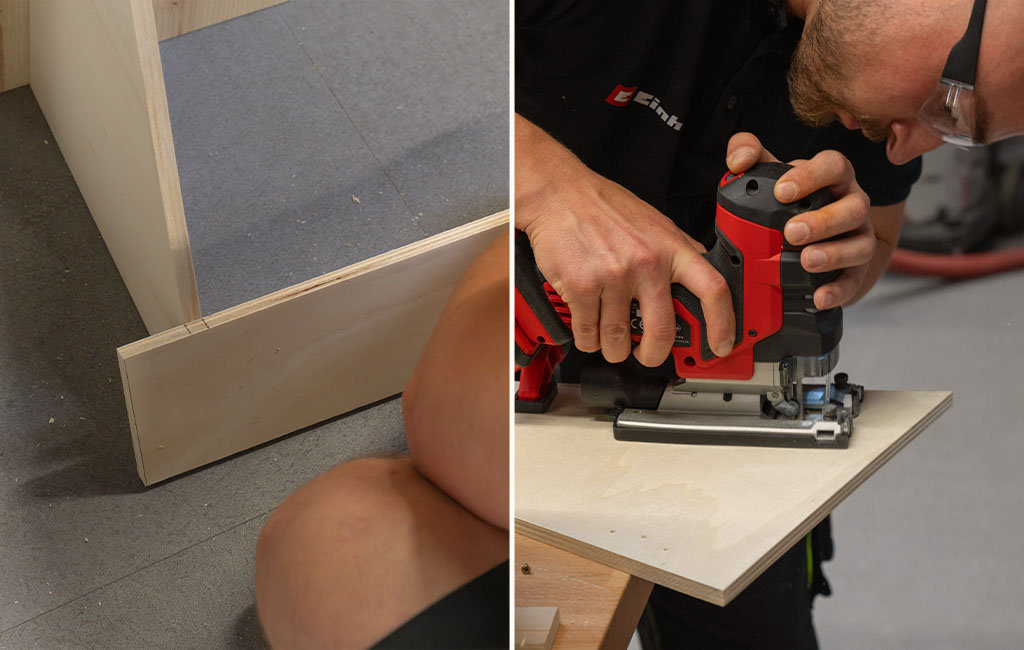
To ensure the champagne wall stands securely, first cut two triangles measuring 30 × 60 cm from a wooden board. For additional stability, the construction also requires a crossbar between the support feet. Cut a 10 × 70 cm rectangle from the wood. Next, cut 5 cm-deep slots into both the crossbar and the support feet so that the parts can be slotted together.
Step 6: Paint the champagne wall
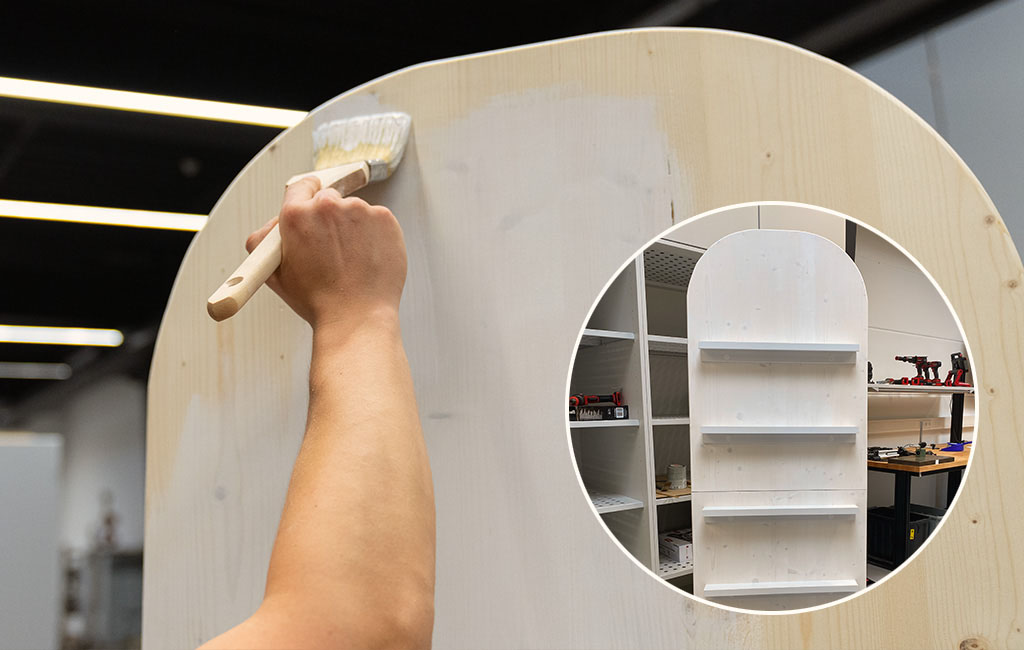
Before assembling and screwing everything together, you can optionally paint all the parts. We chose white to suit the occasion. If you would prefer to retain the natural wood look, you can simply apply a clear varnish or wood preservative instead.
Step 7: Attach the support feet
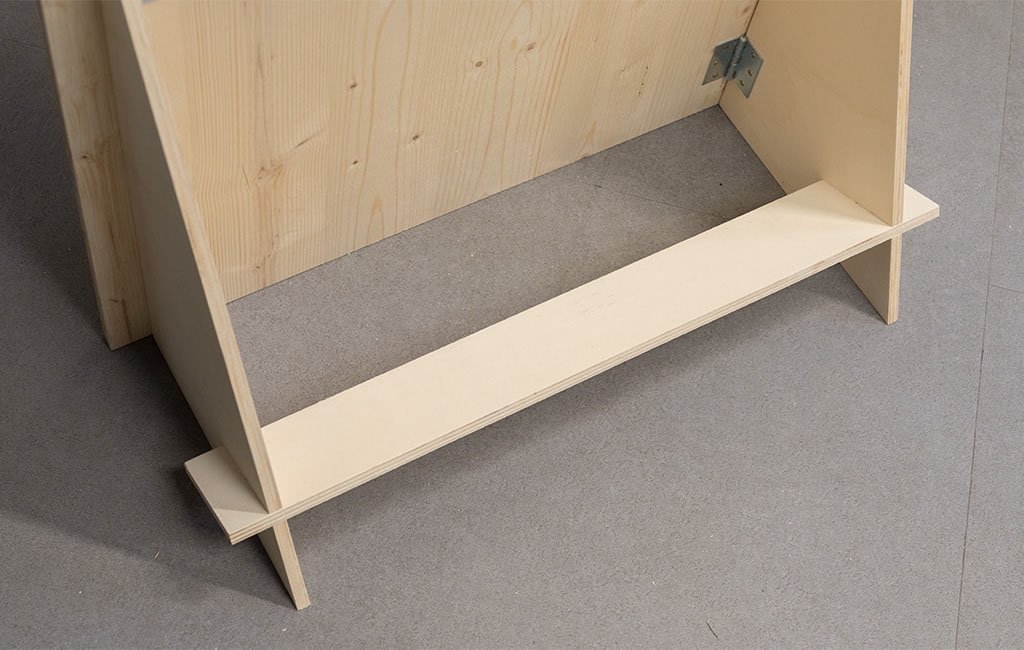
Next, attach the two support feet to the back of the wall using two hinges per foot, positioning them 5 cm from the edge. Unfold all the components and connect the support feet with the crossbar. Your champagne wall is now secure and stable!
Step 8: Attach the shelves
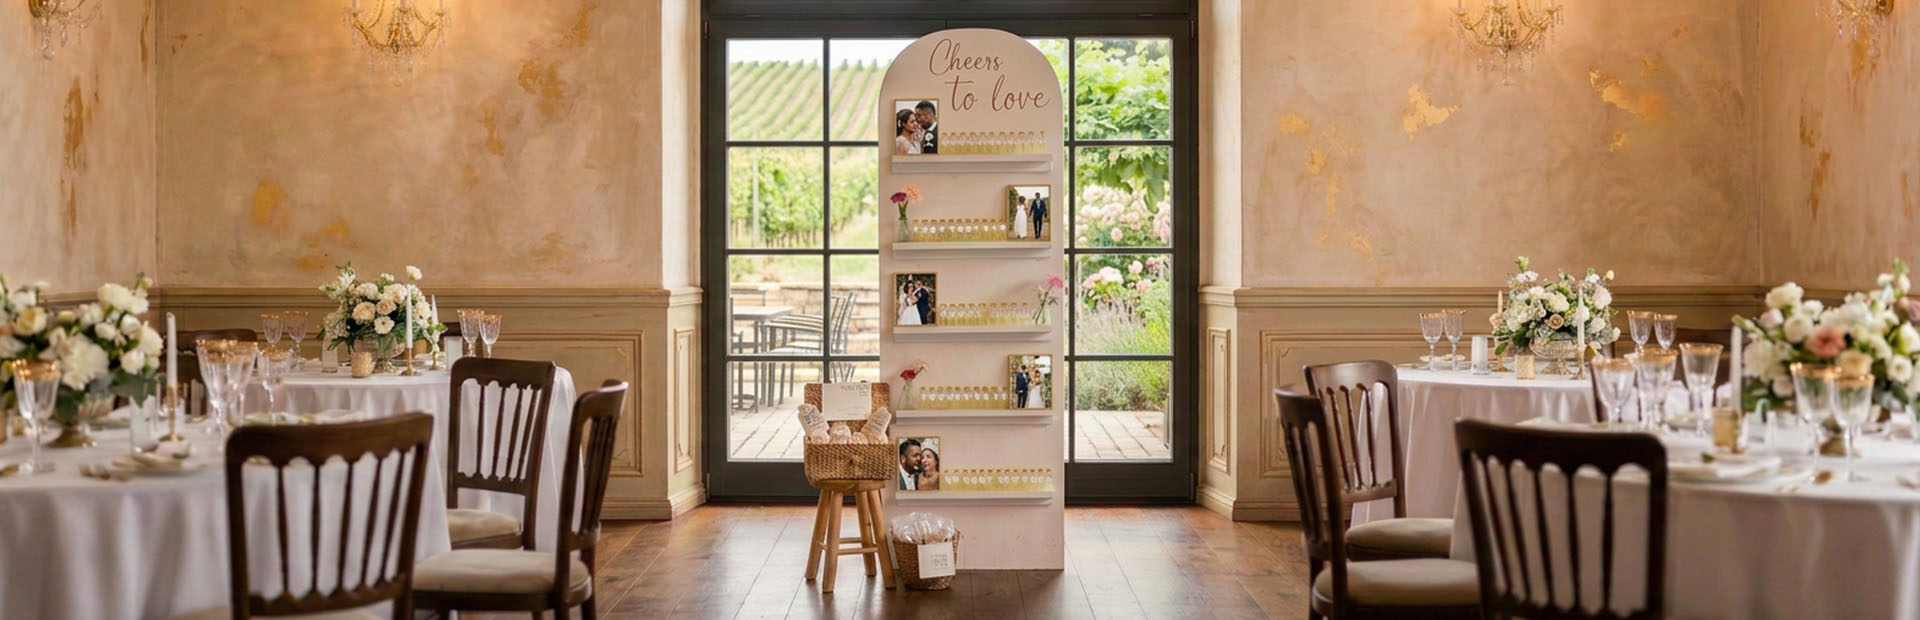
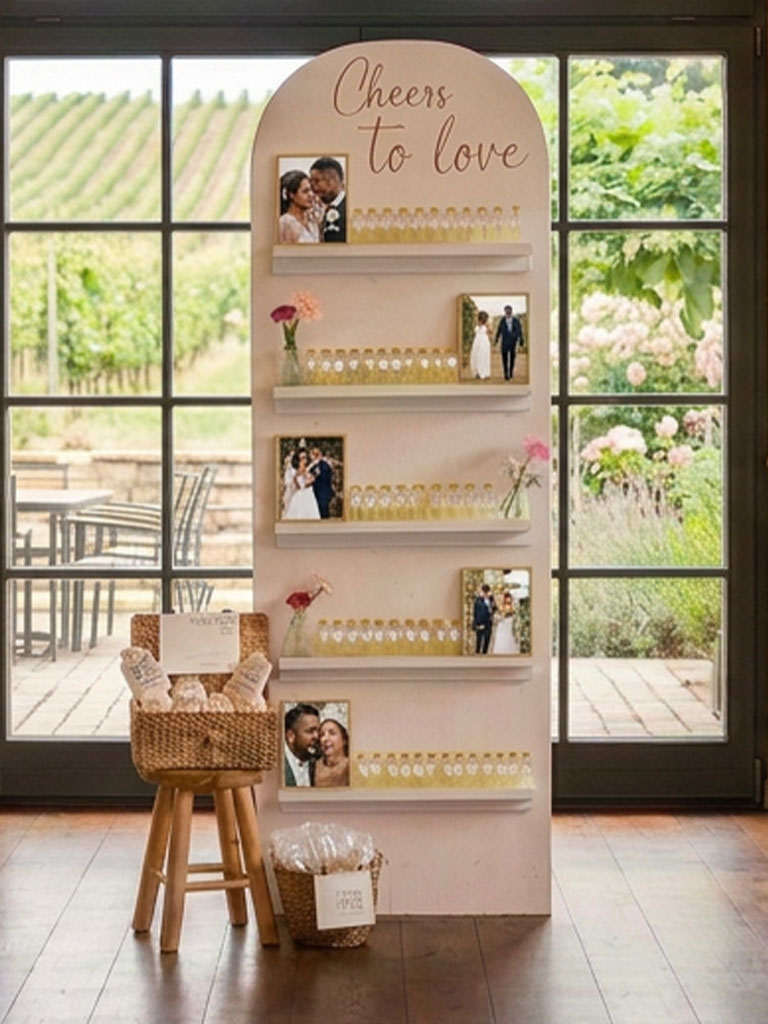
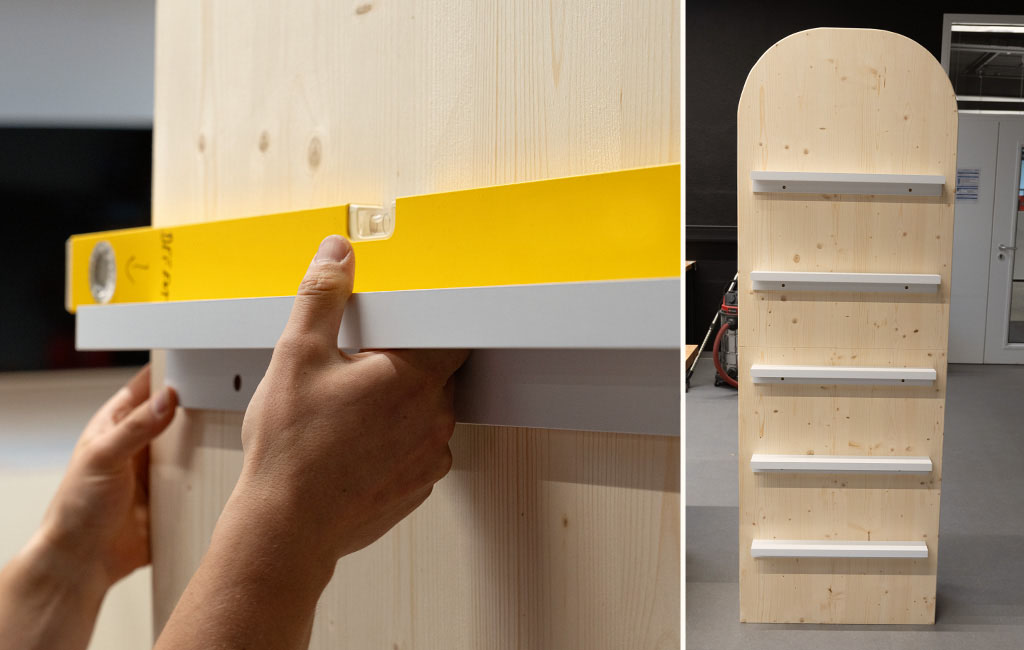
For the drink shelves, you can either buy ready-made shelves, use picture ledges or build your own from wood. You can choose the number of shelves and the spacing between them to suit your needs—for example, based on the height of your glasses. We used five white picture ledges measuring 60 × 7 × 6 cm, mounted upside down and spaced 28 cm apart.
Step 9: Decorate the champagne wall
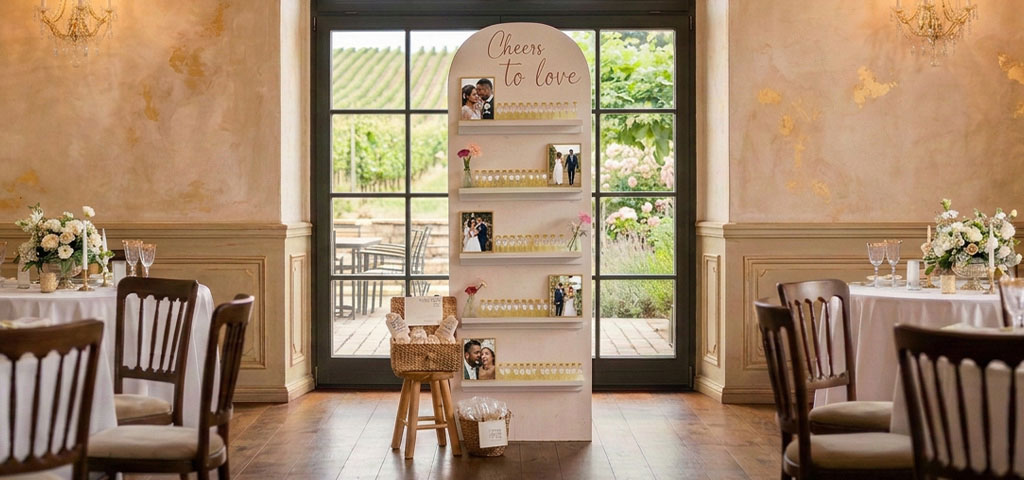
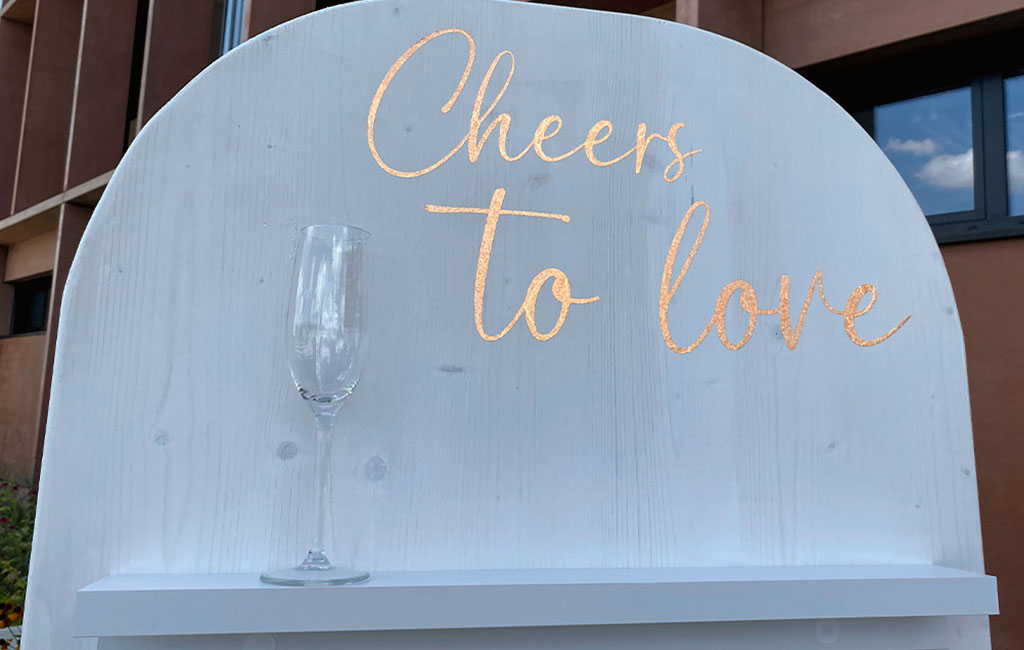
Finally, decorate the champagne wall to suit your taste and the occasion, turning it into a real eye-catcher at your reception. For a wedding, we chose a 45 × 25 cm vinyl decal featuring the words “Cheers to love”. Our bride then added flowers and photos to give the display a truly personal touch.
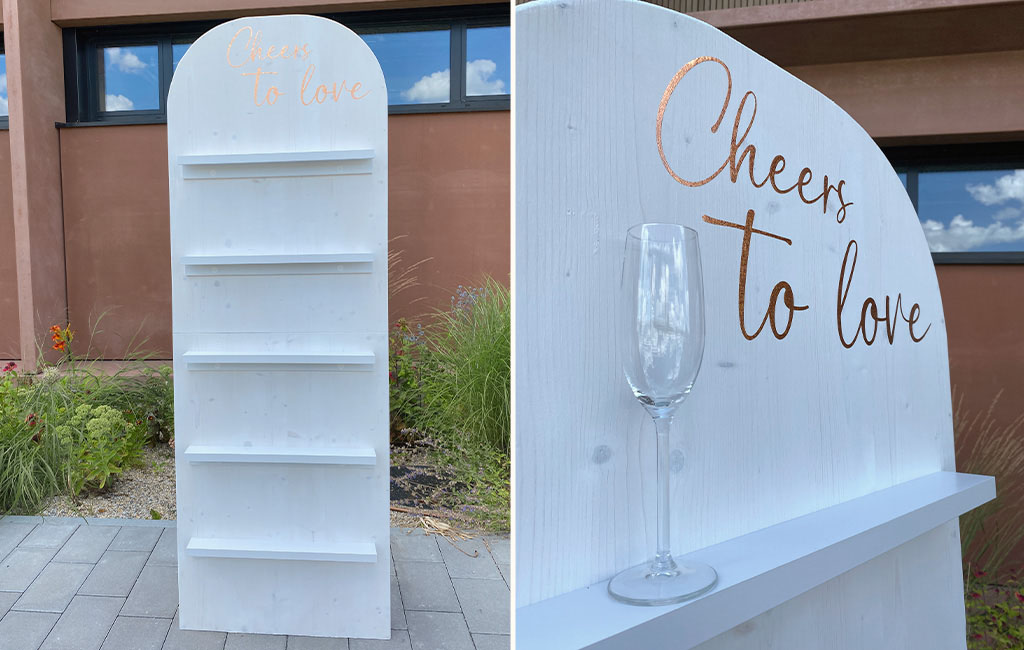
Time for a toast!
Now you’re all set for the champagne reception! Whether you use it yourself or give it as a gift, the champagne wall displays drinks in style and is guaranteed to be an eye-catching feature at any celebration. The best part is that, with the right decorations and lettering, the wall can be adapted for all kinds of occasions—from weddings and birthdays to garden parties. Cheers to love—or whatever you’re raising a glass to! 😉
Suitable Tools for the Project
Here you'll find Einhell tools and accessories that are perfect for bringing this DIY project to life.

Published on 28.07.2026
Whether it’s smart tool tips or exciting DIY projects: Philip shares his passion for powerful equipment and clever solutions for everyday home improvement. For many years, he has been training both Einhell employees and external partners, providing product knowledge and demonstrating hands-on applications. With plenty of expertise and enthusiasm, he also brings his own project ideas to life and lets his community follow along. His content combines practical expert knowledge with creative inspiration for every workbench.