


3 Last-Minute Gift Ideas
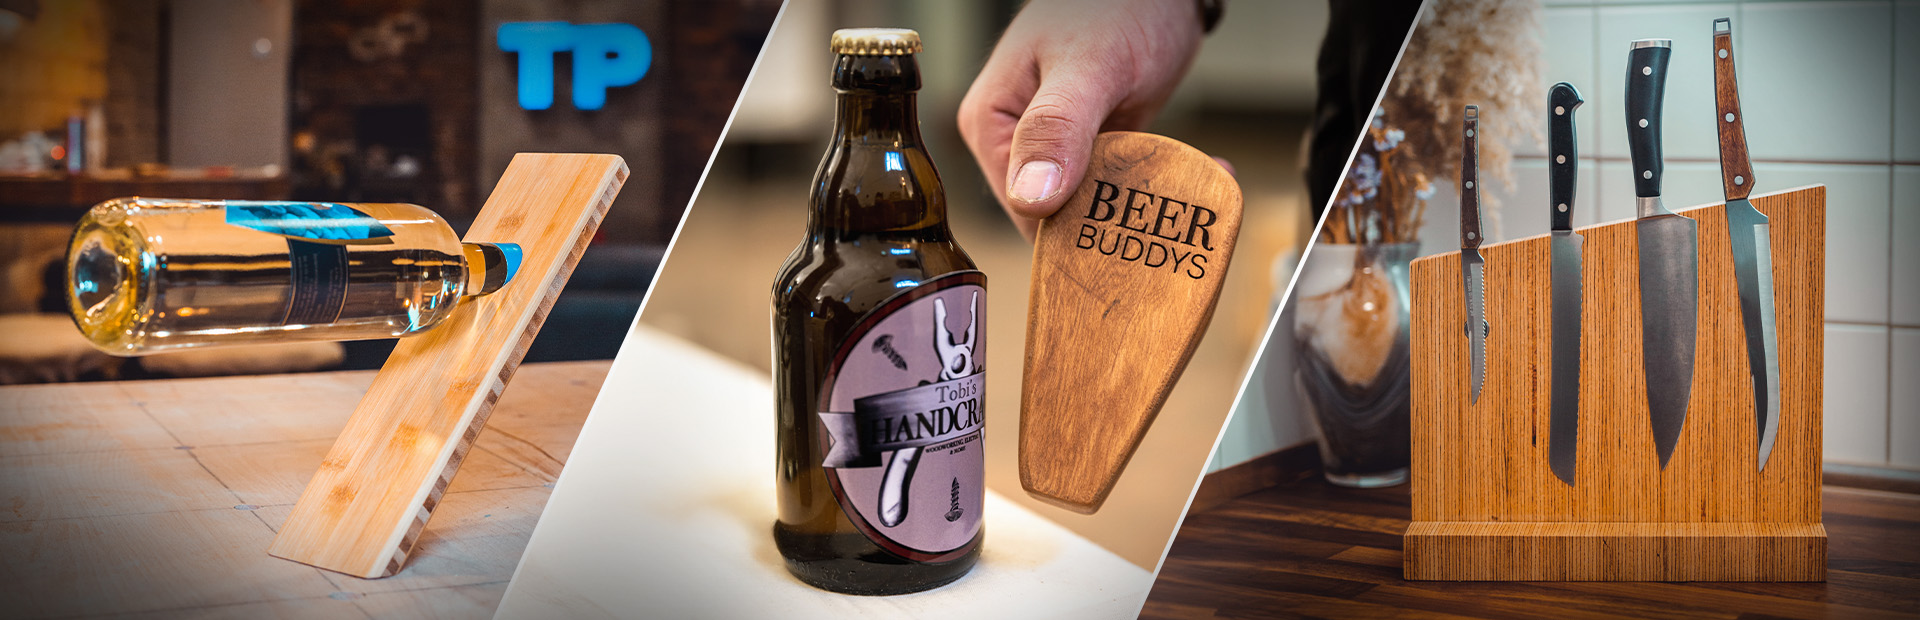
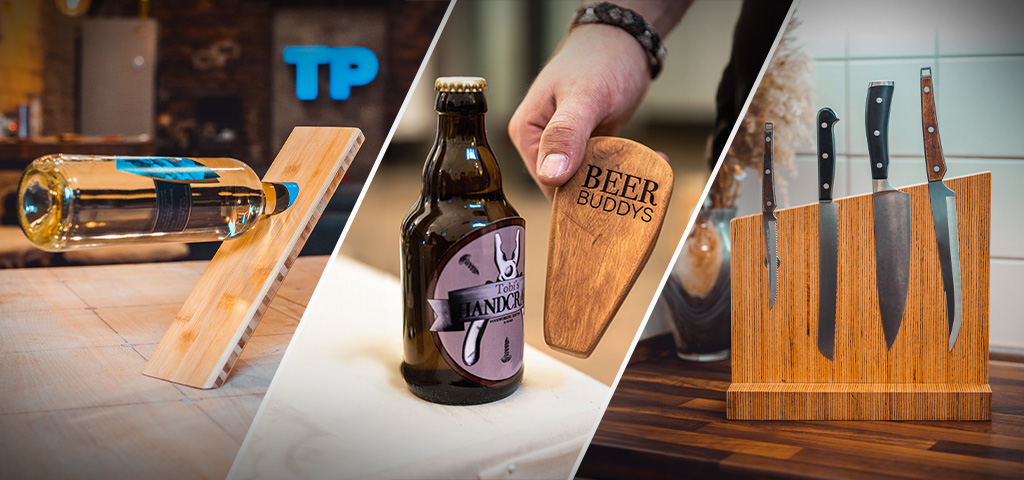
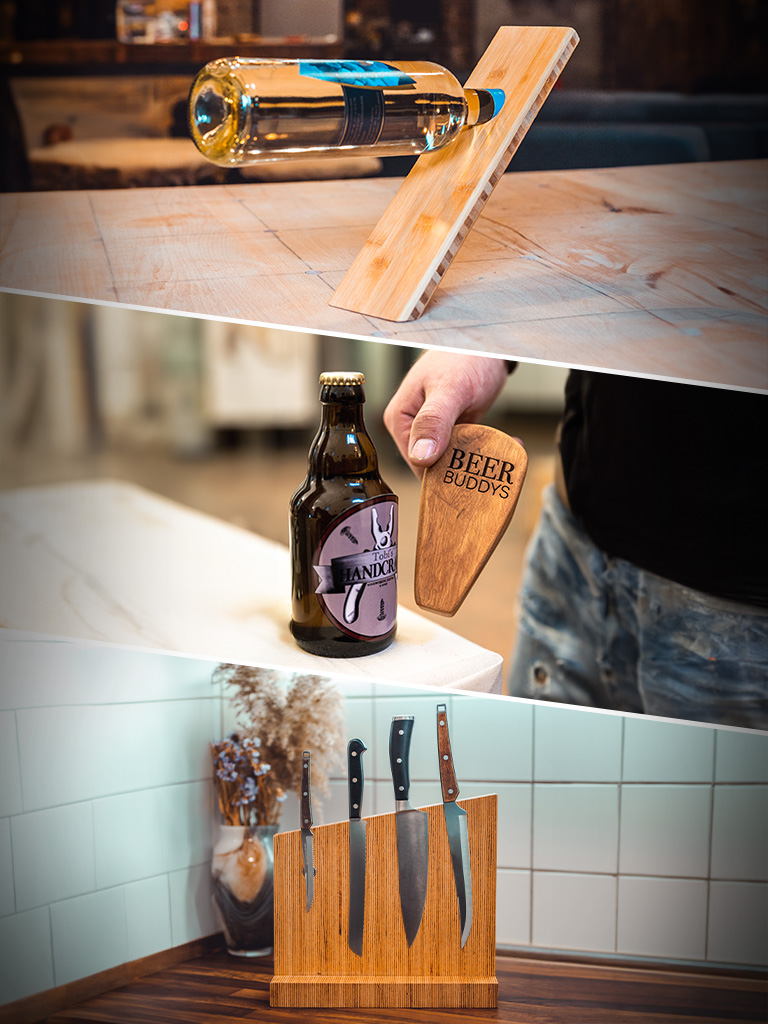
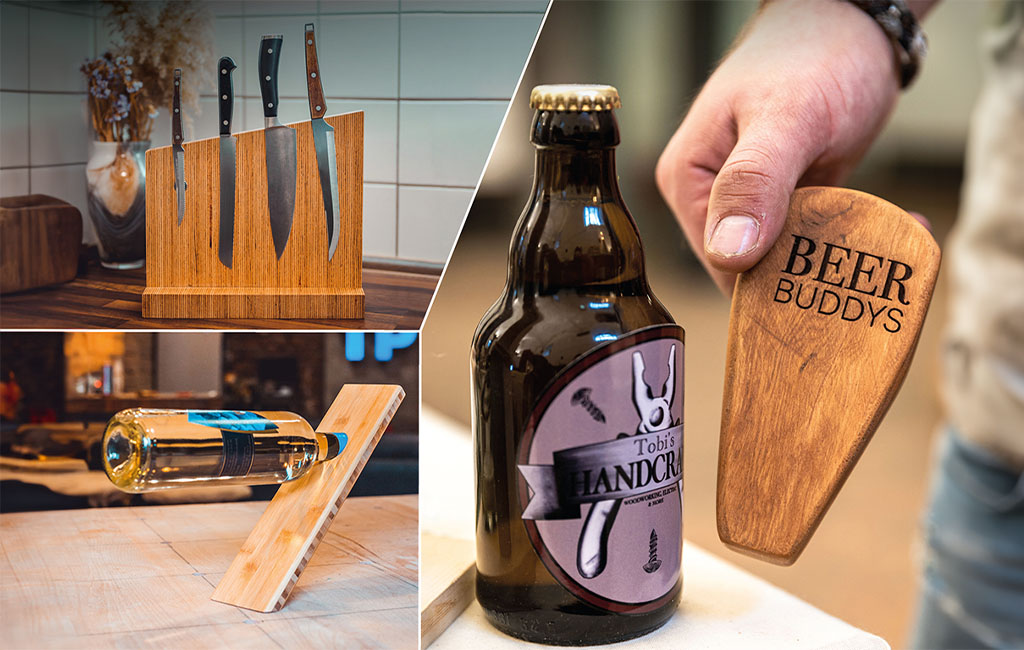
DO IT YOURSELFStill looking for a personal gift for your loved one? Let these three gift ideas inspire you! A modern bottle holder for wine enthusiasts, a personalised bottle opener for beer lovers, or a knife block for the (hobby) chefs among your friends and family:
These handcrafted gifts are sure to bring real joy to your loved ones! The three projects also make a great gift set. So what are you waiting for? Grab your tools and get started!
In this post, we’ll show you how to quickly and easily create last-minute gifts.
Tools & Materials
Tools
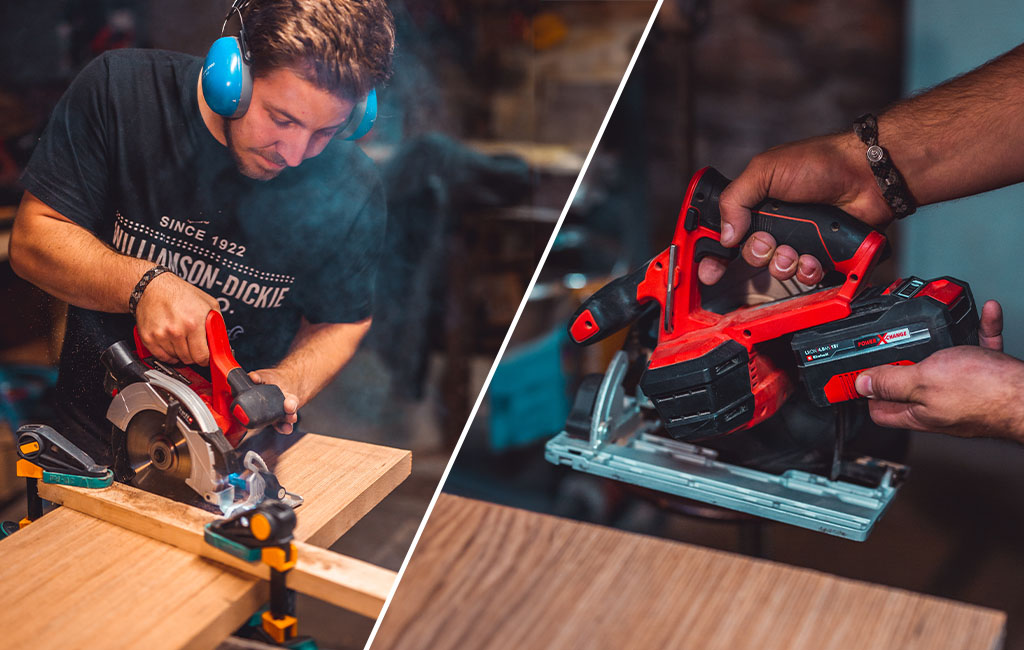
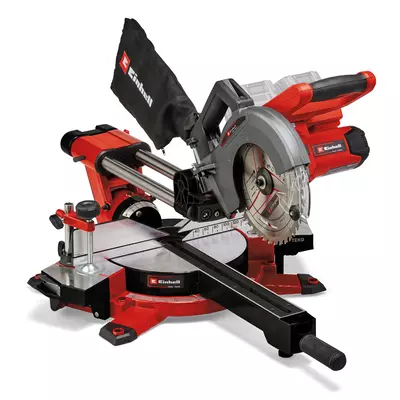
- Cordless circular saw or cordless mitre saw
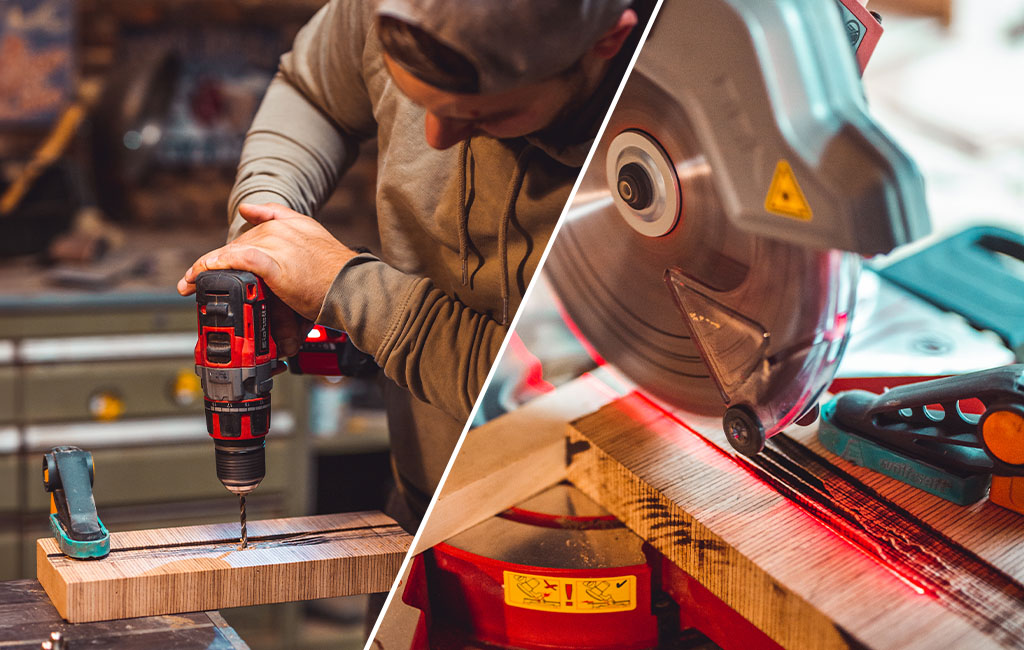
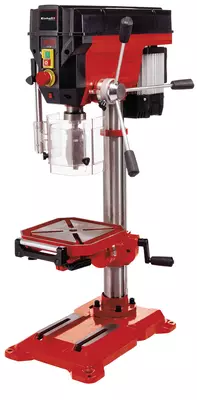
- Pillar drill
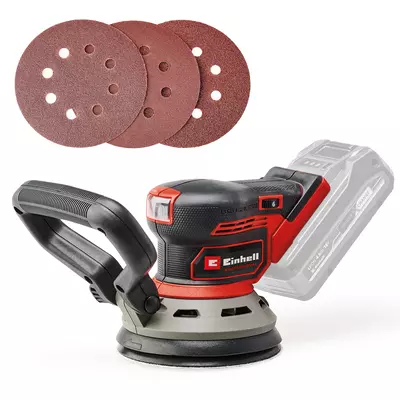
- Random orbital sander
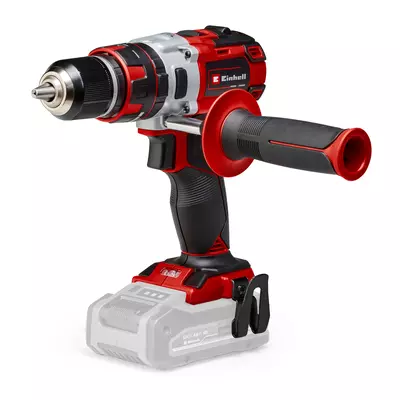
- Cordless screwdriver
- Clamps
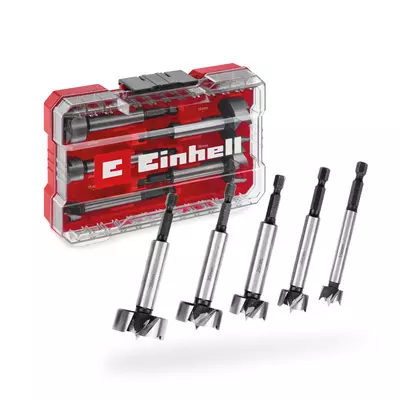
- Forstner bit 30 mm
- Forstner bit 40 mm
- Forstner bit 20 mm
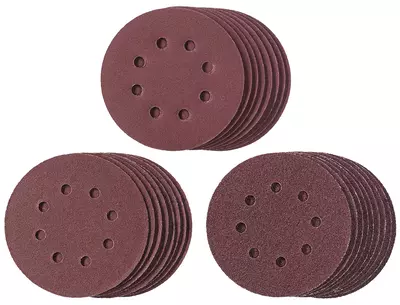
- Sandpaper
Materials
- Wine bottle holder:
- Bamboo wood, 2 cm thick
- Bottle opener:
- Wood, 3 cm thick (e.g. alder)
- Bottle opener insert
- Knife block:
- Beech wood, 4 cm thick
- Magnets
Gift 1: Wine Bottle Holder
Step 1: Cut the wood
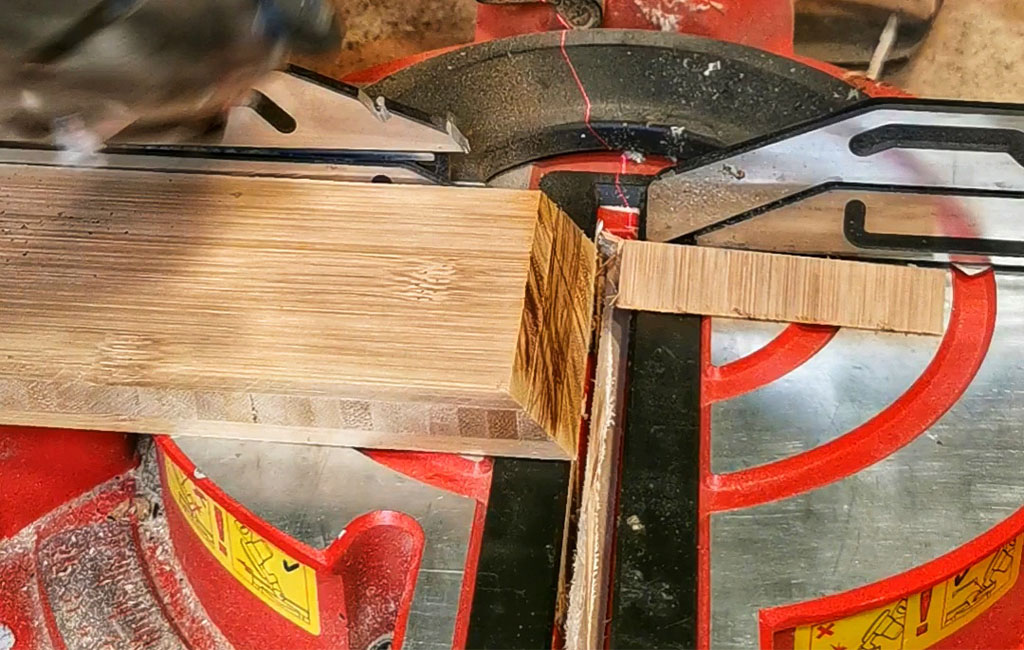
To make the wine bottle holder, start by cutting the bamboo board to 30 cm in length and 8 cm in width using a cordless circular saw or mitre saw. Next, use the mitre saw to cut the bottom edge at a 45° angle.
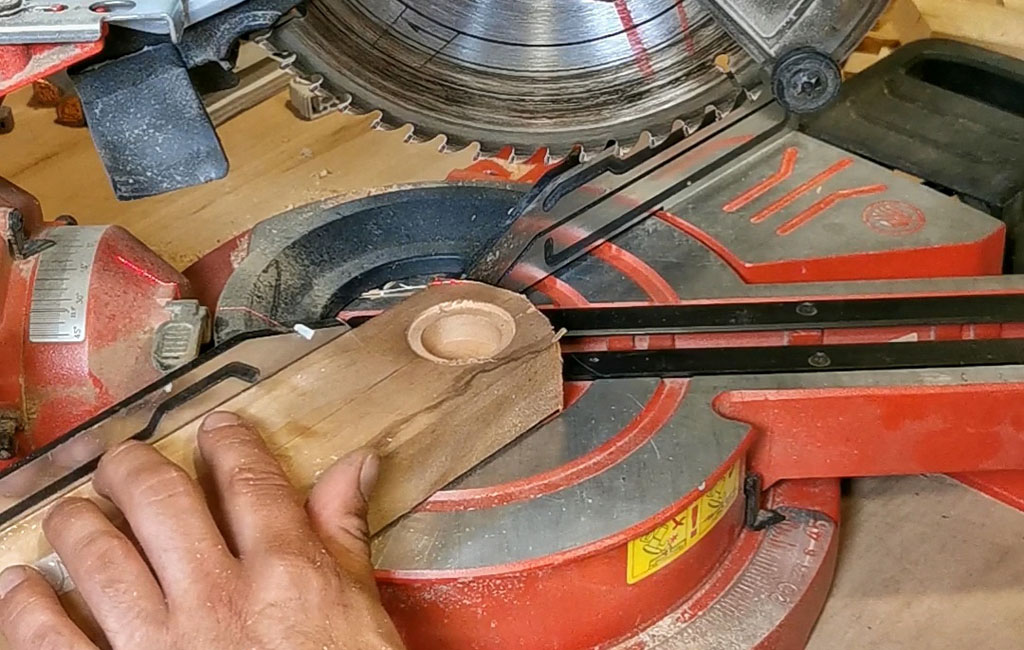
Step 2: Drill the hole
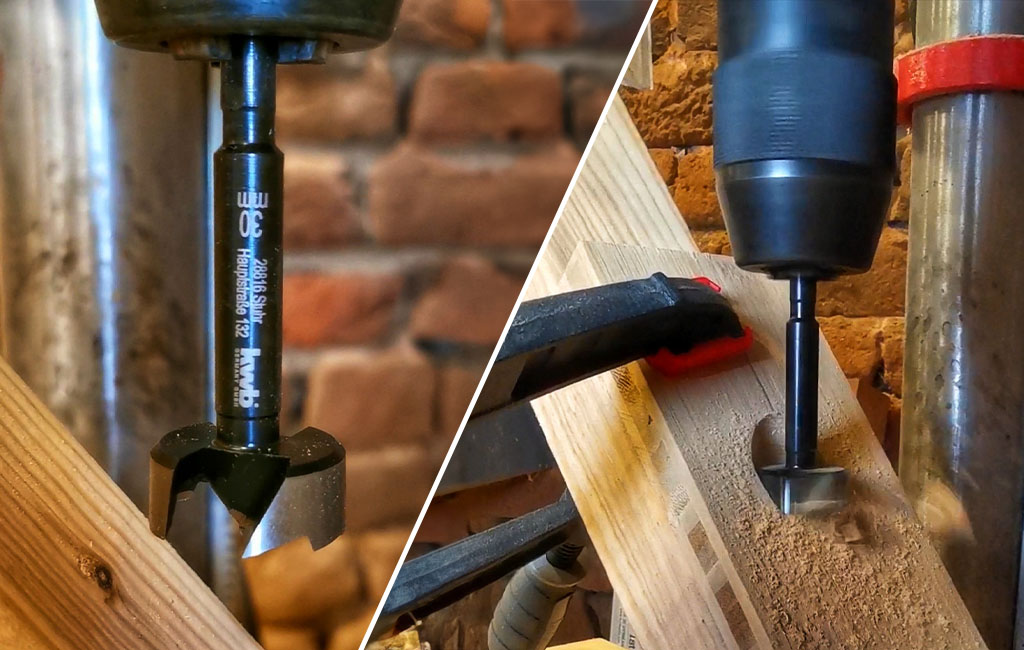
Next, use a 30 mm Forstner bit to drill a hole into the board. This hole will later hold the neck of the wine bottle. Position the hole approximately 7 cm from the top edge and drill at a 45° angle. For best results, use an angled wooden wedge as a support while drilling.
Step 3: Finishing touches
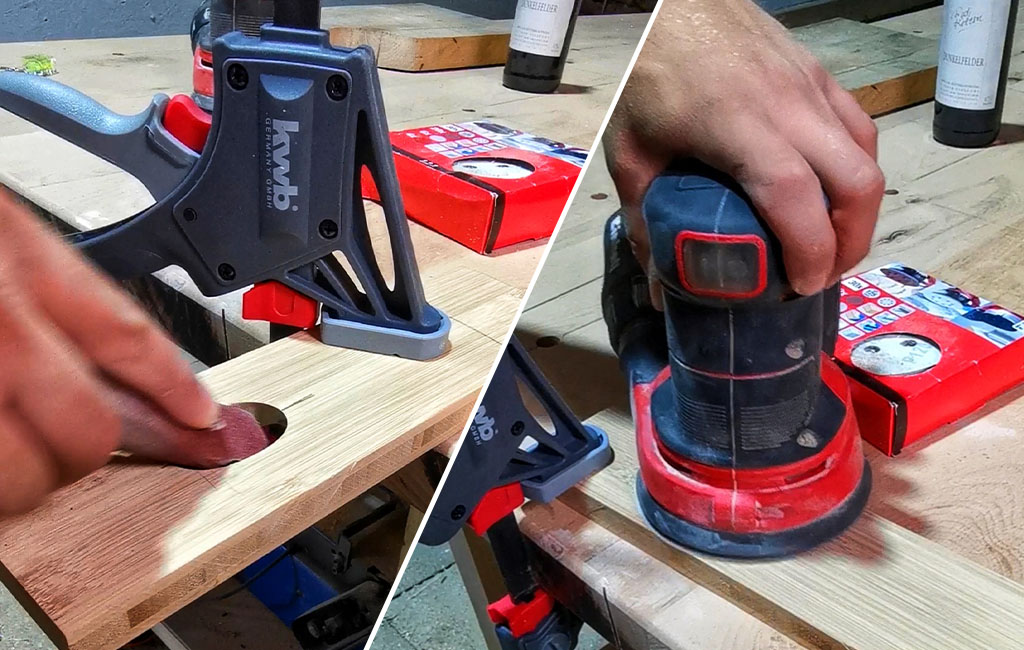
Finally, sand the bamboo piece and the drilled hole thoroughly.
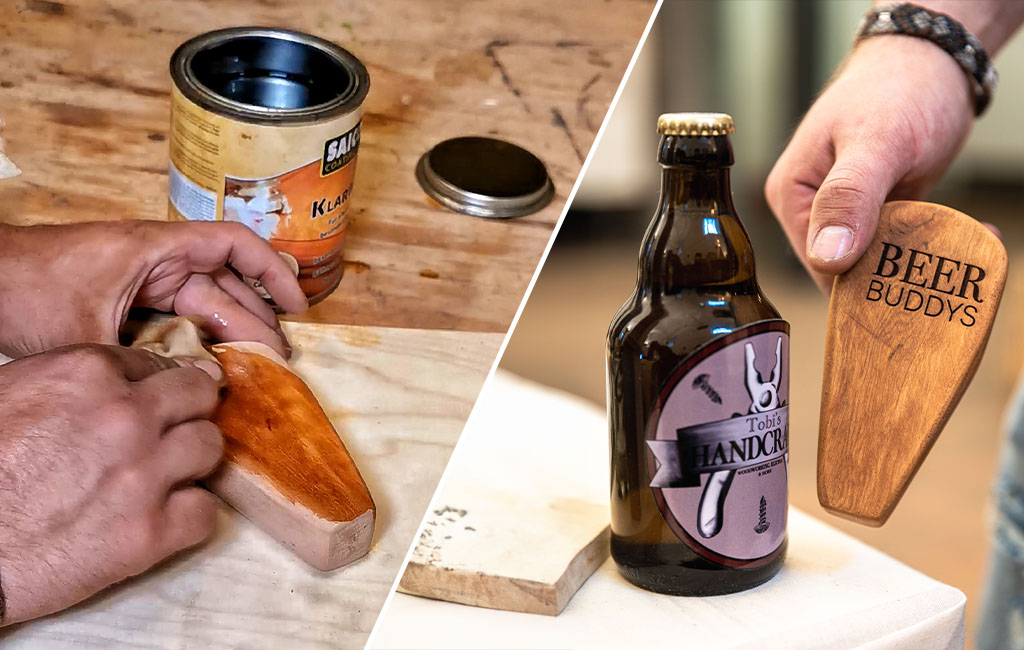
I sand up to a grit of 180. Afterwards, you can either paint it as you like or simply treat it with oil – and your modern wine bottle holder is complete! Almost magical, isn’t it?

Gift 2: Bottle Opener
Step 1: Cut the wood
As with the wine bottle holder, we begin by cutting the wood. In my case, I’ve chosen alder, which I cut to 11 cm in length and 5 cm in width.
Step 2: Bottle opener insert
Now drill a hole in the centre of the board, about 3 cm from the top edge. Use a 30 mm Forstner bit with the pillar drill to drill to a depth of 5 mm. Then, using a 40 mm Forstner bit, drill the same spot again to a depth of 2 mm. This is where the bottle opener insert will be fitted later.
Step 3: Shape the bottle opener
Now bevel both sides of the bottle opener using the mitre saw. To create a rounded shape, make angled cuts on the side with the hole, adjusting the angles as needed. Of course, the exact shape is entirely up to your personal taste.
Step 4: Finishing touches
Now sand the piece thoroughly so the bottle opener has a smooth shape and feels comfortable in the hand. Before treating the surface with oil, attach the bottle opener insert using screws and a cordless screwdriver. And that’s your second DIY gift ready to go! If you like, you can personalise the bottle opener – for example, with a custom engraving.
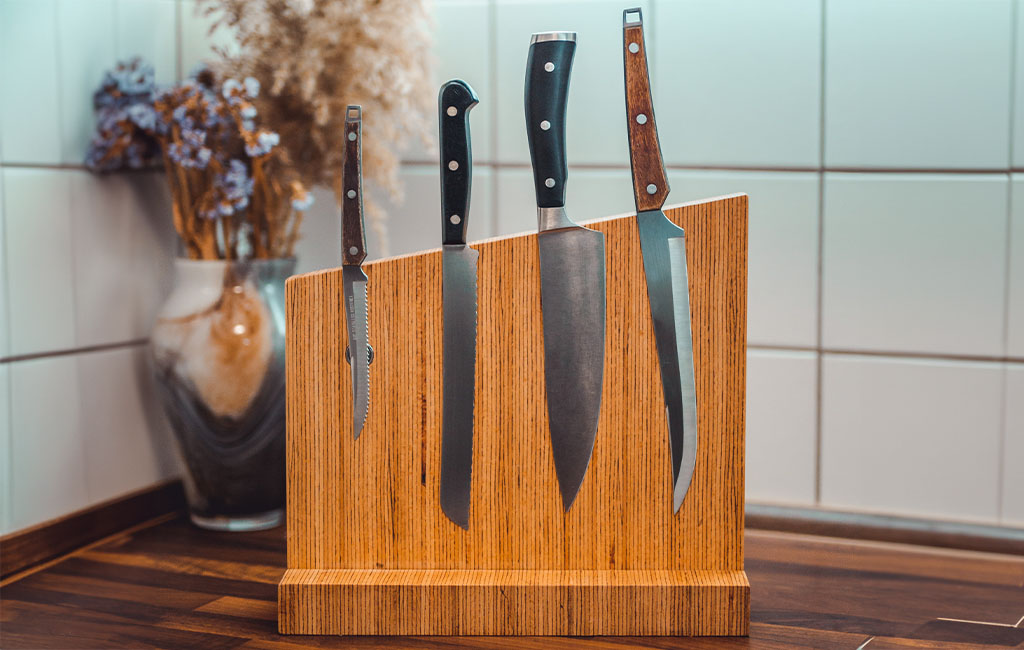
Gift 3: Knife Block
Step 1: Cut the wood
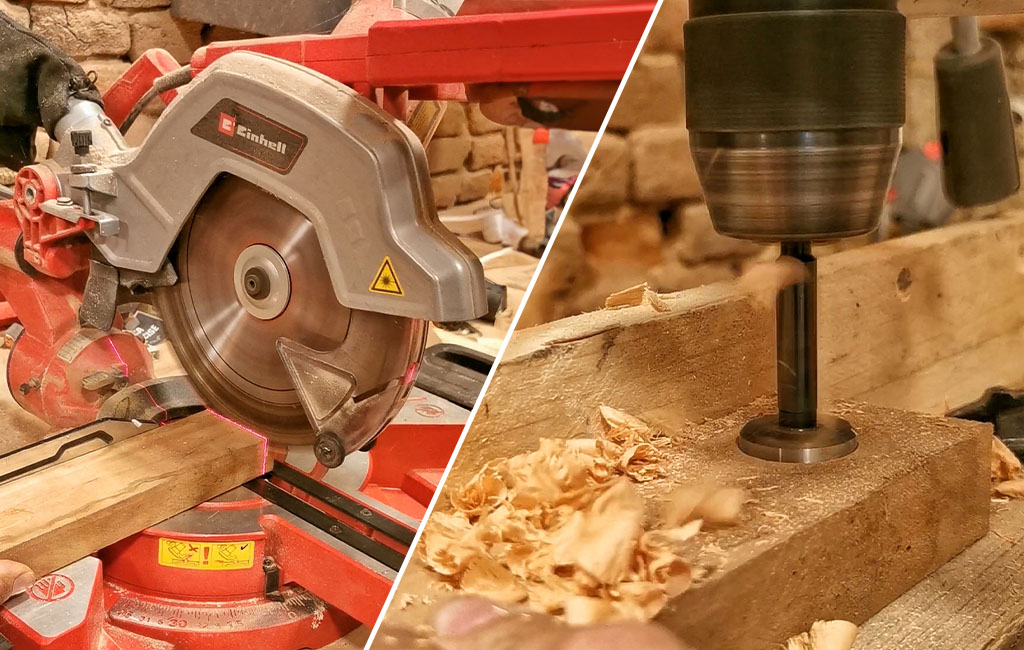
Start by using a handheld circular saw to cut a piece of beech wood to 40 cm in length and 10 cm in width. This will form the base of the knife block. Then cut another piece to 40 cm in length and 30 cm in width, and bevel the top edge at a 10° angle. This second piece will later serve as the board where the knives will be mounted.
Step 2: Drill holes for the magnets
On the larger piece (the one with the bevel), draw a straight line and mark four evenly spaced points along it for the holes. Then use a pillar drill and a 20 mm Forstner bit to drill four holes, each 7 mm deep.
Step 3: Knife block base
To ensure stability, cut a 5 mm deep groove in the centre of the base piece (40 x 10 cm) using the mitre saw. The groove should be 4 cm wide to match the thickness of the larger wooden board.
To secure everything properly, pre-drill four holes within the groove. Then insert the larger board into the base and screw it in place from underneath.
Step 4: Finishing touches
Now give all surfaces a thorough sanding with the random orbital sander, working up to a 180 grit, and treat the wood with oil. Finally, insert the magnets into the holes and secure them with wood screws and a cordless screwdriver – and your knife block is complete!
Have fun recreating and gifting it!

Suitable tools for the project
Here you’ll find Einhell tools and accessories that are ideal for completing this DIY project.
In this article you will learn all about:

Published on 17.12.2021
Tobias Peters is a passionate DIY enthusiast who shares a wide range of projects on Instagram @tobis_handcraft and his website tobis-handcraft.de – from furniture making and decoration to lighting design. Together with his partner Steffi, he is also renovating a 1950s country house. On the Einhell Blog, Tobi offers practical tips and step-by-step guides for creative home improvement projects.