


Spider Web in XXL Format
DO IT YOURSELFLooking for a creative decoration idea that's easy to make but still creates a real impact? Then this XXL spider’s web made from branches and rope is just the thing! Perfect for the Halloween season, it’s a striking eye-catcher that’s sure to impress.
The best part? Every web is truly one of a kind. By using natural materials, you’ll achieve a rustic and authentic look. Create your own XXL spider’s web in no time – sustainable, affordable, and guaranteed to deliver the wow factor.
In this article, we’ll show you how to get perfectly prepared for Halloween – with your very own handmade XXL spider’s web.
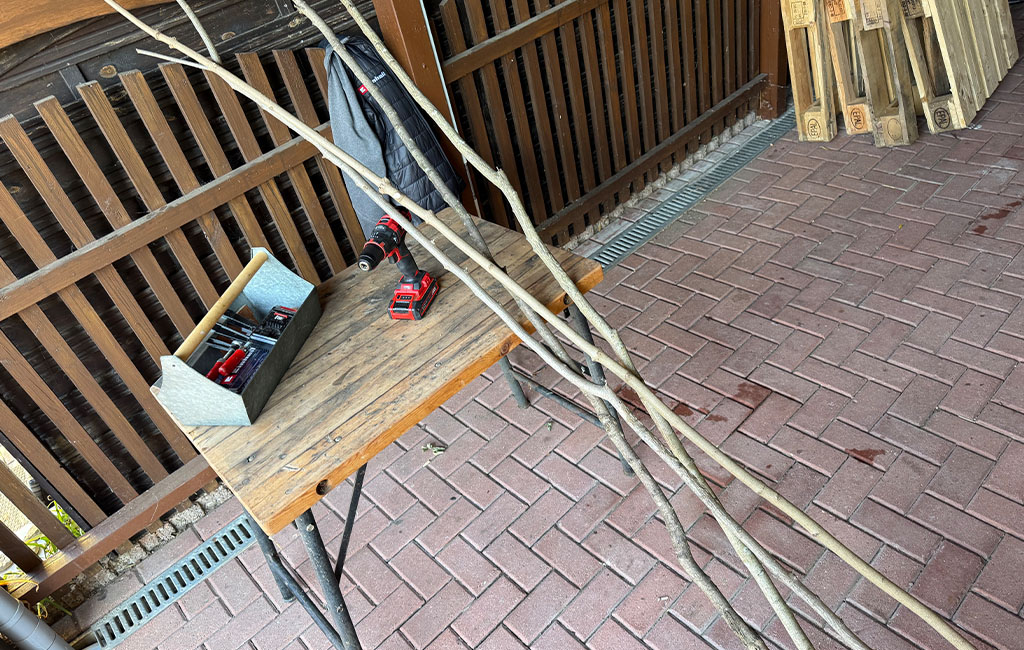
Tools & Materials
Tools
- Hand saw
- Meta saw
Materials
- 4 sturdy branches (approx. 3 cm in diameter)
- Thick rope (min. 0.5 cm in diameter)
- Threaded rod (approx. 0.7 cm in diameter)
- 2 washers / 2 nuts
- String lights, wire, and spooky decorations
Instructions for the XXL Spider’s Web
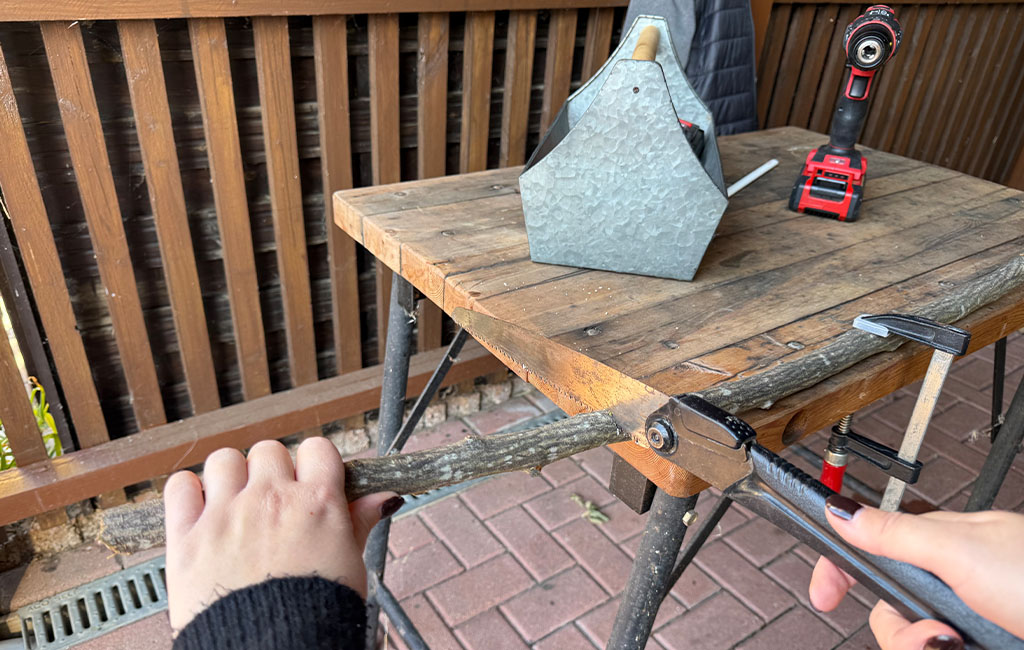
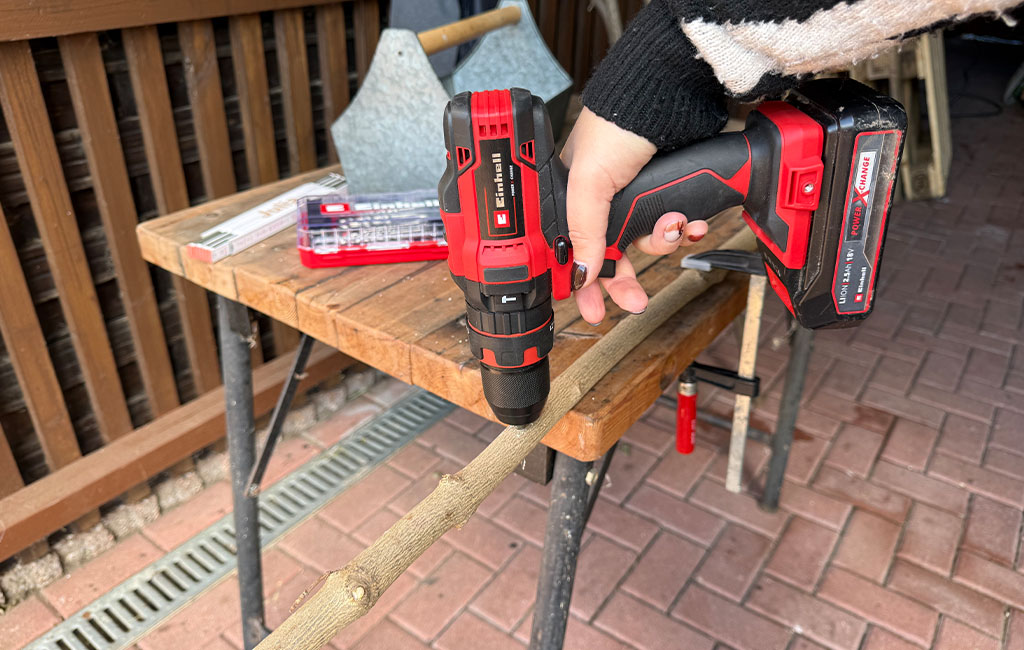
Step 1: Saw and pre-drill the branches
It’s best to cut the branches to size using a hand saw. The ideal length is around 2 metres, but you can adjust this depending on how large you want your spider’s web to be. When sawing, make sure not to clamp the wood too tightly, as this can leave unsightly marks. Now pre-drill each branch exactly in the centre. I recommend starting with a smaller wood drill bit and then switching to a larger one. The hole should be large enough to fit the threaded rod securely later on.
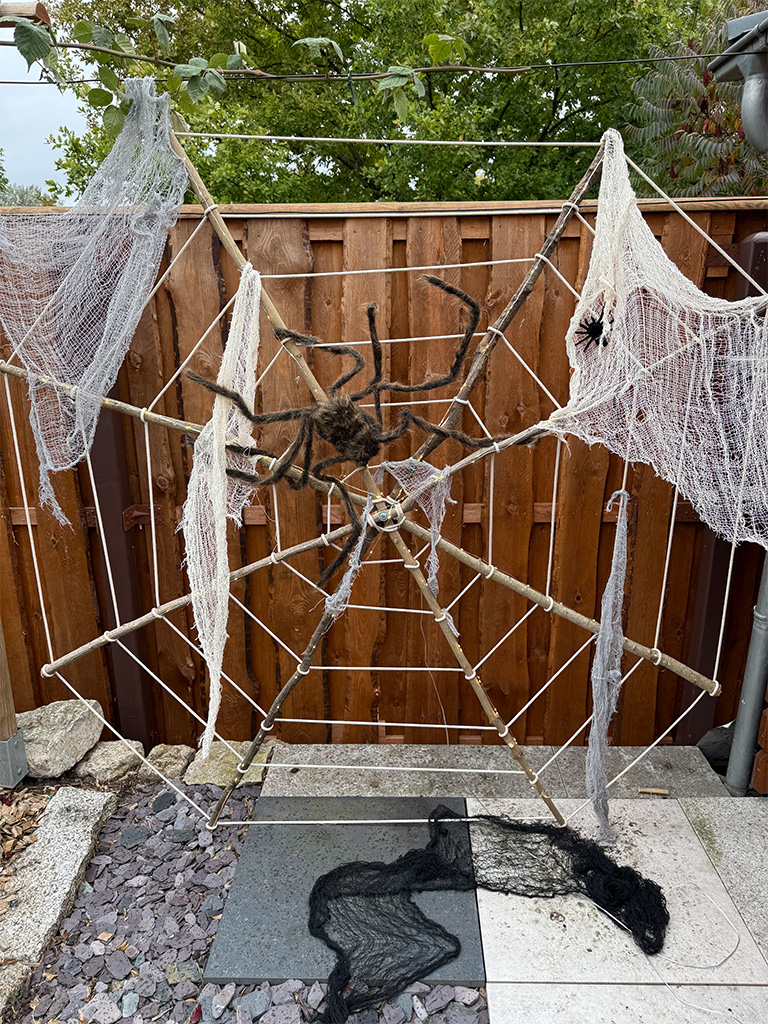
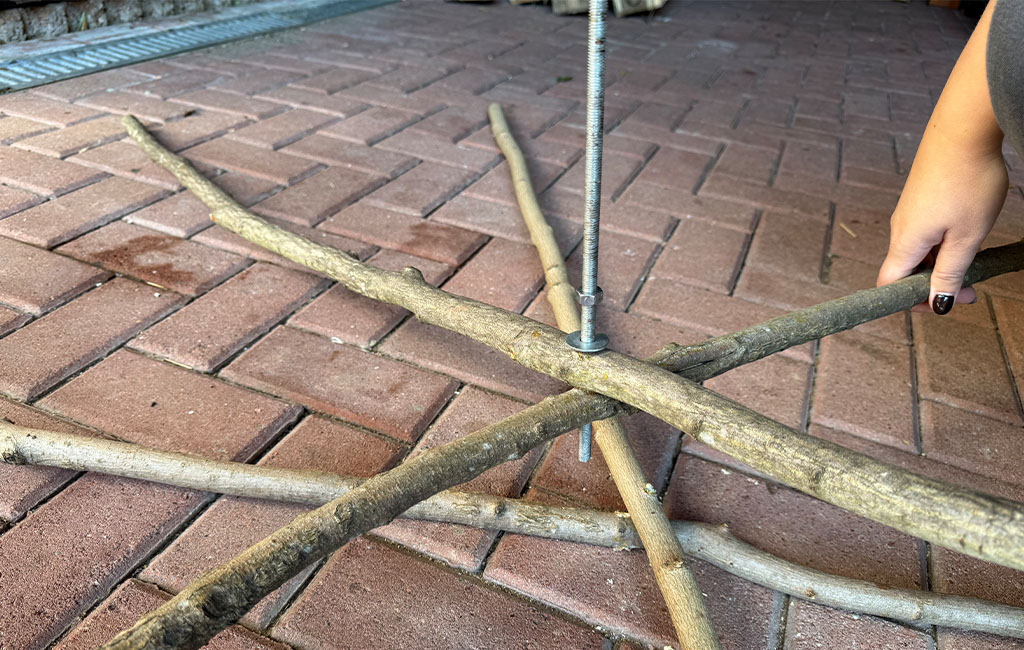
Step 2: Build the frame
Now lay the pre-drilled branches across each other and insert the threaded rod through the holes. If it’s a bit tight, you can use a rubber mallet to help. Arrange the branches so that the gaps between them are even – this will give the web a nice symmetrical appearance. Once the branches are in place, slide on the washers and nuts and tighten everything securely. You can then shorten the threaded rod using a metal saw.
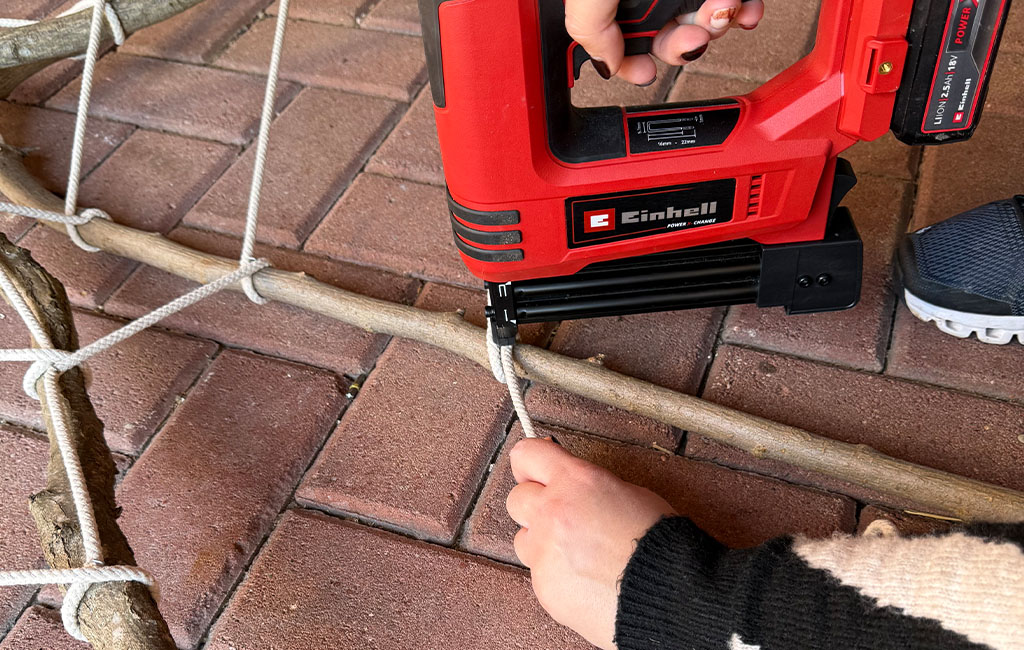
Step 3: Attach the web
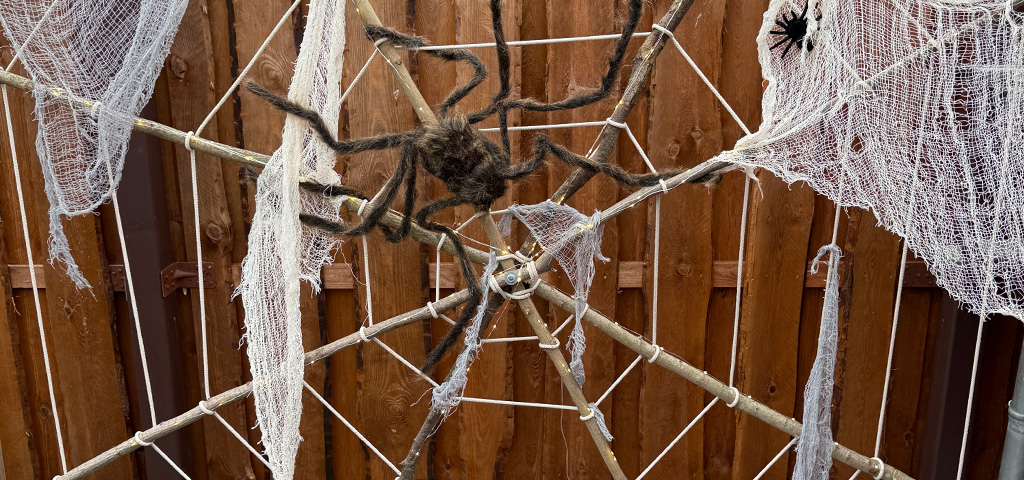
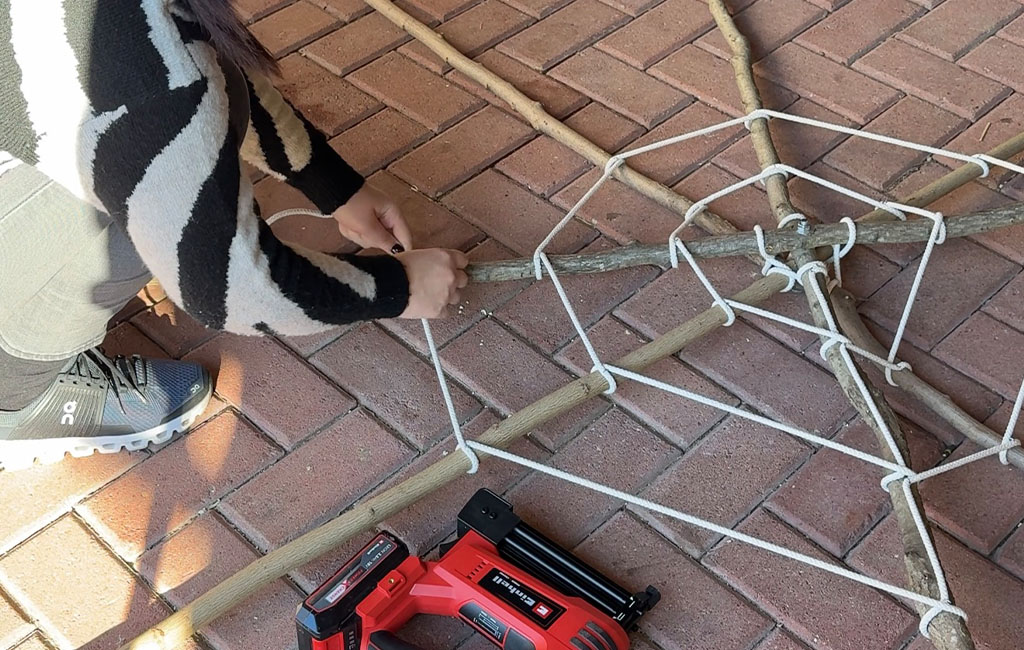
Start by securing the end of the rope at the centre of the star. A cordless stapler is ideal for this, ensuring the rope is firmly fixed so you can begin spinning the web. Wrap the rope once around the first branch and then lead it to the next. Wrap it once around that branch too, and ideally fix it again with the cordless stapler. I recommend repeating this process throughout the entire web. The rope should be taut but not overly tight, so the frame doesn’t become distorted.
Once you’ve completed the first round, guide the rope back to the branch you started with. Then pull the rope approximately 15 cm upwards, staple it again, and wrap the branch once more. Repeat this all the way around. When you reach the outer edge, staple the rope firmly one last time and cut off any excess.
Step 4: Add the string lights
As your spider’s web will look especially spooky at dusk, I recommend adding a string of lights. I opted for a subtle version with individual wire strands, which are perfect for attaching with thin wire. Make sure to use outdoor-rated string lights if your spider’s web will be exposed to the elements.

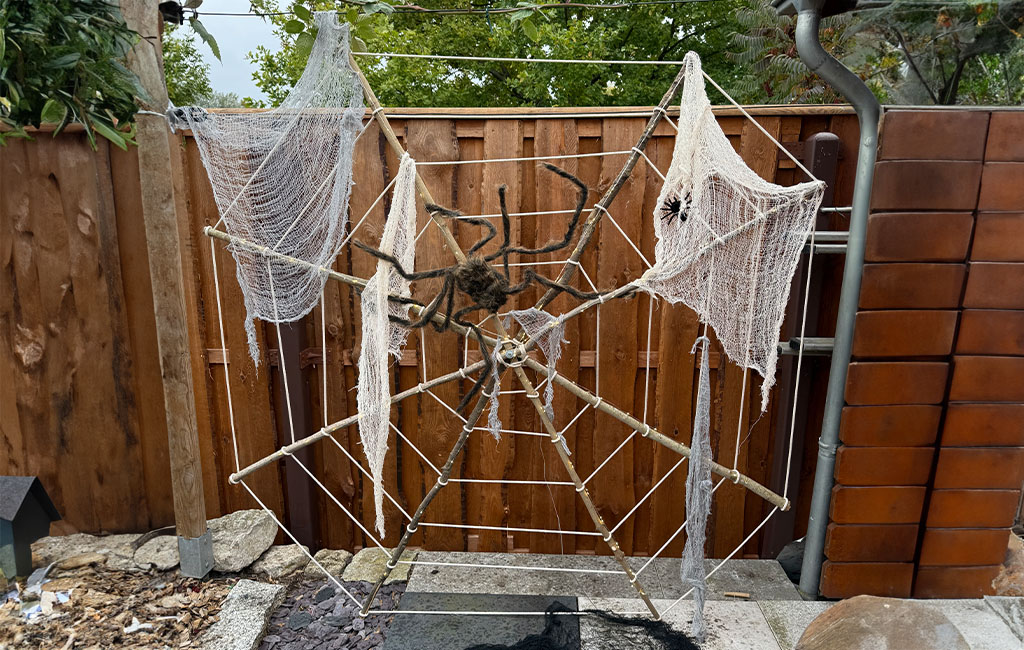
Step 5: Decorate
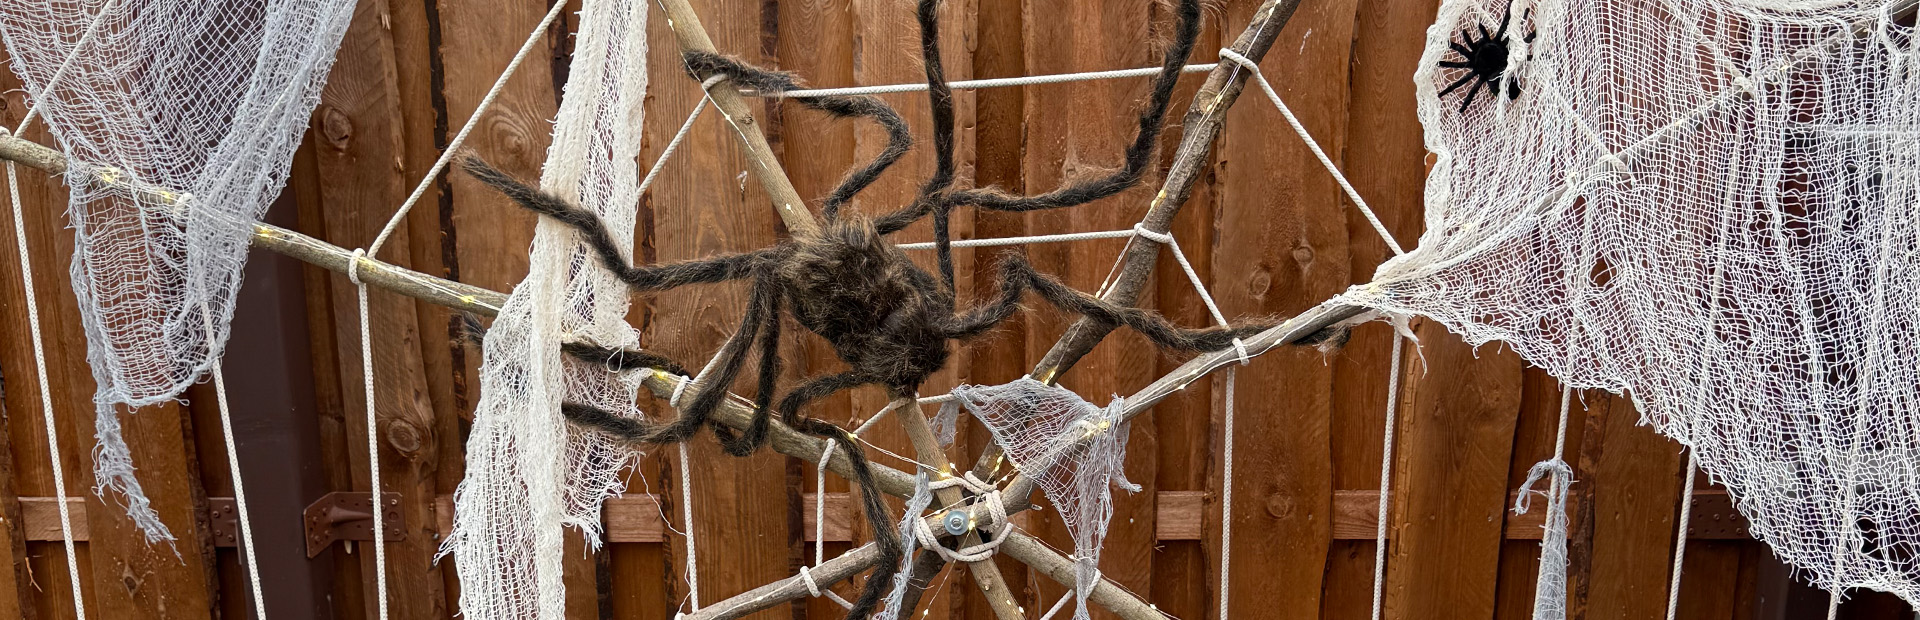
To make your XXL spider’s web even more impressive, you can enhance it with decorative fabrics and spider figures. Especially effective are thin, slightly transparent spooky or web-like fabrics, which can be stretched between the rope strands. The addition of spiders provides the perfect finishing touch and gives your web a truly eerie appearance.
The spider’s web is complete!
With just a few branches, some rope, and a bit of creativity, you can quickly create an impressive XXL spider’s web that’s sure to catch the eye. Whether in the garden, on the patio, or in the living room – a spooky atmosphere is guaranteed! Each web is a true one-off that shows just how much fun DIY can be.


In this article you will learn all about:

Published on 09.10.2025
A love of decoration meets creativity – Julia from @julias_deko_home delights with heartfelt DIY ideas for the home and garden, inspiring others to get creative themselves. On her channel, she shares inspiring decor ideas and seasonal arrangements that bring warmth and cosiness to any home. With a keen eye for detail, she combines modern trends with timeless elegance. The result is a home that not only looks beautiful but also feels truly welcoming.