Where wood is chopped, splinters must fall. How to work with the electric planer
The door drags on the floor, the wooden window does not close properly after the winter or you simply want to try DIY furniture construction? For all these tasks, a cordless or electric planer is a handy and very useful tool. As so often in the processing of wood, however, this usually does not work right away. But that is not a reason to give up, because you can practice using the planer. We have collected the right tips and tricks for you so that your next work with the planer will certainly succeed - because often even small things make the big difference!
Chamfering, folding, planing - all terms familiar to the practiced hobby carpenter. Are you still a newcomer when it comes to planing? No problem! We'll explain how Einhell's cordless planers and electric planers work, what you can use them for, and how to use them correctly.
How does an electric planer work?
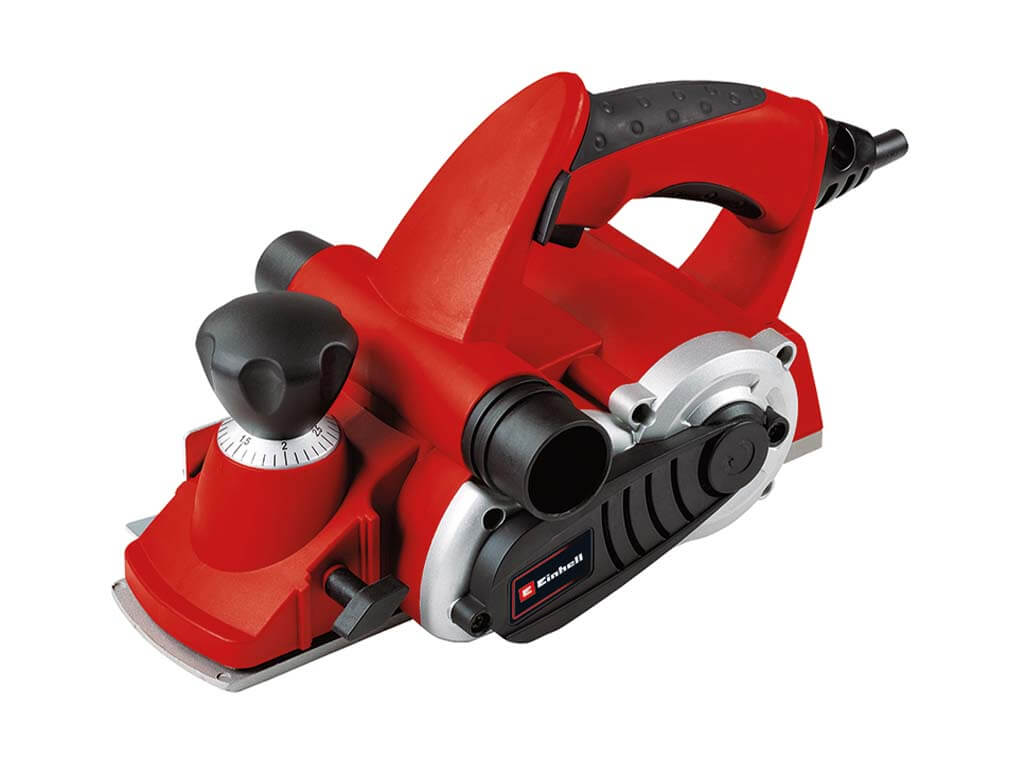
The electric planer is, as the name suggests, an electric version of the classic hand planer. Although both tools fulfill the same function - namely to remove wood - the electric planer is more similar in its mode of operation to a milling cutter. While the hand-held planer cuts off the wood fibers with a sharp planing knife, the electric planer works with a rotating knife roller. Two reversible blades, which are attached to the large knife shaft, then cut the chips from the wood. Depending on how the chip thickness of the planer is adjusted, very precise and fine results can be achieved with the useful tool.
If you have not dealt with electric and battery planers before, a few terms will be unknown to you.
- The planer width tells you, for example, how wide the planer blade is and thus the cutting width - that is, how wide the surface you plan when you push your planer over the workpiece is.
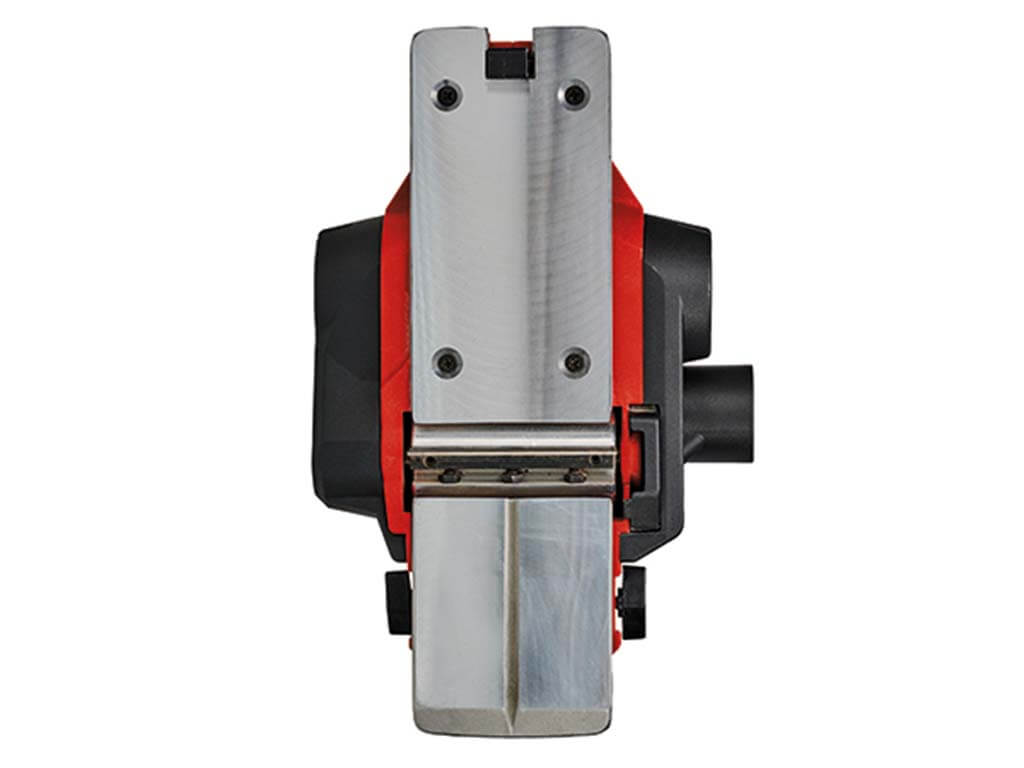
- The planing sole is the base plate of the planer, which rests on the wood. As a rule, the planing sole, that is to say the plane bearing surface, consists of two halves which are separated from one another by the planing blade. The height of the front half can be adjusted to adjust the chip thickness.
- The chip thickness determines how many millimetres of wood you want to remove with a thrust over the wood. Usually, the chip thickness can be adjusted between 0 and 3 mm in most electric planer models.
- The V-groove can be found in the plane sole of your tool. Depending on the model, the sole can also be provided with several V-grooves. The V-groove is intended for slight chamfering of edges, the plane is then placed on the workpiece in such a way that its edge lies within the groove. This way you can safely guide the planer over the edge.
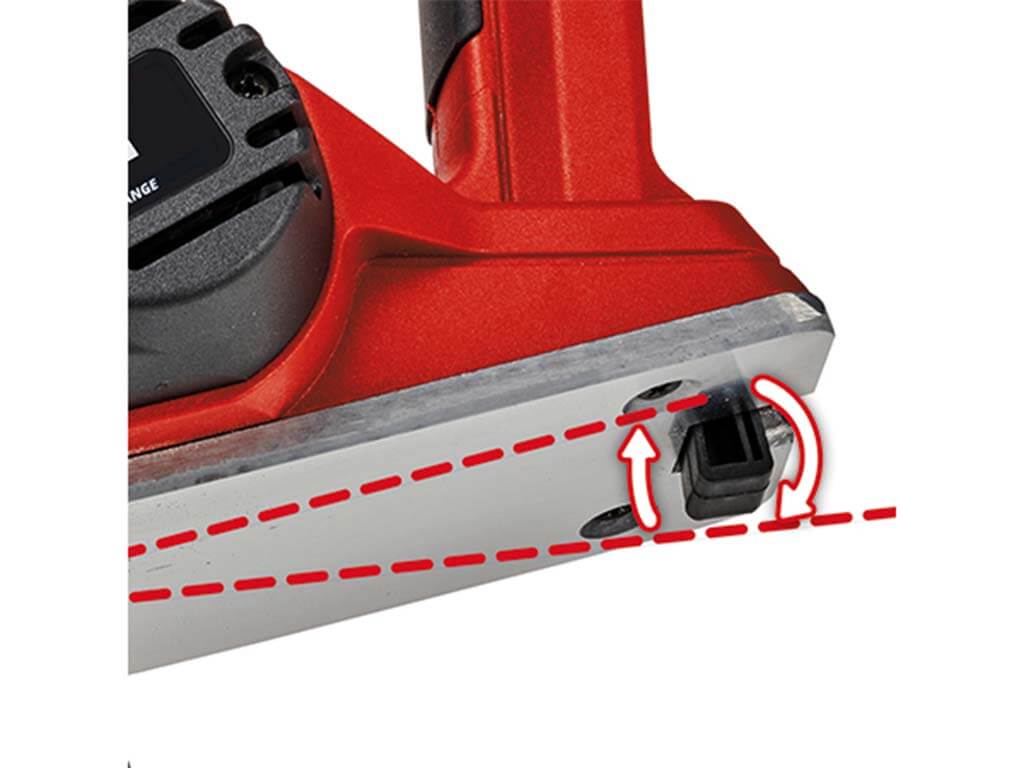
- The so-called parking shoe is also located on the plane sole. It is used for easy parking of the tool. At the same time, it protects the knife and the workpiece from accidental scratches. The planers from Einhell are equipped with an automatic parking shoe.
This is where the electric planer comes in
Planes are practical tools when it comes to processing wood. Whether you want to shorten a workpiece, try out furniture construction or slant the edges of your wooden terrace - the electric planer is the device of your choice. In the following situations, a planer is very convenient for you:
Shorten and smoothen
The door is too long and drags on the floor? The problem is solved quickly, because often even a few millimeters are enough to prevent the door from scratching the floor. When the door is unhooked, fixed in the workshop and the planer is attached, the wooden door is quickly shortened.
Surface work
You want your old wood to look like new again? Instead of the grinder, you can also use the electric planer. If you set the chip thickness to be small, you will achieve clean results and any scratches or colour changes in the wood will simply be planed off.
Furniture construction
A wide range of tasks await you in DIY furniture construction. If the wood is too thick, you can simply reduce the material thickness with the electric planer. The planer is also ideally suited for smoothing rough wood surfaces. Likewise, you can use skewed or poorly cut wood for furniture construction by planing it flat beforehand.
Bevel chamfers and edges
Beveled edges are not only decorative, they also protect against splinters of wood. This can be important, for example, for wooden terraces or furniture. Thanks to the V-groove, the so-called chamfer, or edge chamfer, is one of the easiest exercises of the electric planer. An angle stop can also be helpful for determining the angle.
Folding
Folding is a popular joining technique that is mainly used in the production of windows, doors, wooden ceilings and wooden furniture. During folding, gradations in the wood are milled, which on the one hand serve the design, but can also be functional. A folding depth stop and parallel stop are often very helpful for this technique.
How to plan properly: 7 tips from the professional
- Fixation and stand: In order to achieve clean results at all, you must securely fix and clamp your workpiece. When fixing your workpiece, make sure that it is placed at a working height that is comfortable for you. By the way, you should always have a firm stand so that you can carry out long planes safely.
- Correct setting of the knife: Usually, the electric planer is already supplied with two mounted hard metal reversible blades. Should the blades become blunt over time, replace them, since carbide reversible blades cannot be resharpened. You can find out exactly how to change the blades in your instruction manual. Whether the blades are set correctly can be seen from the fact that you get a smooth surface after planing. If notches or grooves are formed, the cutting edge of the planing blade and the base plates are not properly matched to one another.
- The right depth setting: Before you can start working on the wood, you have to adjust the cutting rate on your device. On the electric planer models from Einhell, you can adjust the cutting depth with the help of a rotatable adjustment knob between 0 and 3 mm in 0.1 mm steps. You should always keep one thing in mind: The lower the cutting depth, the smoother the surface is planed at the end.
- Working with the parallel stop: You're about to plan with a guide? Then this parallel stop is handy! This is attached to the side of the device, as explained in the instructions. The parallel stop can then be used to set the step width, which can be particularly helpful when planing steps. The stop is applied to the edge of the workpiece and the planer is then guided slowly and reliably over the workpiece.
- Always work in the fiber direction: You should definitely pay attention to the fiber direction of your wood. If you plan against the direction of the wood fibers, you create eruptions in the surface. If you work the wood in the fiber direction and nonetheless produce uneven results, it is preferable to work more often and with less cutting depth over the workpiece. With gentle pressure and a slow feed, you should achieve clean results.
- Apply little pressure: Generally, when working with the planer, you only have to exert a little pressure on the device, but you should distribute it correctly. At the beginning of the wooden surface, press the front of the device, towards the end of the surface, you move the pressure to the rear of the device. This prevents you from planing the workpiece in the shape of a ball, i.e. removing more wood at the beginning and end of the wood surface.
- Check with the spirit level: Whether you have actually planed flat, you can easily check with a commercially available spirit level. If your surface is not straight at the end, you can simply touch it up again.
Helpful equipment for the electric planer
Chip extraction for a clean workplace
If you connect an extraction device, such as a wet-dry vacuum cleaner, to the extraction adapter, you always have a clear view of your work area.
Parking Shoe
The parking shoe serves both as knife protection and as a safety device for the tool. Incidentally, the electric and cordless planer models from Einhell are even equipped with an automatic parking shoe.
Fold depth stop
When planing steps, a folding depth stop can be very helpful. You can find out exactly how this is mounted in the operating instructions. In the Einhell models, a so-called step depth measuring rod is mounted on the parallel stop and set to the desired step depth.
How to avoid cracks and unevenness?
If cracks occur in the wood when using the electric plane, there may be a number of reasons for this. Often it is due to a cutting depth that is too high, that is to say to the fact that you remove too much wood at once. In general, we recommend that you set the cutting depth rather low and prefer to work several times over the wood and plan it layer by layer. By the way: The harder the wood, the lower you should set the cutting depth!
Not too fast and with gentle pressure, so that the speed is not reduced by pressing too much against the wood, you should push the planer over the surface in the fiber direction. We have already briefly explained how to avoid your workpiece becoming "crowned": At the beginning of the wooden surface, the gentle pressure should be exerted on the front of the plane, towards the end of the surface, the pressure shifts backwards.
If all these tips don't help, then you should definitely check your planer's blades - because with blunt blades, you won't achieve even and clean results.
Summary: No Master has yet fallen from Heaven
Real planing needs to be learned. When working with wood, you can do a lot of things wrong - but also a lot right. What matters is that you don't give up! The more you practice with the electric planer, the easier the work will be for you. If you pay attention to our tips and perhaps only try one or the other exercise project before you take on big tasks, you will soon be a professional in working with the planer yourself.