


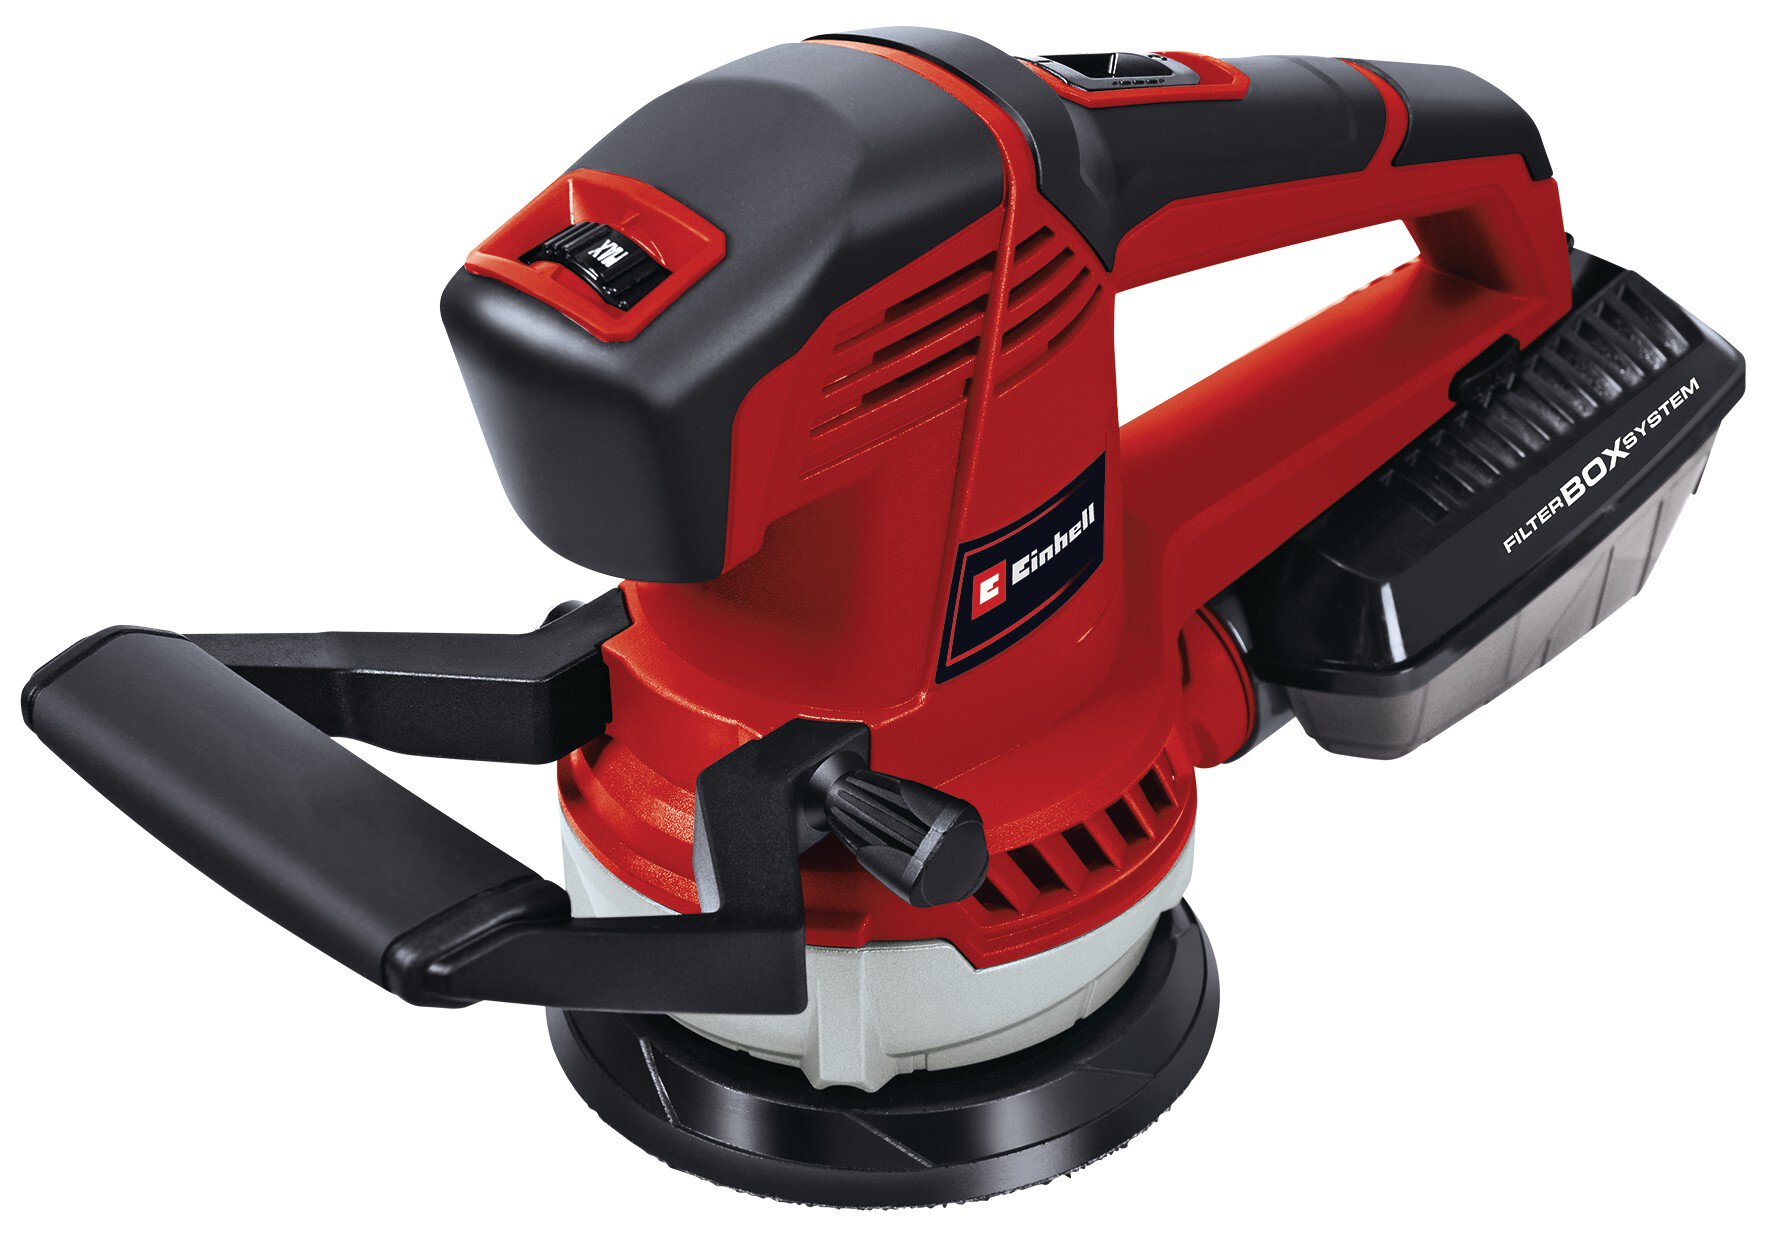
Rotating Sander - The clever Helper for all your Renovations
In irregular intervals a homeworker is faced, besides the usual work, such as garden work or the reparation of little damages, you are inevitably dealing with the topic of renovation. No matter whether it is the renovation of an old room door, the painting of wooden window frames or even the modernization of a complete room, almost all of the mentioned works have one thing in common: they have to be ground a lot. A clever helper here is the rotating sander.
The Advantages of the Rotating Sander
In Comparison to its brothers, the Belt Sander and the Angle Grinder, the Rotating Sander has a lot of advantages.
When buying sanding discs, you can't go far wrong in terms of dimensions and hole spacing, as these hardly differ even between sanding discs from different manufacturers. Depending on the task at hand, you can choose freely here. It does not hurt to compare the sanding disc and the rotating sander before buying. However, the quality of the sanding discs plays a major role, and you should pay attention to this when buying!
Compared to a belt sander, the material removal rate is lower with an rotating sander and a hard edge is less likely to form on the edge of the sandpaper due to the eccentric movements. This means that sanding does not have to be done quite as carefully to avoid unevenness in the material. However, the removal rate is higher than with the classic orbital sander, which noticeably reduces the working time.
Sanding doors
New room doors, including the matching door frame cost quickly several hundred euros and the installation is often complicated for laymen without experience in this area. Precisely for these reasons, it has been proven to renovate room doors instead of completely replacing them. This is basically quite easy and even for laymen without experience to handle.
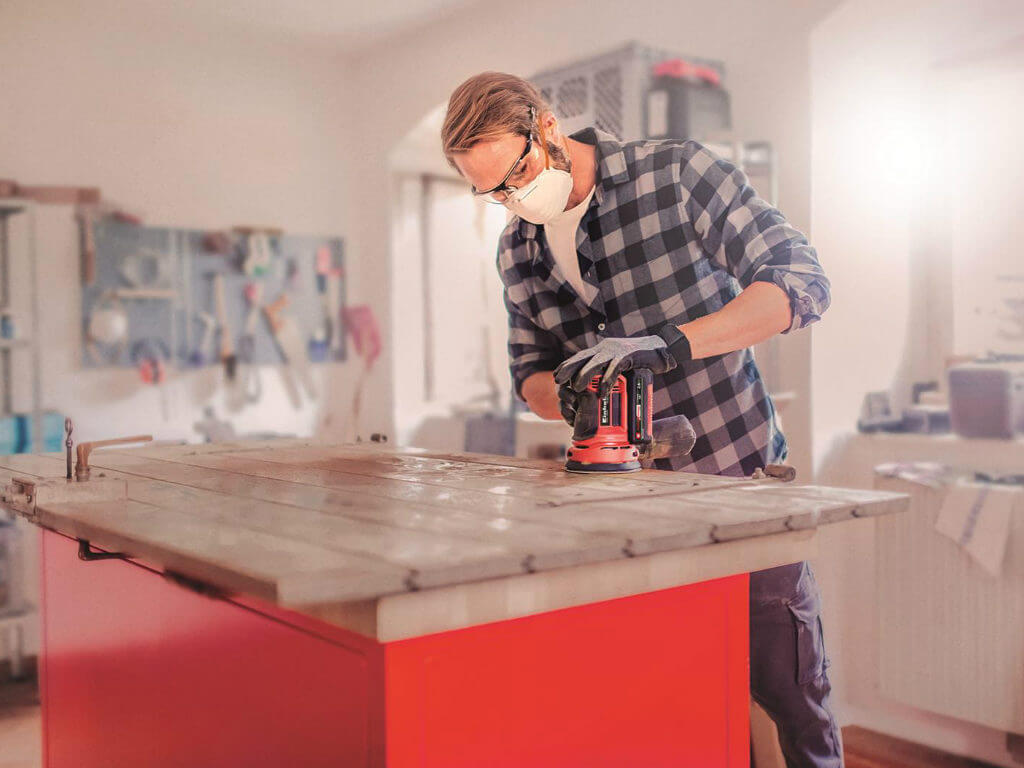

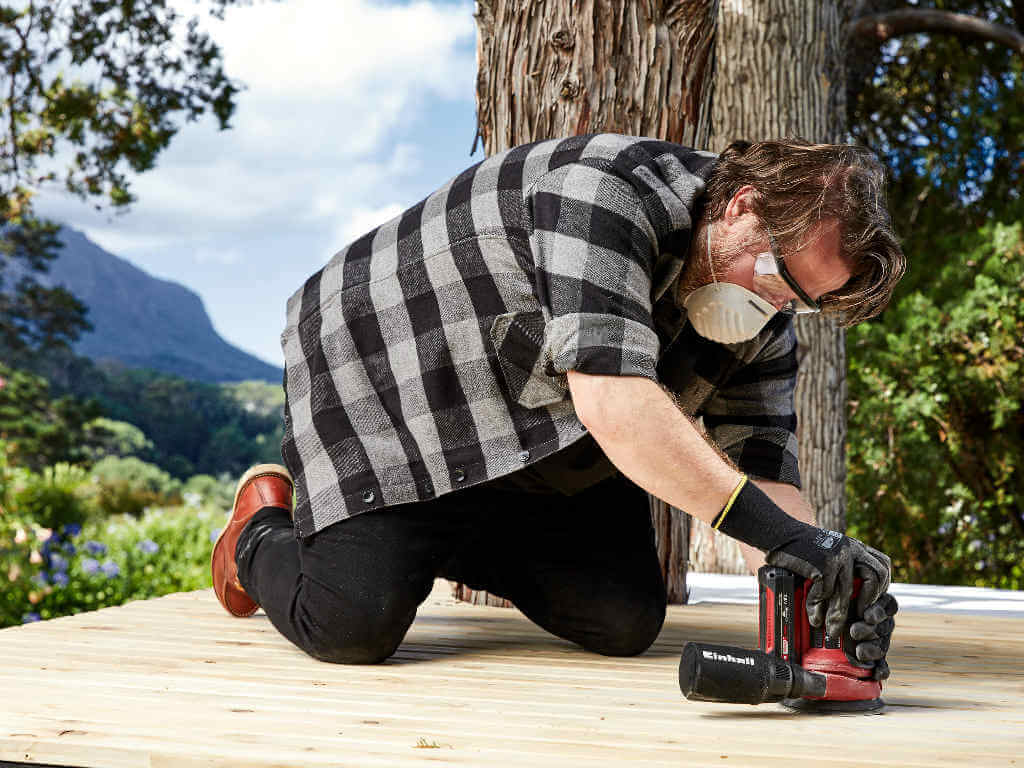
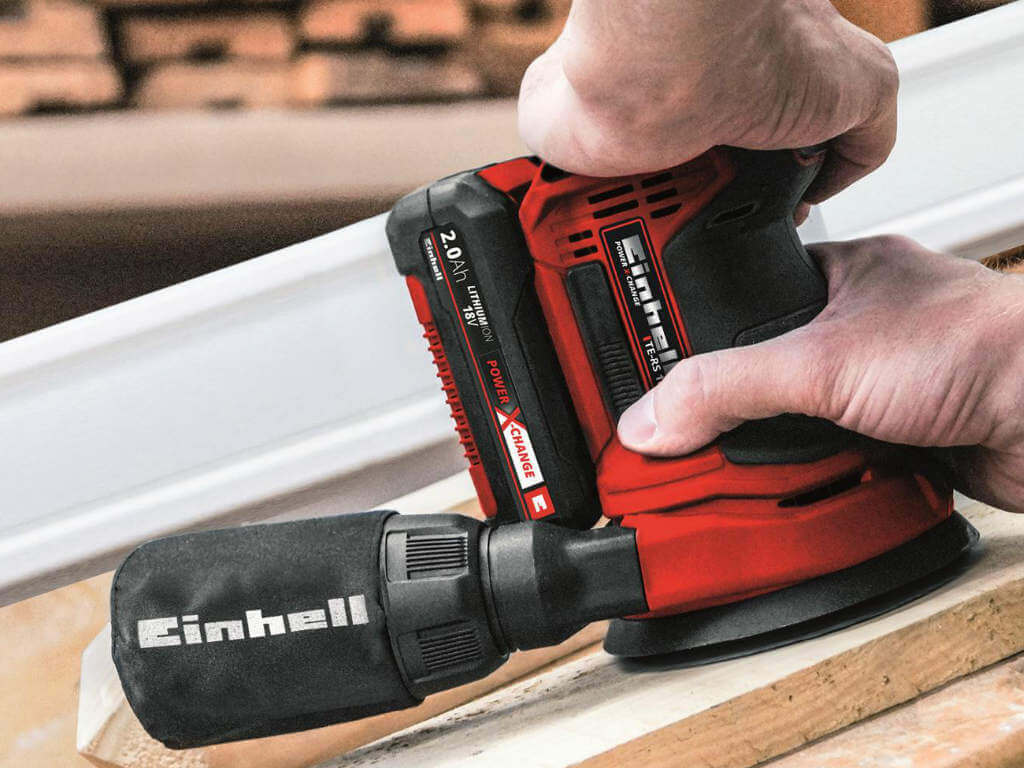
After disassembling the door, it is necessary to remove the old paint. This is where the rotating sander comes into play. The rough work is done with a coarse sandpaper and the surface of the door and the frame is sanded off. Depending on the condition of the door, this is done in about 15 minutes. In the next step, the door is cleaned of sanding dust. This is best done with a soapy water soaked cotton cloth. Now that the door is clean, you finish the surface of the door with a fine grain. When working with the rotating sander, it is advisable to work with an attached vacuum cleaner, such as the Einhell Cordless Wet/Dry Vacuum Cleaner TE-VC 18/10. Since the resulting sanding dust can be inhaled very easily, I also recommend the use of a respirator. After the finish with the fine sandpaper, the surface is cleaned with a damp cloth. If the surface has dried, you should additionally wipe it with a cloth soaked in a thinner. In this way, fat residues, such as fingerprints, which may affect the adhesion of the paint, disappear without residue. Now the door can be painted. Between the individual layers of paint, you should sand the dried paint with a fine sandpaper. Thus, visible traces of the brush or roller disappear and the next coat of paint has a flat base. When you finish painting, the door can be hung back in the frame and you can enjoy the sight.
Prepare Wooden Windows with the Rotating Sander
As beautiful as wooden window frames are, they create a lot of work. Every few years you have to bite in the bullet and reprocess them.
Of course, this always starts with the grinding of the surfaces. Due to the weather there may be peelings of the colour in some places, some wood discolorations. With that the windows not only look unsightly, no, they are in some parts even defenselessly exposed to the weather. With a team consisting of the rotating sander for the large surfaces and the triangular sander for the small corners, sanding the window frames is done in no time and the frames are ready for new paint.
Renovating stairs with the Rotating Sander
Scratches? Holes? In order for a wooden staircase to still look beautiful after years of use, the wood must be refreshed after a certain amount of wear. However, before the stairs are varnished or oiled, they must first be sanded. The rotating sander is particularly suitable for fine sanding and priming the stairs. It produces a fine sanding pattern without circular grooves and also has a high area performance. For corners, you should also have a multiple sander ready.
Removing wall paint and plaster with the Rotating Sander
The rotating sander can be very flexible in its use. For example, it is also suitable as a support for wall finishing. If a new wall paint is needed, in some cases the current wall paint should be removed beforehand. On the one hand, to avoid countless layers for repainting. On the other hand, because dark colours are difficult to cover completely with lighter ones. If you don't have a drywall sander at hand and only want to work on smaller wall surfaces, you can help yourself with an rotating sander.
In addition, a new planned wallpaper can also be an incentive to sand the wall so that the wallpaper adheres better. For very large surfaces, it is worthwhile to use a drywall sander, but thanks to its high removal rate, the rotating sander can also be used as a support here.
Working in Dry Construction with the Rotating Sander
But with the rotating sander is much more possible than simply sanding wood and paint! In drywall, ie in the installation of plasterboard and the corresponding spatula work, the use of this grinder is widespread.

After gypsum plasterboard has been screwed to the wall and ceiling, the gaps are filled with freshly mixed plaster. This gypsum cures very quickly, but has the bad property off drying unevenly. Here, the rotating sander shows its strengths. The bumps can, due to the high and uniform removal, be ground smooth in a very short time. Since a lot of sanding dust develops here as well, the vacuum cleaner and respirator are mandatory again!
As you can see, the rotating sander is a small all-rounder in the renovation as well as in the wood workshop! So get to the tool and let your home shine in new splendor!
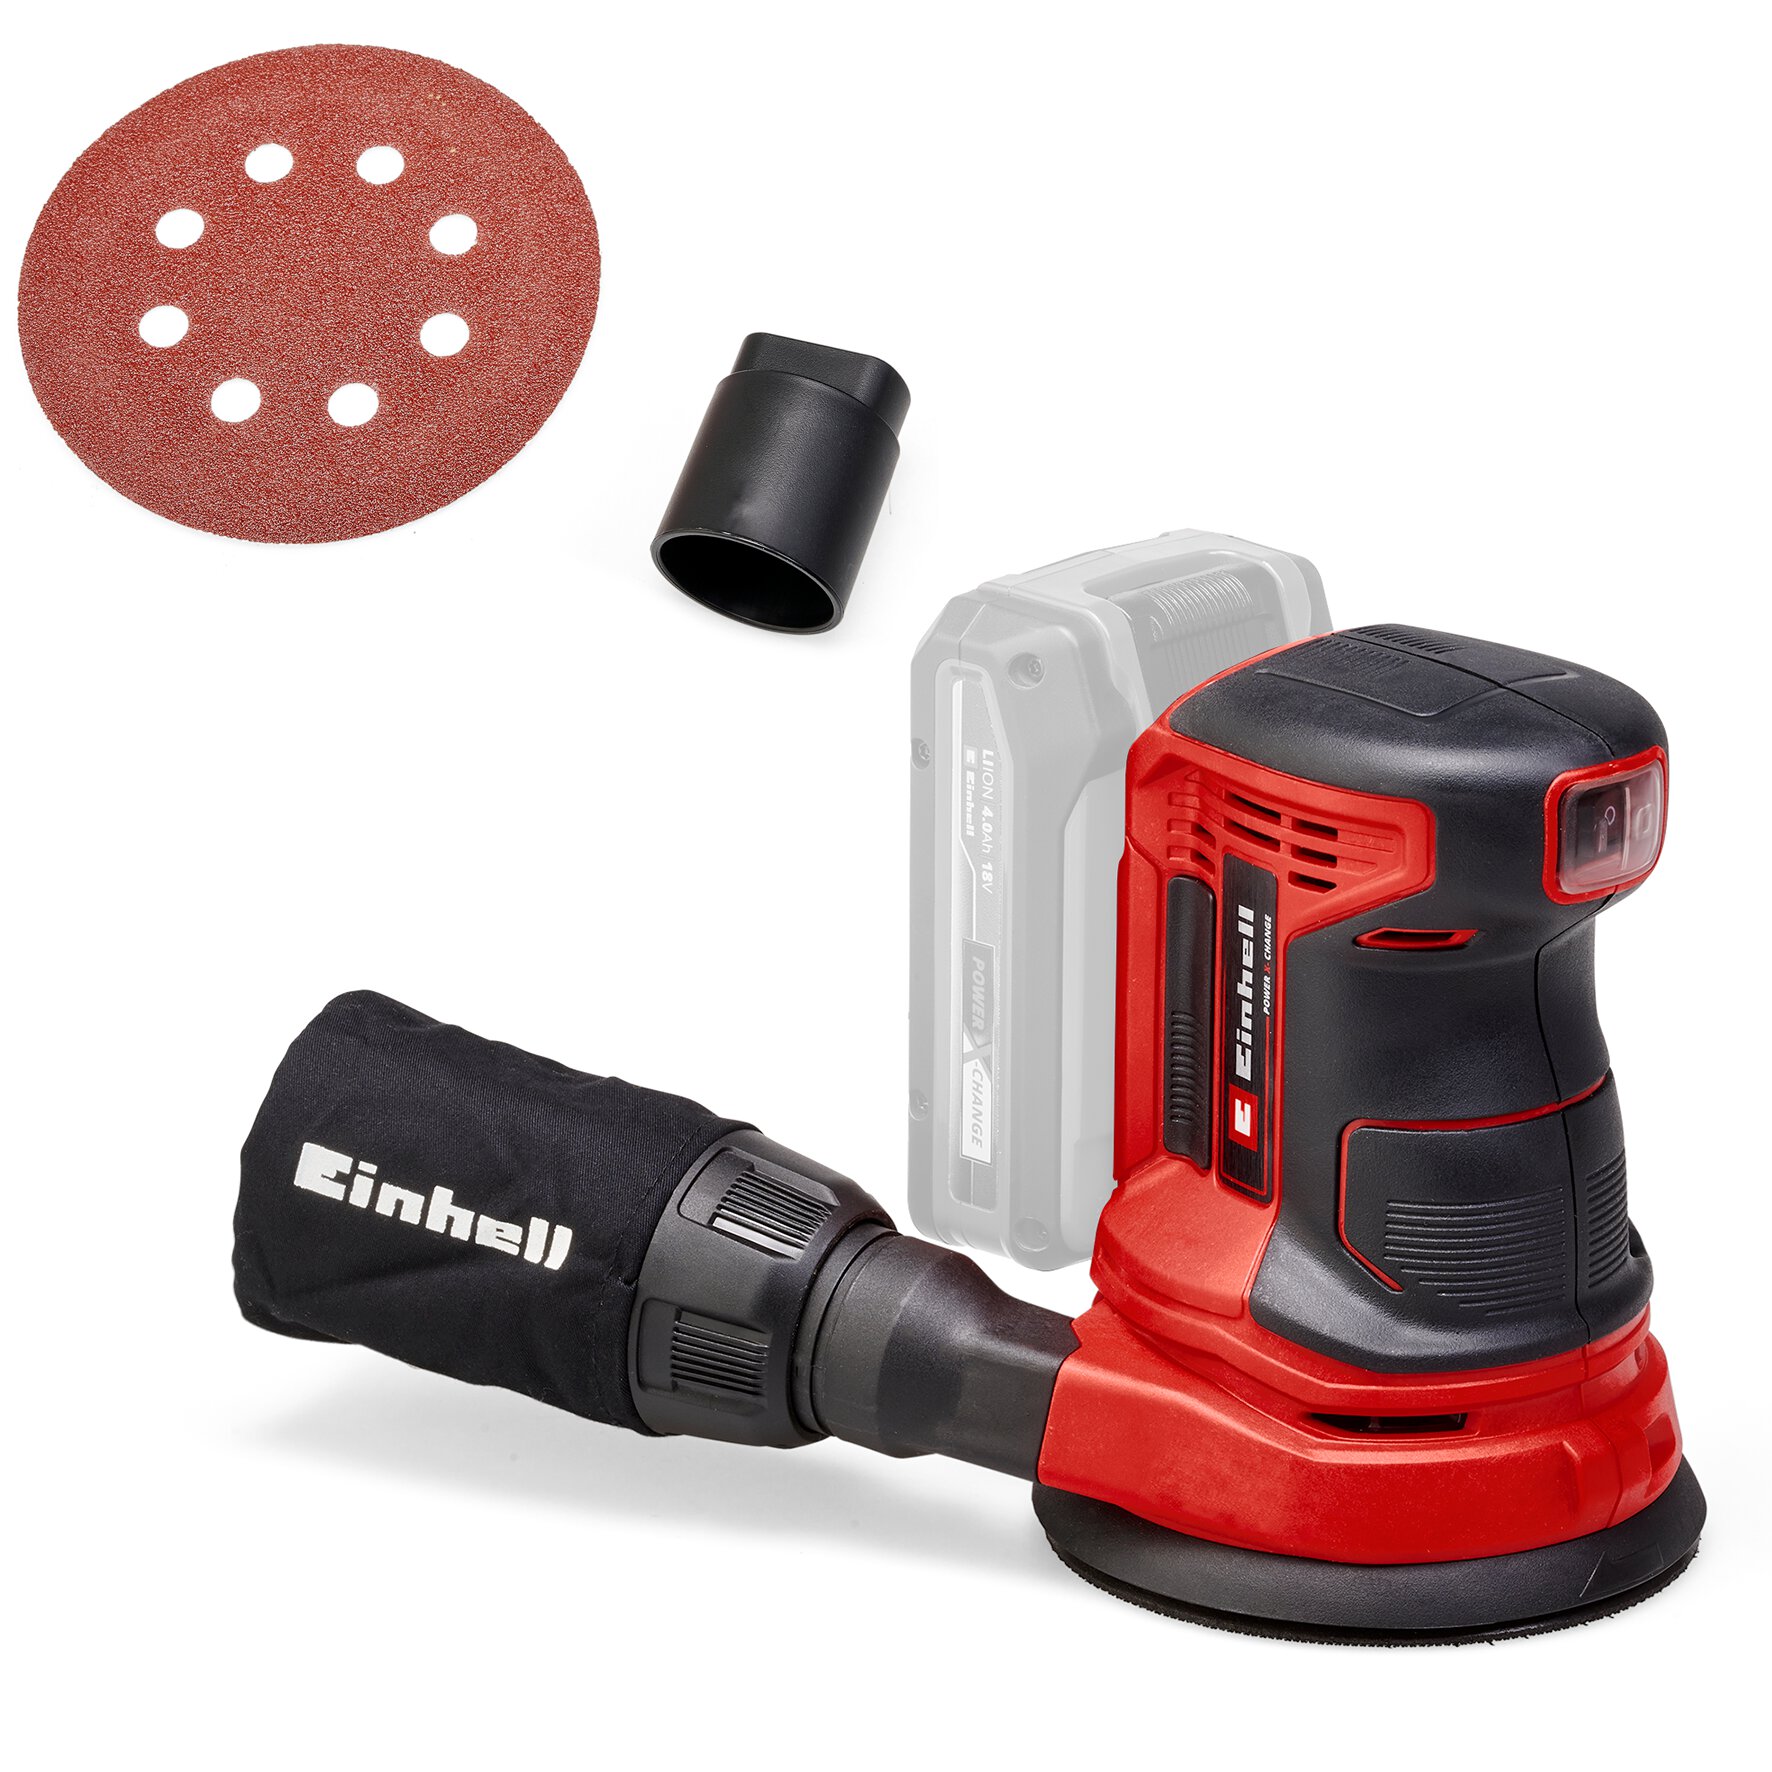
Our product recommendations for your DIY project
In this article you will learn all about:

Published on 10.08.2022
Whether it's the garden or the workshop, Hauke Leweling is a true all-rounder and a freelance blogger. For Einhell, Hauke is armed not only with pen and paper but also with various gardening tools and equipment that he thoroughly tests. He shares his experiences, as well as tips and tricks, in his blog posts.