


Treehouse – A passion project in your own backyard
DO IT YOURSELFIn the spring, we had to cut down three old fir trees because they were partially dead and their roots were already causing damage to the neighboring properties. Suddenly, there was a huge gap in our garden, an unfamiliar sight.
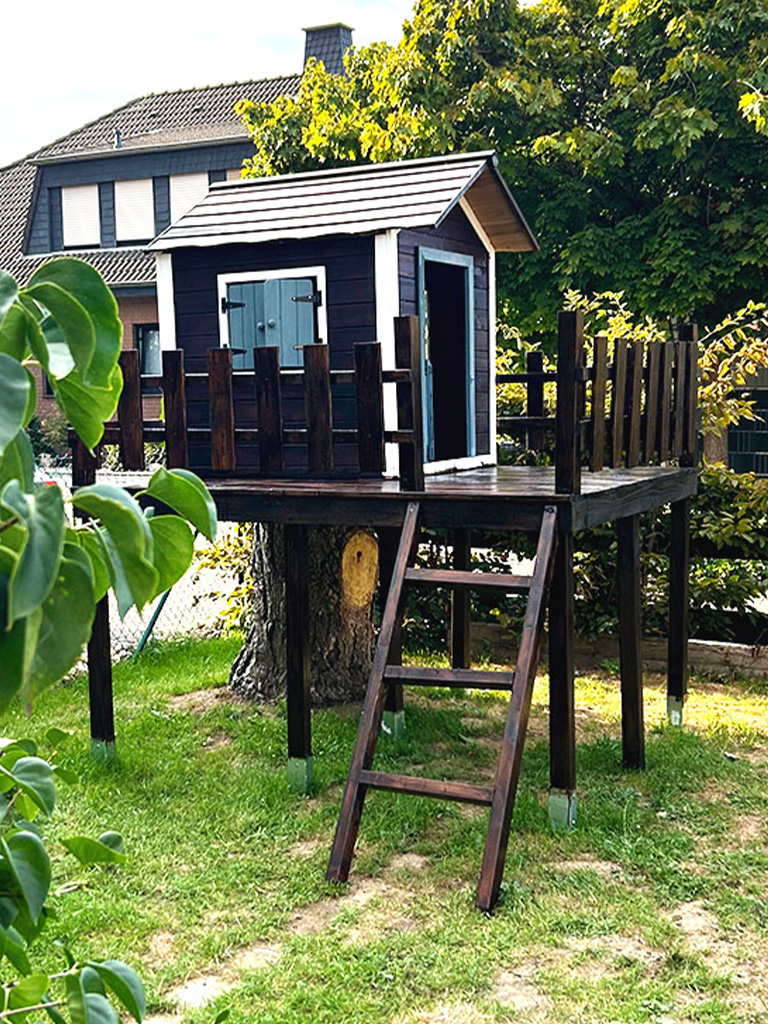
However, the evening before the trees were felled, I had an idea: why not use the largest tree stump as the base for a tree house for our son? This is how the tree house project, a project close to our hearts, came about—a little paradise for children and a real highlight in our garden.
In this blog post, we’ll show you how to build a great treehouse quickly and easily.
Tools and Materials
Materials
- 7x posts, each 2 meters long (to fit the ground sleeves, 7×7 cm)
- 7x ground sleeves (7.1×7.1 cm)
- 6x strips 40×60×2000 mm (3 of which are for the ladder)
- 4x boards 24×120×2000 mm
- 18x floorboards 21×124×2500 mm
- 5x strips 30×50×2000 mm
- various screws
- additional brackets
- weatherproof glaze for outdoor use
Instructions for the treehouse project
Step 1: Insert ground sleeves
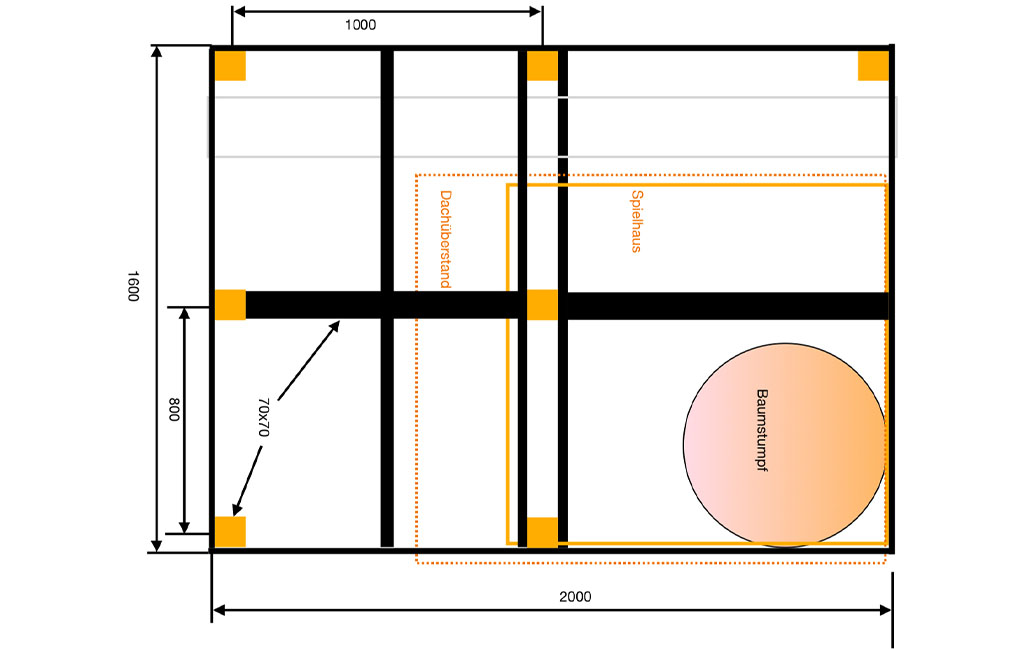
As with many projects, my grandfather was once again a great help. He drew up a technical diagram that allowed me to determine exactly where the ground sleeves needed to be driven into the ground.
I marked the impact points and drove the sleeves into the ground with a sledgehammer. It is essential to ensure that they do not end up twisted in the ground, as this can cause alignment problems later on.

Step 2: Adjust post lengths
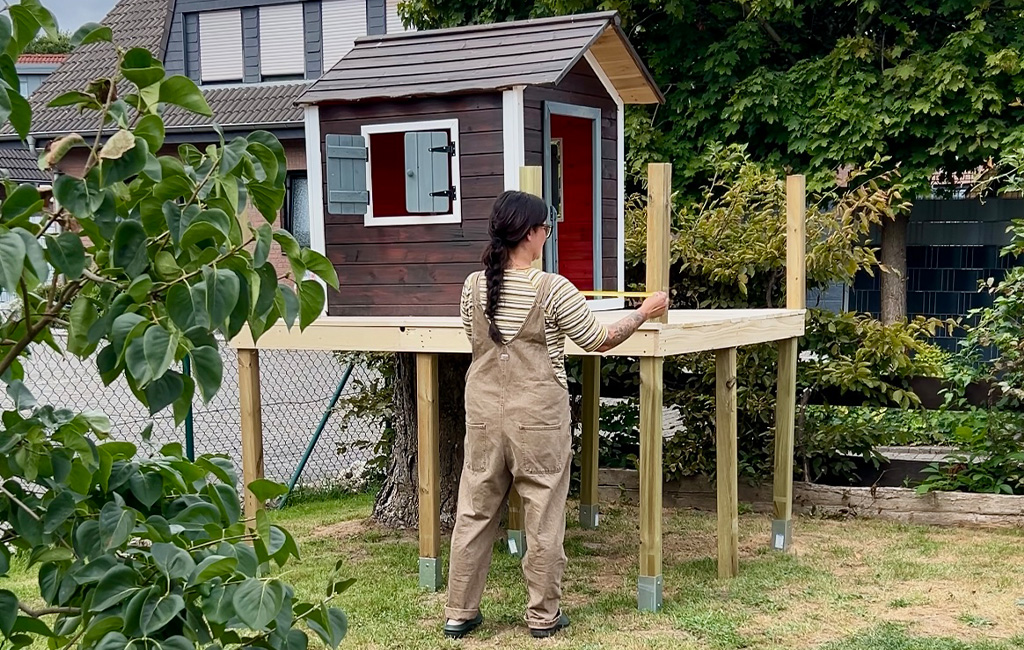
Since the ground was very uneven due to the old tree roots, we first inserted the posts into the ground sleeves and then adjusted them on site. Using a spirit level and a long strip, we marked the exact heights and then cut the posts to size with the cordless pull-cut miter saw.
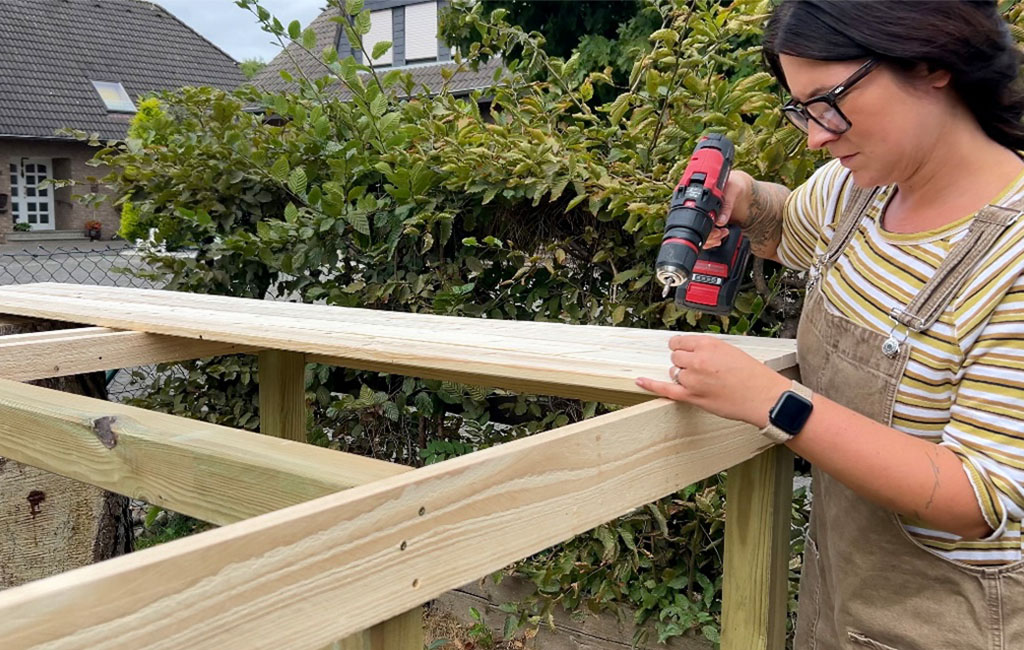
Next, the frame was assembled from the four boards (24×120×2000 mm) and screwed together. For stabilization, I cut three of the 40×60 strips to size and mounted them between the posts. This created a stable foundation for the future platform.
Step 3: Install floorboards
I was particularly looking forward to this step: the floorboards! I first sawed them to size and then screwed them onto the frame.
This completed the basic framework for the tree house. A stable, robust substructure on which children can play safely.
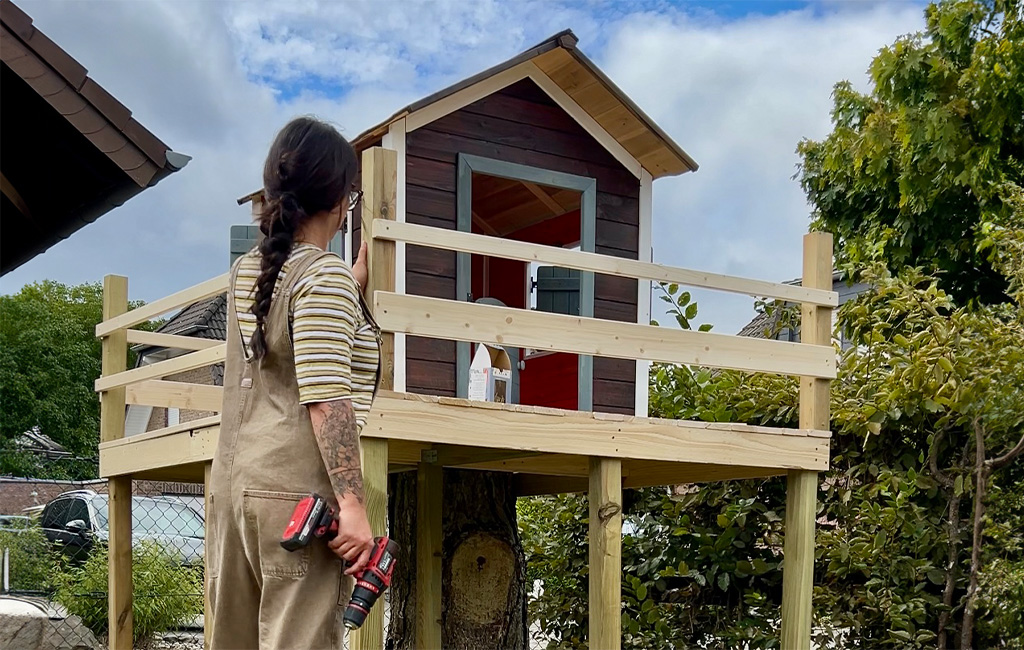
Step 4: Secure the playhouse & build railings
The ready-made wooden playhouse was secured to the platform with sturdy brackets so that it can withstand wind and weather. Next, we moved on to the railing, which ensures the children's safety.
Here, I mainly used leftover pieces of beams and floorboards, which is both sustainable and practical.
The railing is 60 cm high. The five strips (30×50×2000 mm) were cut to size to form the connection between the railing posts. I used the remaining floorboard scraps to cover the railing so that children cannot accidentally climb up it.
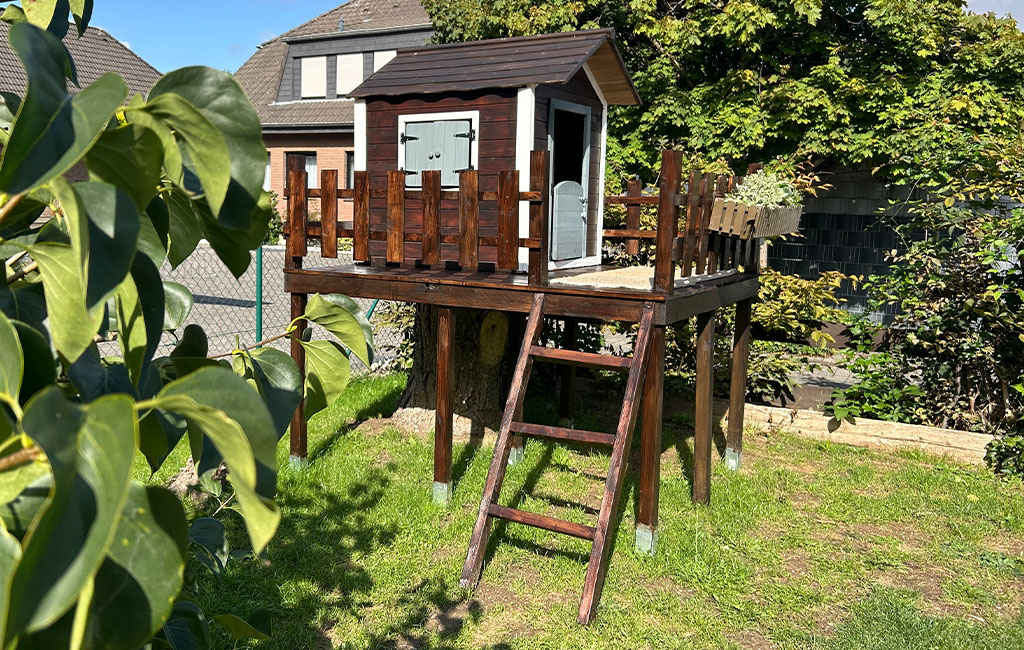
Finally, all that was missing was the ladder: I built this from the remaining 40×60 slats. I cut the ends at a 30-degree angle so that they could be easily leaned against the platform and screwed into place. Three steps, each 30 cm apart, ensure a safe ascent.
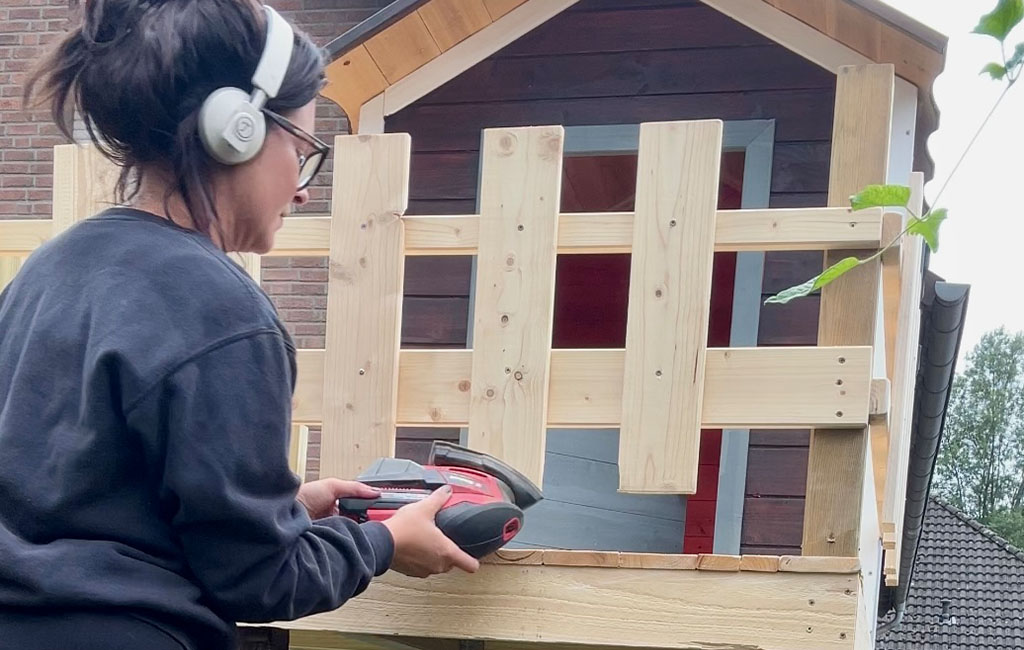
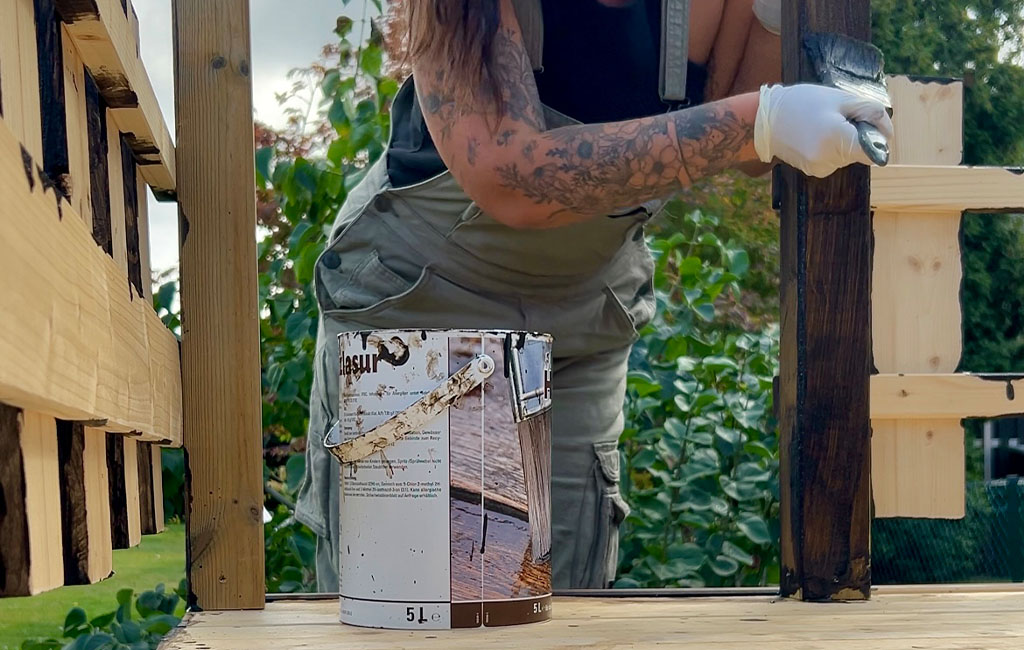
Step 5: Sanding & staining
Almost done! Now it was time for the finishing touches. I carefully sanded down all visible cut edges with the cordless multi-sander to prevent splinters, which is especially important when small children's hands are reaching everywhere.
To protect it from the elements, I finished by applying a weatherproof glaze in the color “rosewood,” which matches other wooden elements on our house and in the garden.
The treehouse is finished!
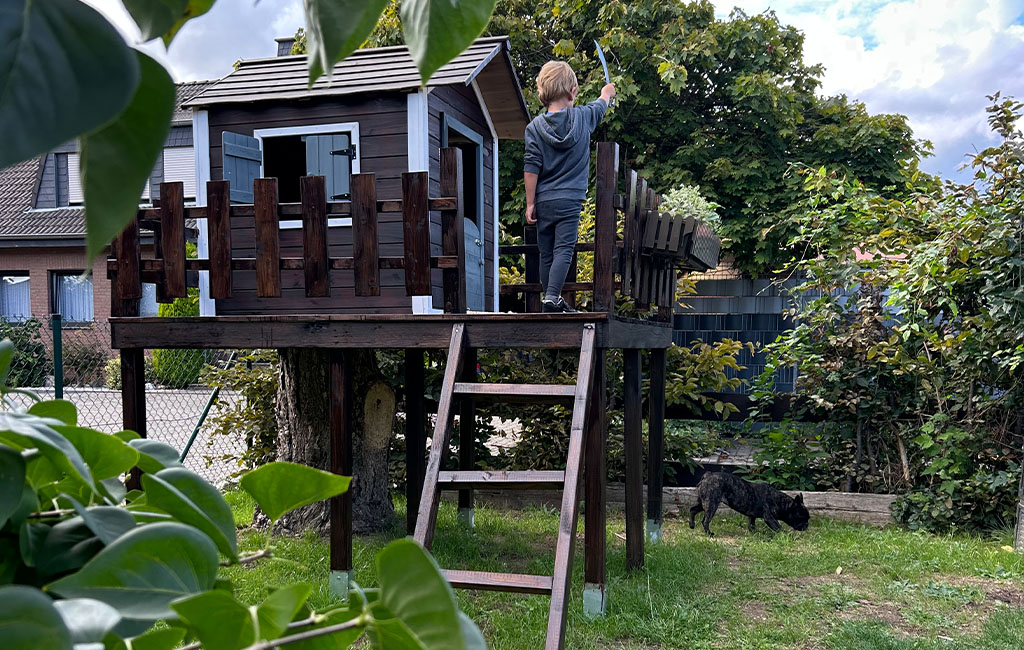
No sooner had the varnish dried than the children stormed the tree house. Not only is it the new highlight in our garden, it has also fulfilled our son's greatest wish.
A project carried out with a lot of love and craftsmanship, resulting in sparkling eyes among the children.
- Tip: If you are also thinking about building a treehouse, it is worth planning carefully and reusing leftover wood. This will not only make your project cheaper, but also more sustainable.
Suitable tools for the project


In this article you will learn all about:

Published on 01.10.2025
Whether lifestyle content or DIY ideas, Jennifer from @jestil.de has been sharing her passion for her home, as well as for interior design, styling and craftsmanship, for many years. The 33-year-old entrepreneur works as a journalist, author and creative director. Alongside personal stories and inspiration, her community can follow her journey towards owning her own home, including the refurbishments and renovations, on a daily basis. Her posts combine everyday practicality with a distinct sense of aesthetics.