


How to Store Garden Tools During Winter
The time has come, the evenings are getting shorter and winter is coming closer in big steps. When the last fallen leaves have been raked, the lawn has been mowed and the secateurs have had their last use, the gardening equipment change their places with the snow shovels, then rusting in peace over the winter. In spring, the disappointment is big.
In order to enjoy your tool again in the coming year, you should thoroughly clean it before storing it and treat it with suitable care products. It would be annoying at the beginning of the new gardening season to stand in front of a hill of rusted, dull and dirty tools. Those who heed the following tips and tricks for storage, can start gardening the next year immediately!
Clean and Seal the Spade, Shovel and Co
Tools that come into contact with soil during daily use should be thoroughly cleaned before storage. The first thing to do is remove soil, loam and similar staining with a brush under running water. The longer you wait here with the cleaning, the more laborious the work becomes.
Simple steel wool is generally enough to remove light rust and flash rust. However, it is best to remove fresh rust or stubborn dirt with a wire brush. After processing the metal parts are rubbed with machine oil, so a rust attack in the cold season is prevented.
After the metal parts have been cleaned and sealed, you should take a look at the wooden handles of the tools. If a handle is damaged or even broken, now is the time to replace it. If the handle is in good condition and above all clean, rub it with a wooden oil. The oil is best carried on with an old rag. As a result of this treatment, the wood does not dry out so quickly, stays smoother and, above all, prolongs its shelf life.
The Right Storage for Digging Tools
Since spade, shovel, rake, pick and co accumulate a considerable financial value over time, it is especially during the cold season important to store them properly. If you simply lean the tools against the wall, they are relatively likely to fall over by and by. In order to avoid such trip hazards from the beginning, there are various products on the market which simplify the organization of tools on the wall. Most common are hooks that pick up the tools on the handle and hold securely to the wall. So the devices are safely stowed and continue to provide fast access if needed.
Clean and Oil Branch and Rose Scissors
Branch and rose scissors tend to resinify, especially in the area of moving parts. As long as the resin has not dried, it is still not a problem. If the resin dries during the winter period, the hinges will be difficult to handle in the coming year. For this reason, you should disassemble such devices before storage as far as possible and release them of resins and other impurities. This works best with benzine or olive oil. Now is also the right time to sharpen blunt edges or let them sharpen. After cleaning, you also furnish the metal parts with a little machine oil to prevent any rust.
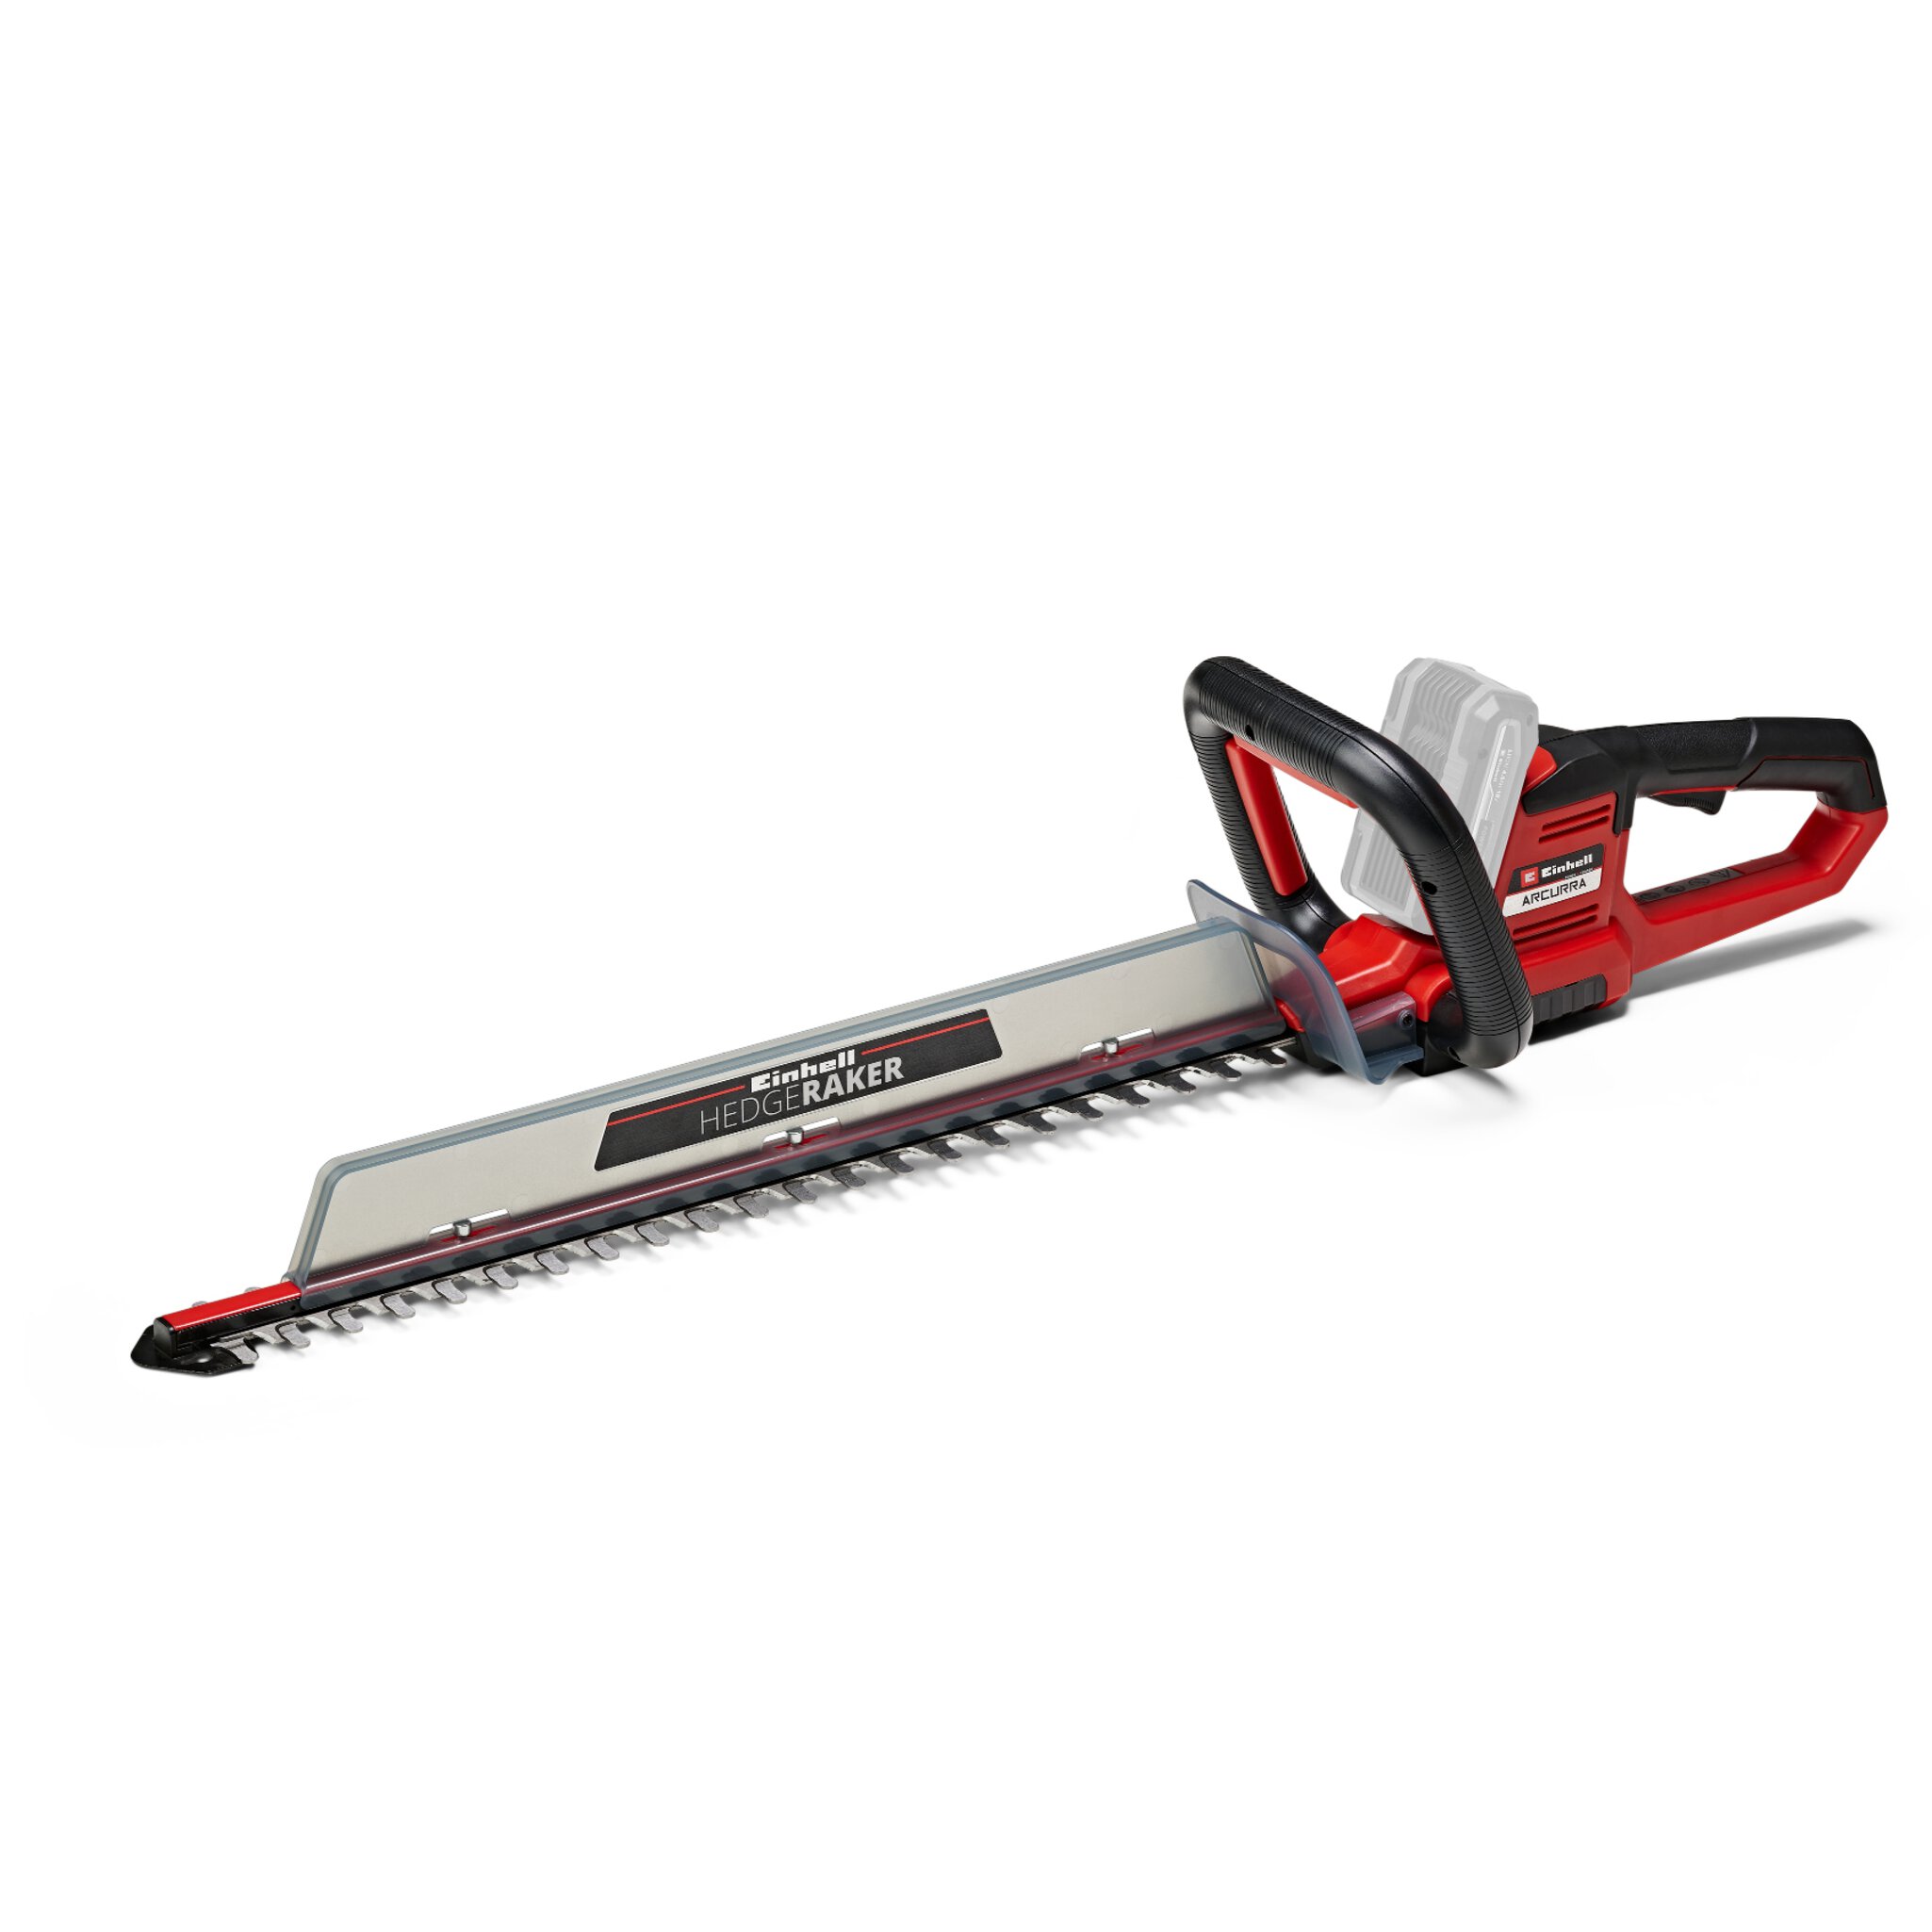
Maintain (Telescopic) Hedge Trimmer and Cordless Grass Shears

The tips of the branch and rose scissors can also be applied to hedge trimmers. The blades should be cleaned with a damp cloth or brush and then oiled. The clean sword must be checked for possible damage and should be kept in a protective cover. As with all other devices, the blades can also be sharpened here.
When disassembling the electric hedge trimmer, make sure that it is disconnected from the electric circuit.
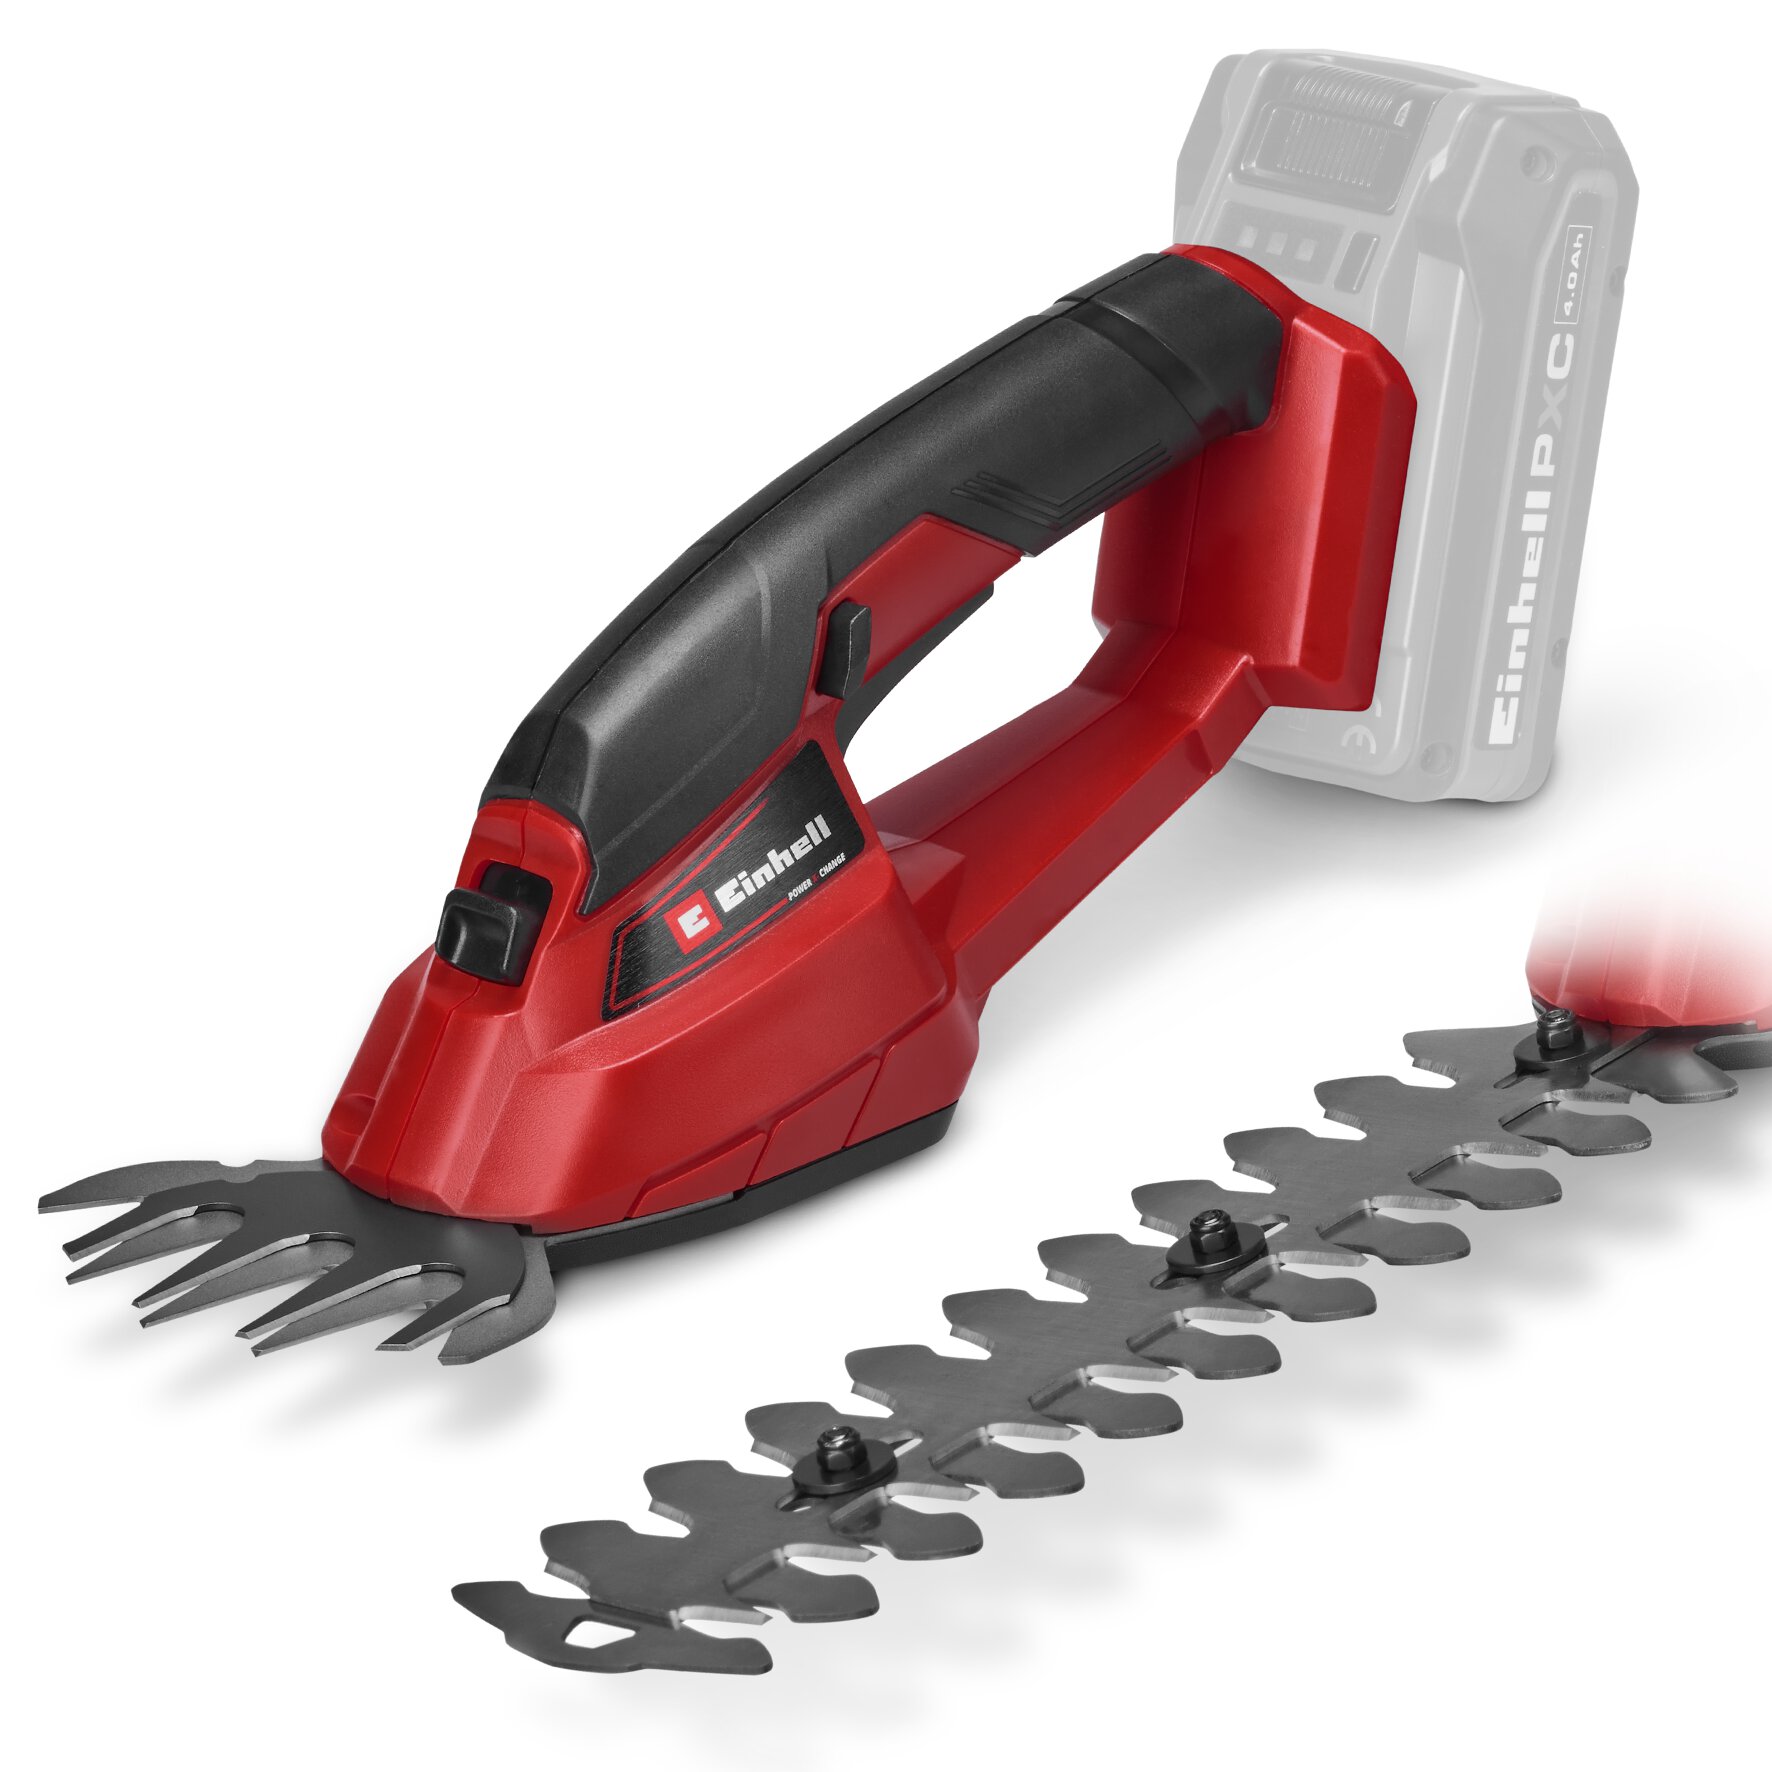
Tips for the Cordless Grass Shears:
At the end of the gardening season, take your grass shears apart as far as possible to get to hard-to-reach places when cleaning. Normally it is sufficient to clean the individual parts with a cloth or a brush from the dirt, with stubborn dirt or resin, however, the additional use of cleaning or preservation oil is recommended. If everything is spotless, all blades should be sharpened and the moving components oiled.
Attention! As with all other cordless tools, remove the batteries and store at room temperature. Don't forget the intermediate charge! If battery removal is not possible, the device should be stored in the house.
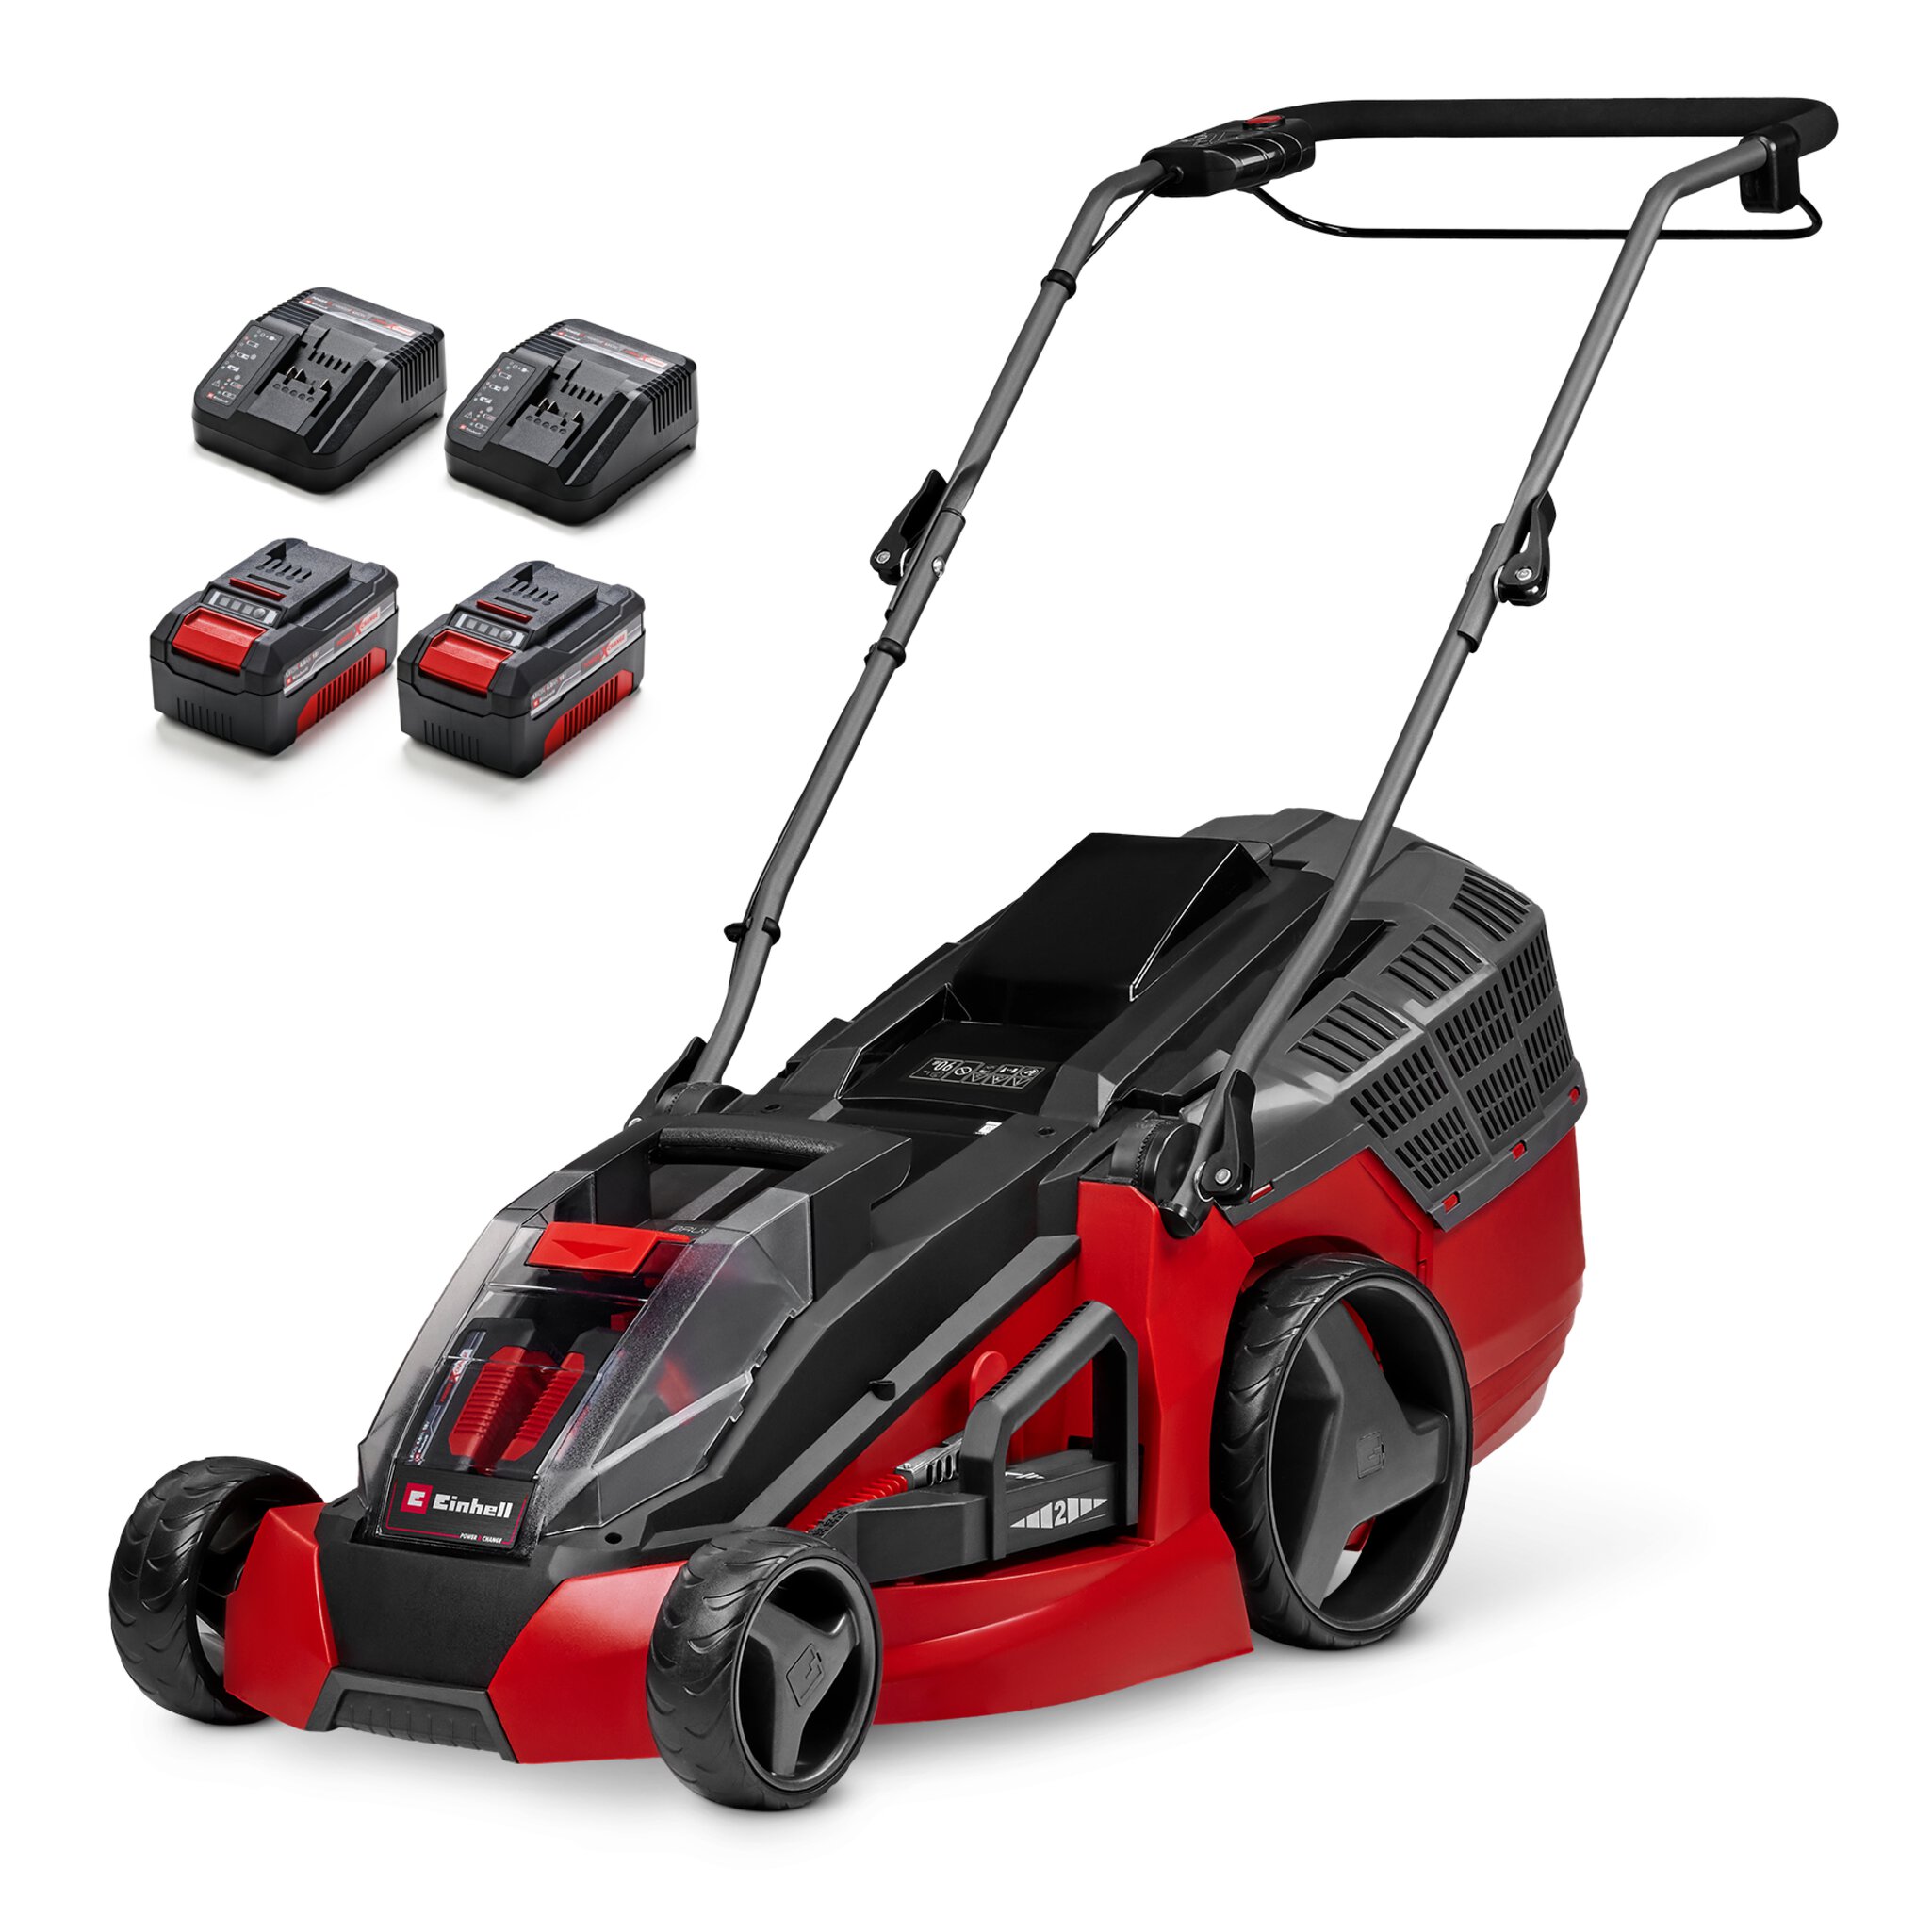
Store Lawn Mower and Scarifier During Winter

Before you bring the lawnmower and the scarifier into their respective winter quarters, it is necessary to remove adherent grass and soil. Coarse dirt is best scraped out with a piece of wood, for finer dirt is clear water and a brush suitable. Petrol lawnmowers can be cleaned from the bottom with the water hose. If you do not clean the lawn mower, there is a high likelihood that moisture will attack the paint and, in the worst case, the metal and causing rust after a while. When cleaning the collecting basket (especially textile baskets), it is important that it is completely dry after cleaning, as the wet basket otherwise forms an unwanted mildew breeding ground.
To get a clean cut when mowing the lawn next spring, the blades of the mower should be cleaned and sanded in winter.
Attention! Check This Before You Handle the Working Knife:
• gloves on?
• Electric lawnmower: cable unplugged?
• Petrol Lawn Mower: Spark plug disconnected?
• Cordless Lawnmower: Security Key Off? Anyone who wants to be on the safe side: Batteries out!
Before final storage, the following activities are recommended for the various lawnmower types:
At Petrol Mower: The oil level should be correct before hibernation: if necessary, perform an oil change, or if you do not trust yourself, let the dealer do that. Once you have done all these steps, one last important point is often forgotten: empty the tank. Over the cold months, the residual fuel loses its ignitability, which can lead to startup problems at first use in the new year. The tank can be emptied by pumping into a canister. The remaining petrol may only be stored in special canisters! After the tank is empty, you start the lawnmower one last time and wait for it to go off by itself. So the carburetor is empty and it can’t stick anything. If you still clean the air filter, you've made it.
At Cordless Mowers: Make absolutely sure that the battery is not stored in the cold. This generally refers to cordless tools, the batteries should be removed to store them indoors at a temperature of 5-25°C. To avoid a deep discharge of the battery, the battery should always be half charged. If the charge is lower, it is recommended to charge the battery.
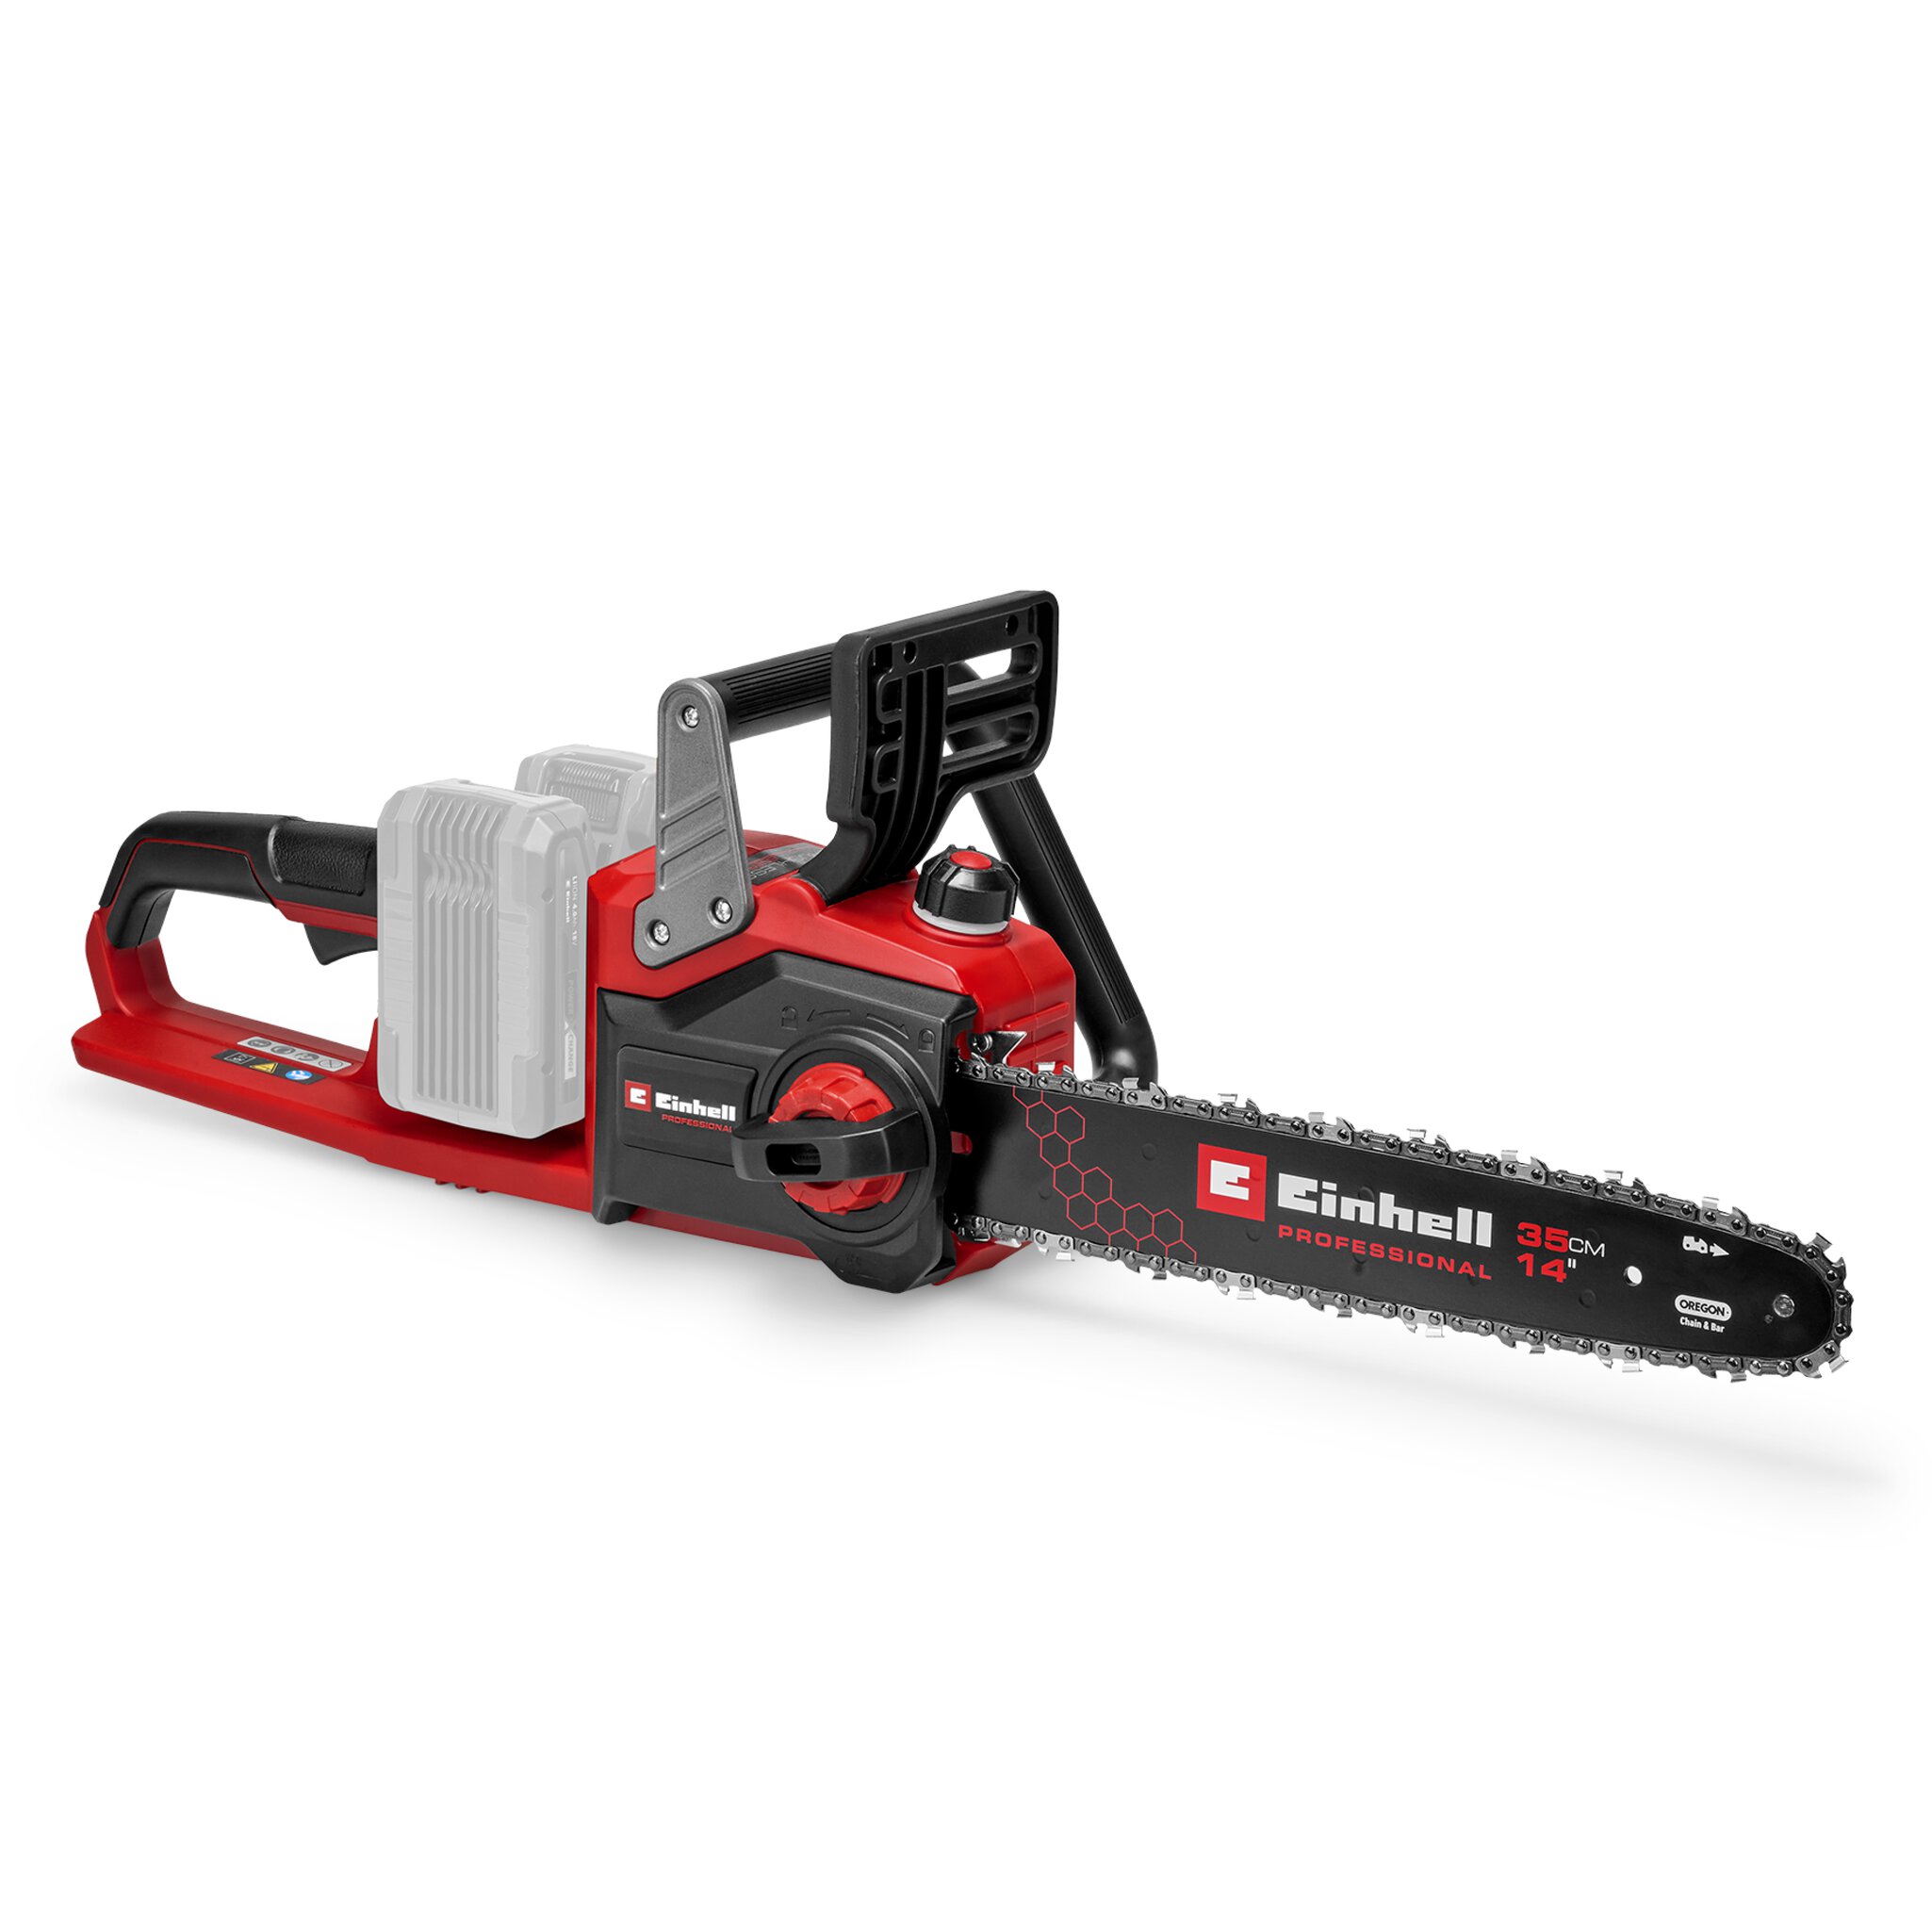
Sharpen and Clean the Chainsaw

After the last trees have been felled in autumn, it is time to send the chainsaw to a well-deserved hibernation. In the run-up, however, it is important to disassemble and clean both the chain and the shield. Tree resin and other dirt can be removed here most easily with benzine. After cleaning, it makes sense to sharpen the already dismantled saw chain and examine it for damage. Damaged saw chains should be repaired or replaced immediately! To avoid rust, grease both, the shield and chain, after cleaning and mounting.
For the petrol chain saw, it is recommended to empty the tank and carburetor, top up the oil and check the spark plug. The procedure is the same as for the care of the petrol lawn mower. The air filter should be cleaned, checked for abrasion and replaced if necessary.
Garden Pumps and Water Works

If you use pumps for ponds or the irrigation water supply in your garden, this must be adjusted during the winter. Drain the water, so that it does not freeze in the pump and burst the pump housing. Even with these devices, of course, a basic cleaning (especially of algae residues) before wintering is recommended.
Proper Storage
Once all equipment has been properly cleaned and brought to the best possible level, it is time to send them off to hibernation. We recommend a dry and frost-free storage. In addition, lawn mowers, hedge trimmers and chainsaws can be wrapped with tarpaulin to protect against dust.
What additional tasks you should consider to make the garden winter proof, we show in an extra post.
Thanks to these simple rules, you can start directly next spring with properly maintained and preserved garden tools and are almost certainly safe from costly surprises.
Our product recommendations for your DIY project

In this article you will learn all about:

Published on 20.11.2019
Whether it's the garden or the workshop, Hauke Leweling is a true all-rounder and a freelance blogger. For Einhell, Hauke is armed not only with pen and paper but also with various gardening tools and equipment that he thoroughly tests. He shares his experiences, as well as tips and tricks, in his blog posts.