


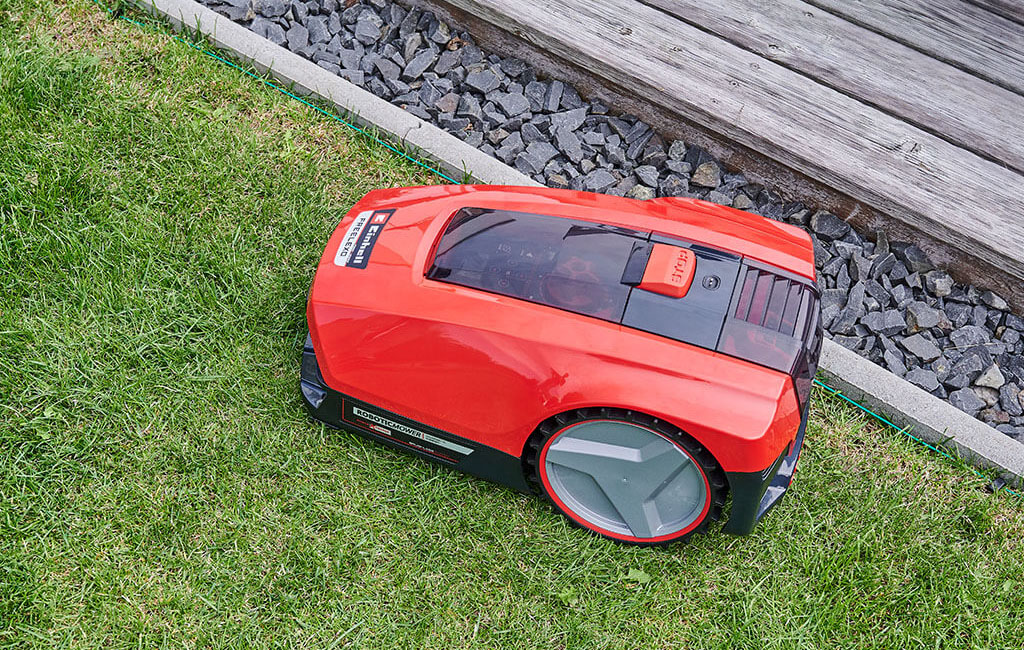
Install your robotic lawn mower like a pro: And the FREELEXO is ready to go!
A green oasis with a pond or swimming pool, a cosy seating area, colourful plants and hedges as a privacy screen – your garden is a lavish space that deserves to be well maintained. Many amateur gardeners rely on automated support in the form of a robotic lawn mower. But in order for the hard-working robotic lawn mower to be able to perform its services professionally, there needs to be some ground work first.
Although you usually only need to carry out installation work such as laying the boundary cable once, these are not without pitfalls and want to be done properly. Below, we have summarised how to set up the robot in your garden and what you should look out for when laying the boundary wire.
We will explain how to properly lay the boundary wire for your Einhell robotic lawn mower in the blog.
Overview of installation work for the robotic mower
Before your robotic lawn mower can do the rounds through your garden, there are a few initial steps to be completed. But don't worry, it's all quite manageable. And compared to the time you would spend with manual lawn mowing over the course of the year, the installation work doesn't even come close. Positives: Generally, you only set up your robotic lawn mower once, after which it can take care of your garden year after year. However, if you are completely redesigning your garden area, you should also adjust the boundary cable. However, the second time you have the advantage of knowing how it all works already!
You'll need to do the following when installing the mower:
- Lay the boundary wire
- Connect and secure the charging station
- Install the robotic lawn mower
- Check for software updates
- Adjust mowing times, cutting height, etc.
If you're bringing a robotic lawn mower into your garden, you'll need to put some ground work in first.
Want the easy option? Contact the Einhell installation service
Don't have the time or inclination to deal with boundary cables and settings? Then simply have the robotic lawn mower installed by a professional! You can easily find the robotic mower service on our Einhell service website. In addition to the winter service, which takes care of the maintenance and, if necessary, also the storage of your robotic lawn mower, you will also find the installation service: A trained professional will then take over the set-up of your device and lay the boundary wire in your garden. The best part: You can just sit back and watch. You should choose the right installation service for the size of your garden.
If you want to save yourself the work, you can also simply take advantage of our installation service.
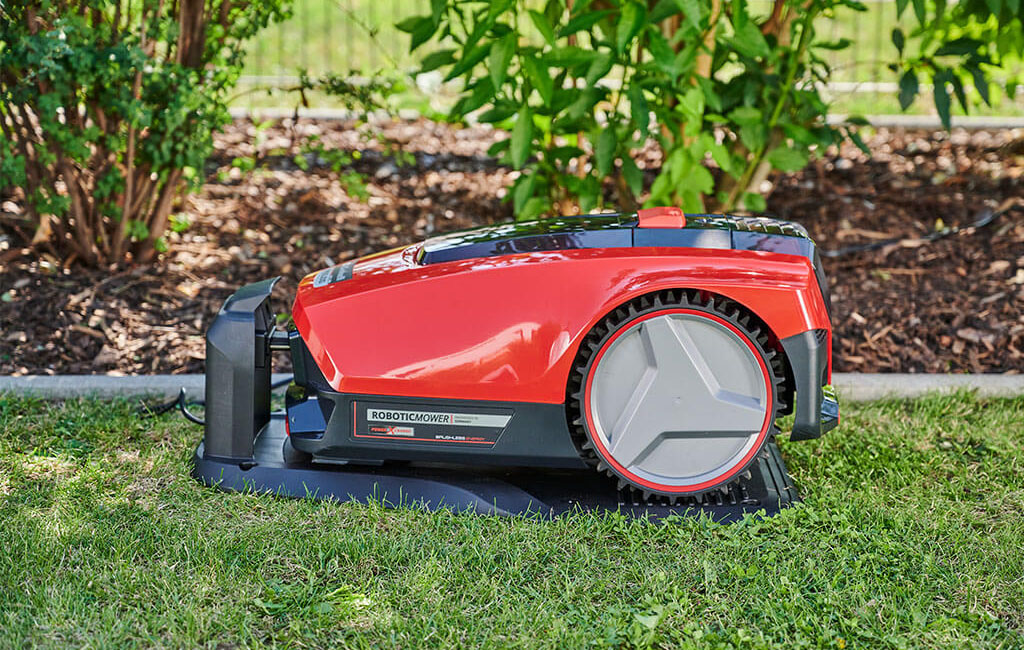
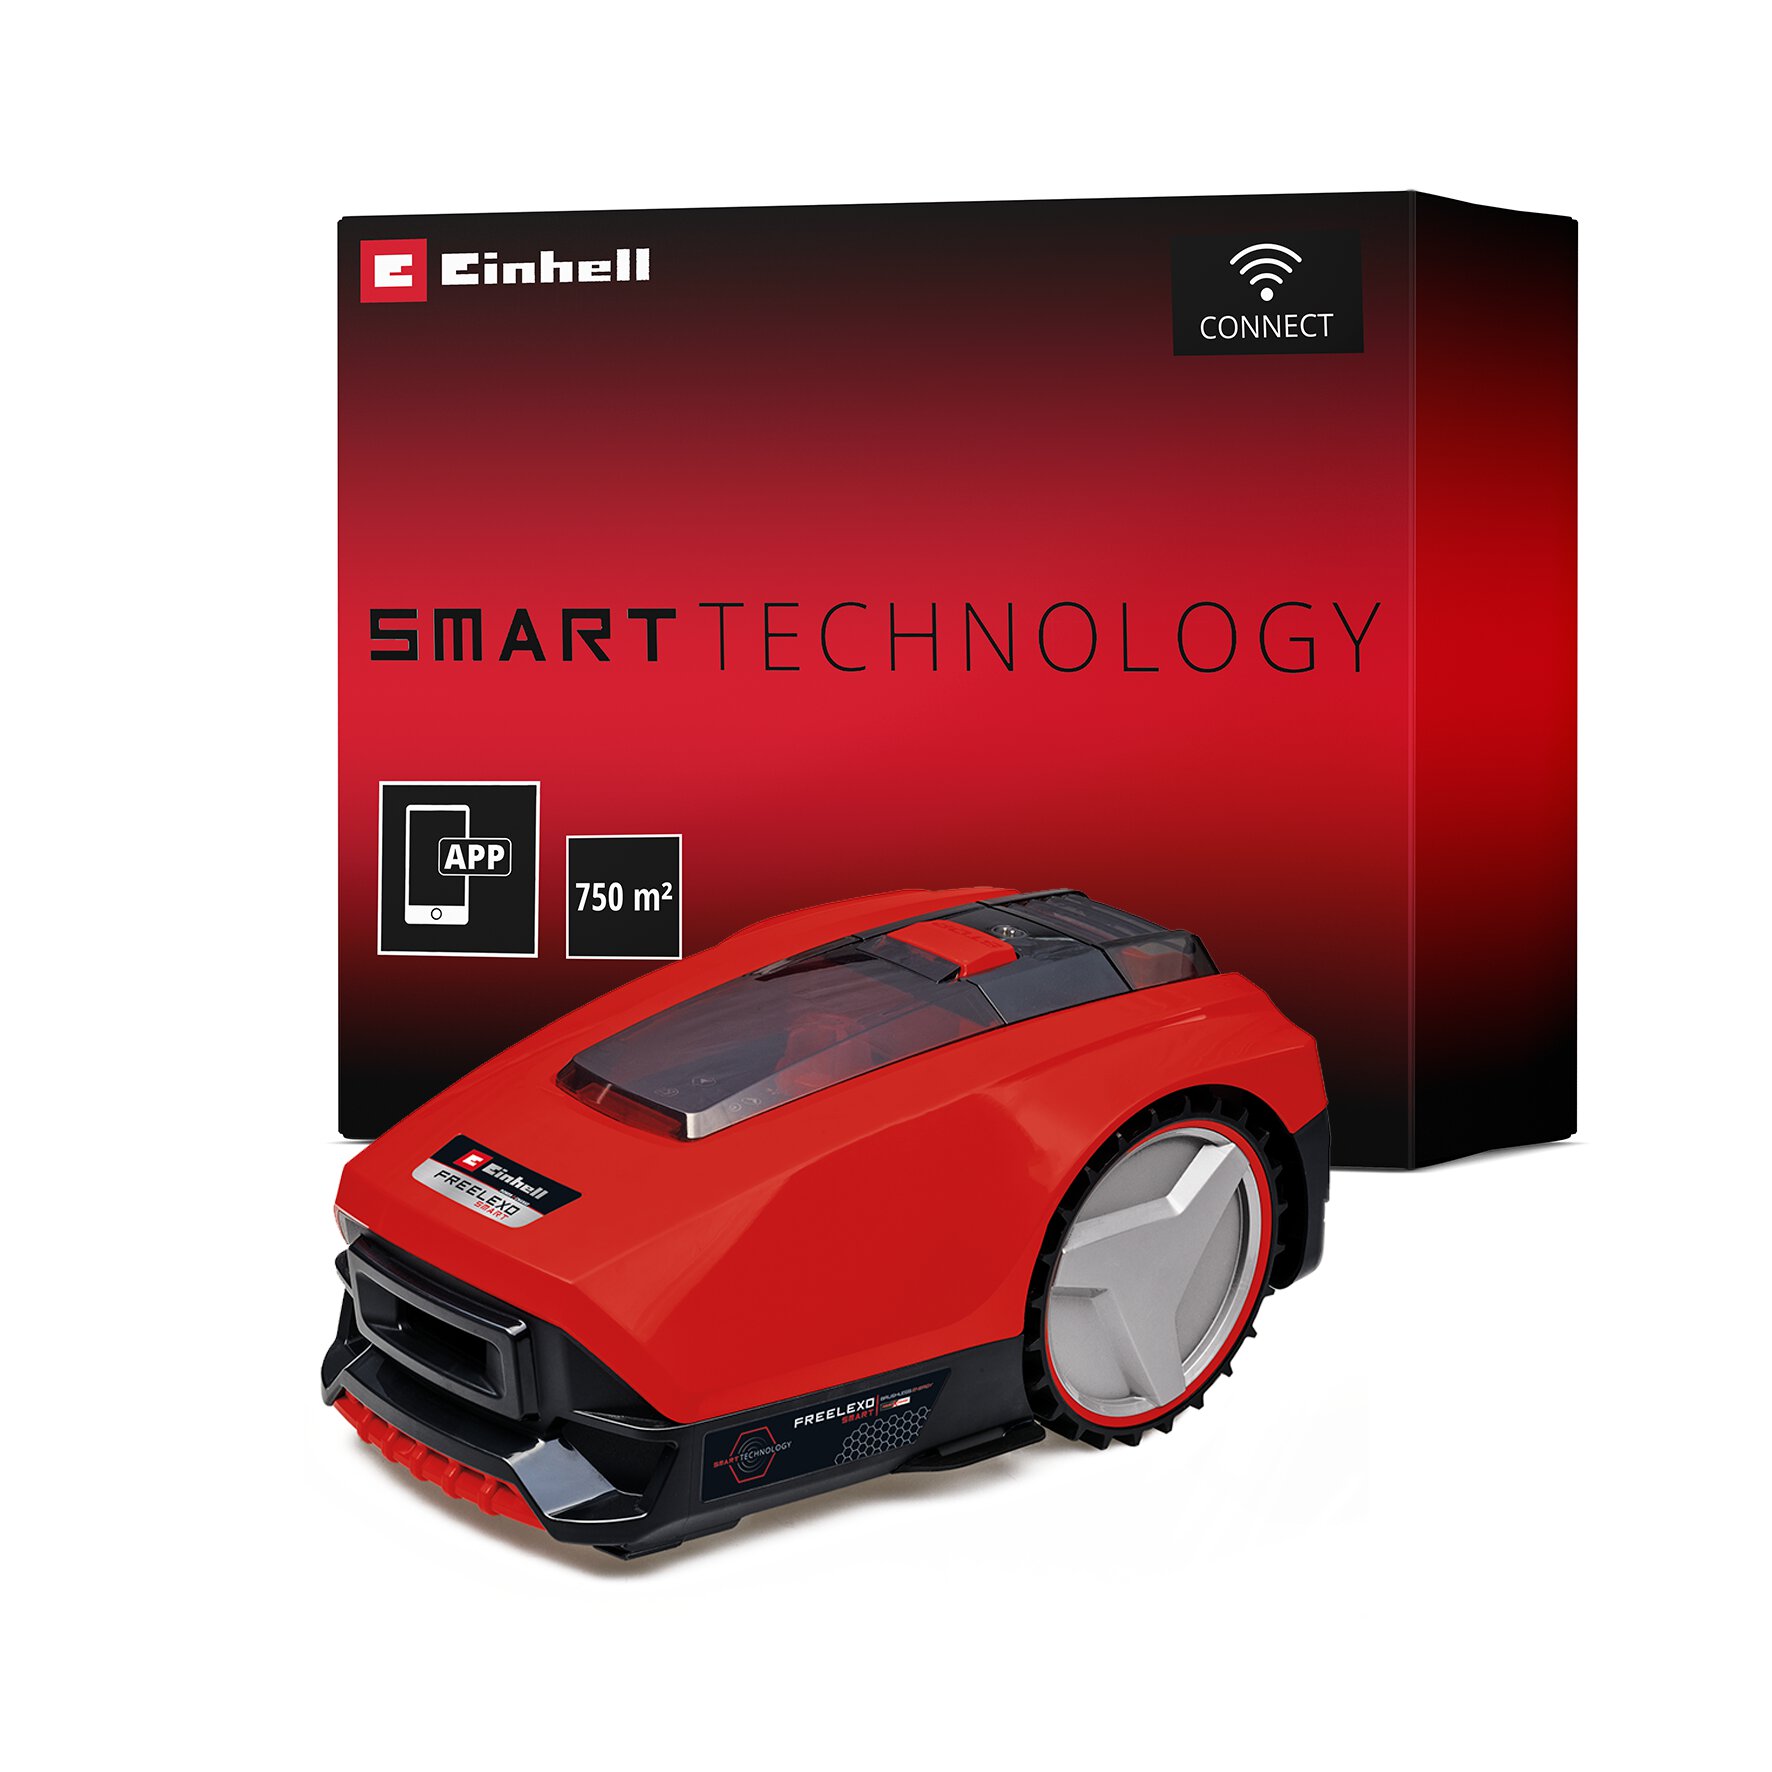
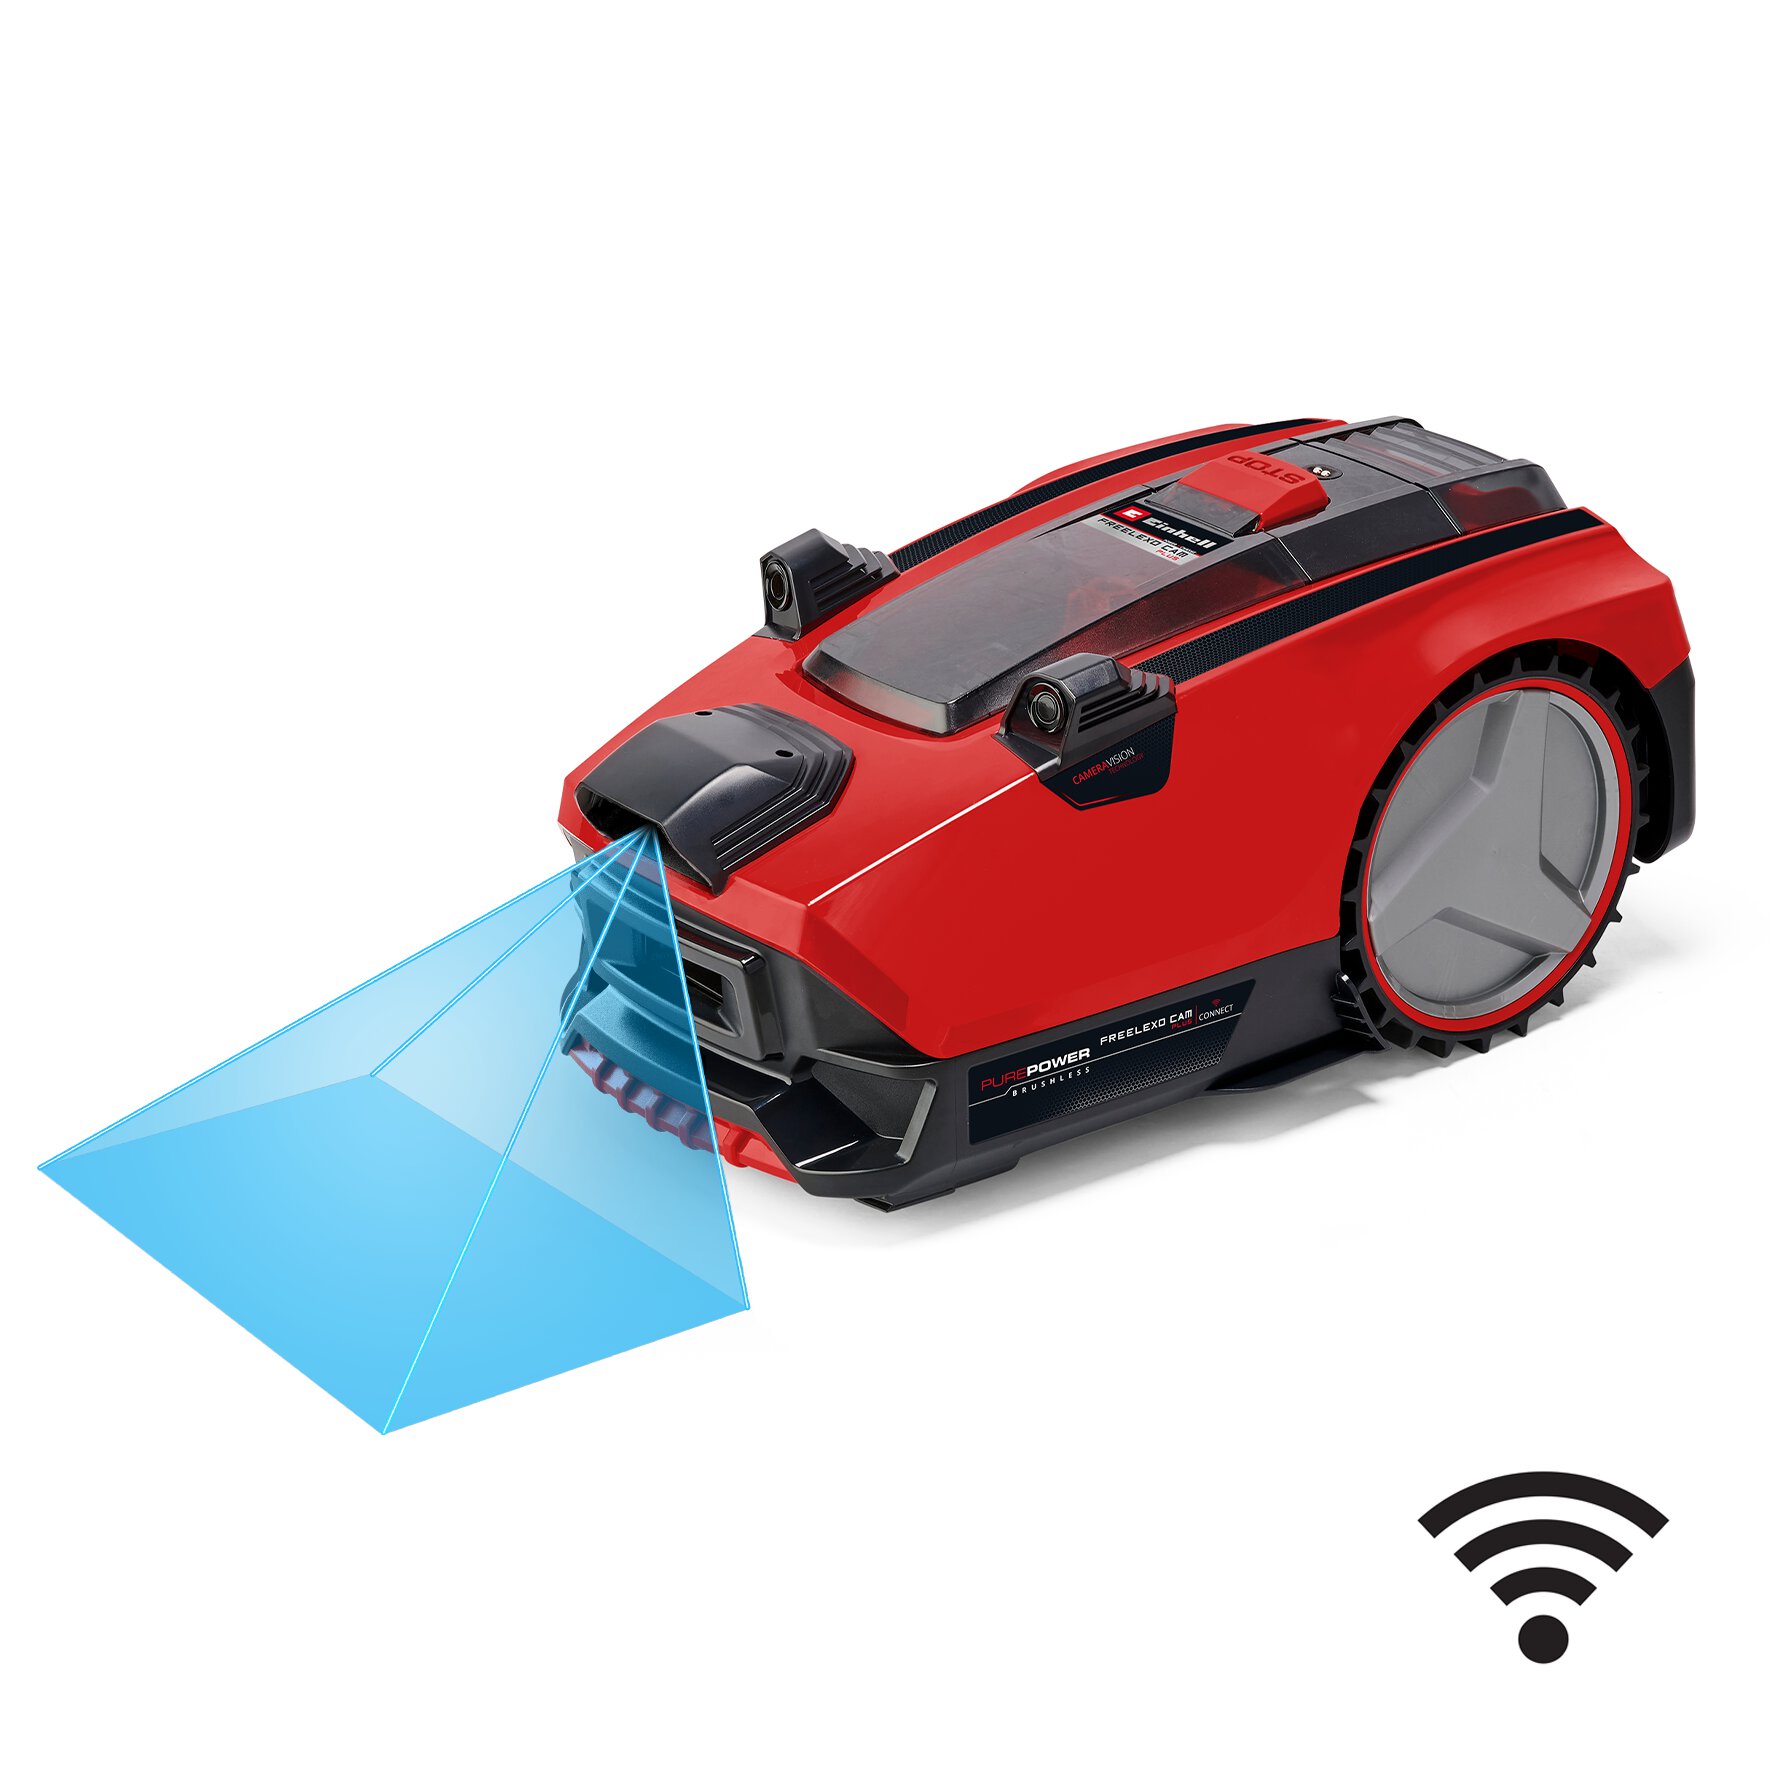
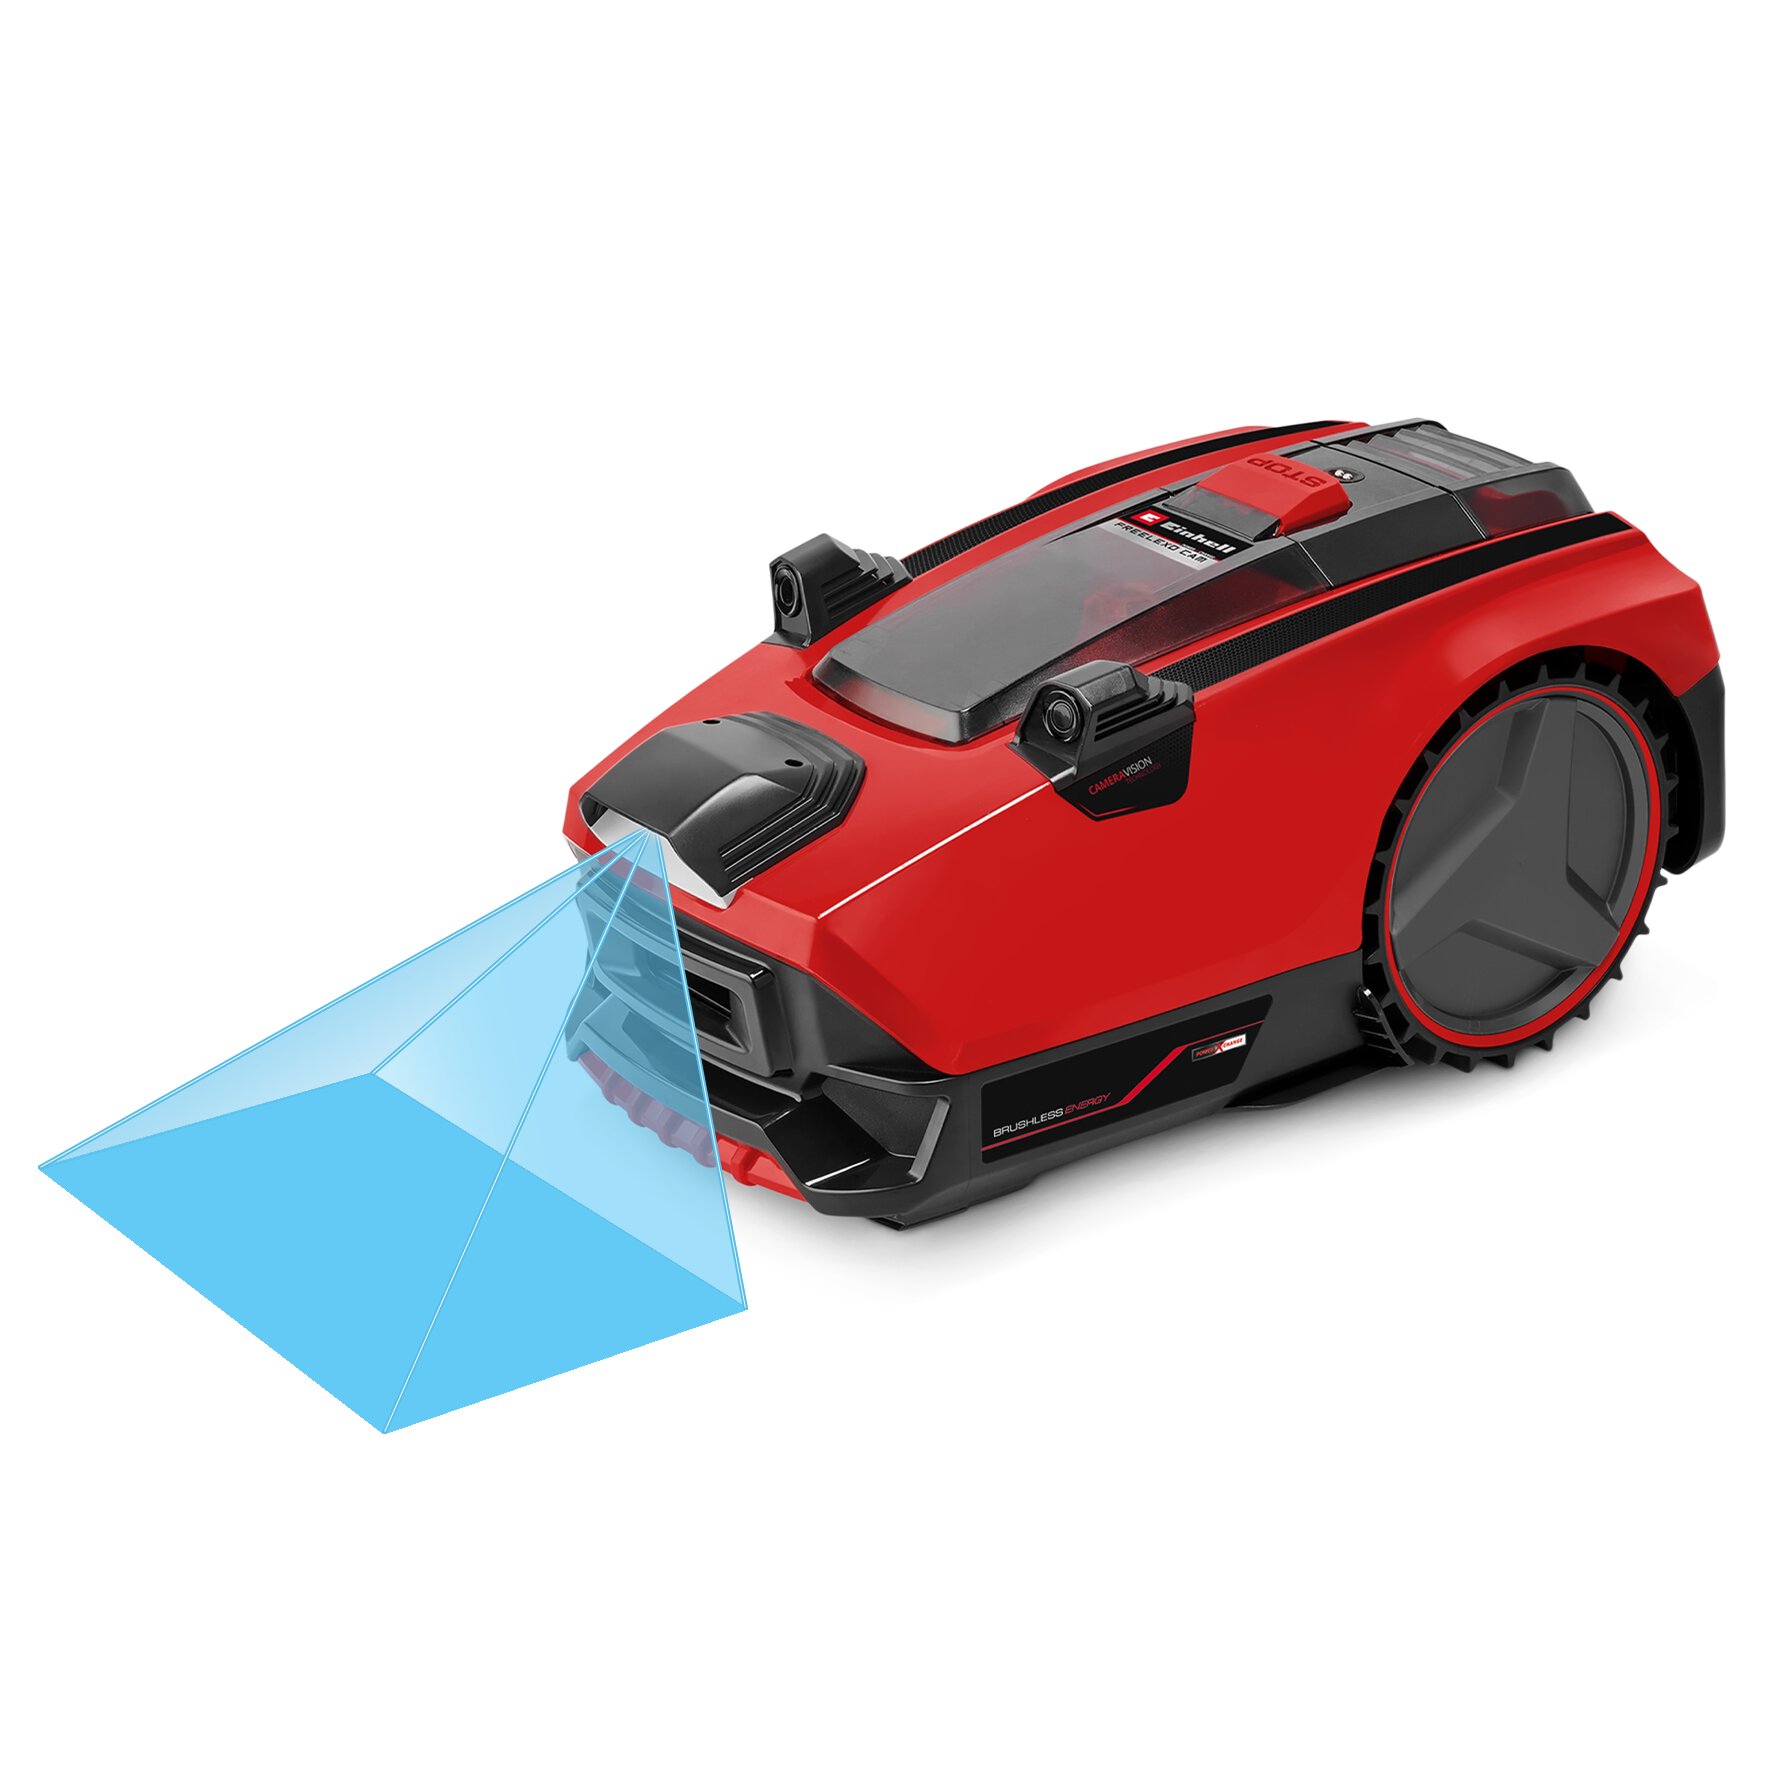
The wire-free robot lawn mower: FREELEXO CAM
Are you looking for a robotic lawn mower that works without a boundary wire? Simply place the mower in the garden, and you're ready to go without the need to install the wire around the entire garden beforehand. This is now made possible with the FREELEXO CAM! Using the integrated camera, the robotic lawn mower automatically detects the areas of grass that need to be mowed. This technology works through the combination of cameras and sensors: Optical boundaries such as different surfaces (asphalt, gravel, paving stones, mulch, and curbstones) are captured by the camera, while obstacles like trees, walls, or hedges are detected by special sensors.
For the robot lawn mower to function smoothly on your lawn, your garden should meet the following criteria:
- The lawn should be evenly green, without any color irregularities such as faded patches or leaves.
- You should have clearly defined or well-maintained lawn edges in your garden.
- The layout of your garden should not be too complex, preferably without many individual sections, narrow passages, or intricate corners.
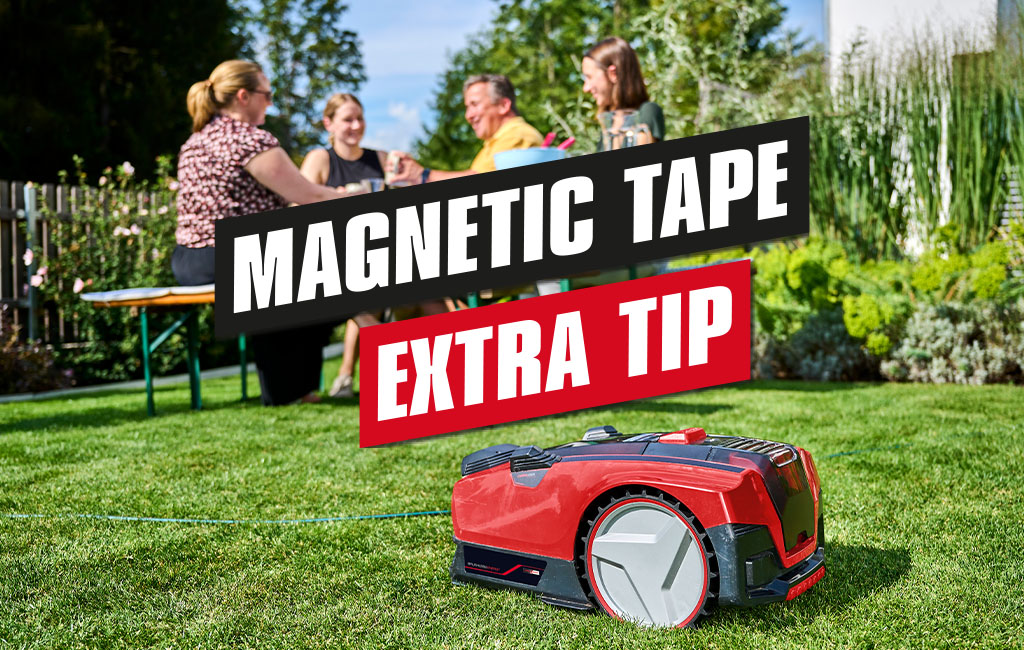
Extra tip
Not all lawn edges and obstacles are clearly visible? The magnetic tape provides a quick solution! Whether the lawn edge is difficult to identify or you want to let the flower meadow grow for the bees: You can exclude all areas that the robot should not mow by using the magnetic strip to define the mowing zone. Simply place it loosely, secure it to the ground, or bury it - whichever way you prefer.
Installation of the FREELEXO CAM
Laying the boundary wire is a thing of the past! Today, all you need to do is place a 5 m² cable loop around the charging station for the mower to dock. In the second step, you place the Freelexo into the station, calibrate it, and start the initialization drive. During this first drive through the garden, the mower familiarizes itself with your garden and its obstacles without actually mowing. It memorizes boundary points and obstacles. Once the initialization drive is completed, the Freelexo CAM starts mowing and automatically returns to the charging station when the battery is low. It resumes mowing at the programmed times once its battery is recharged.
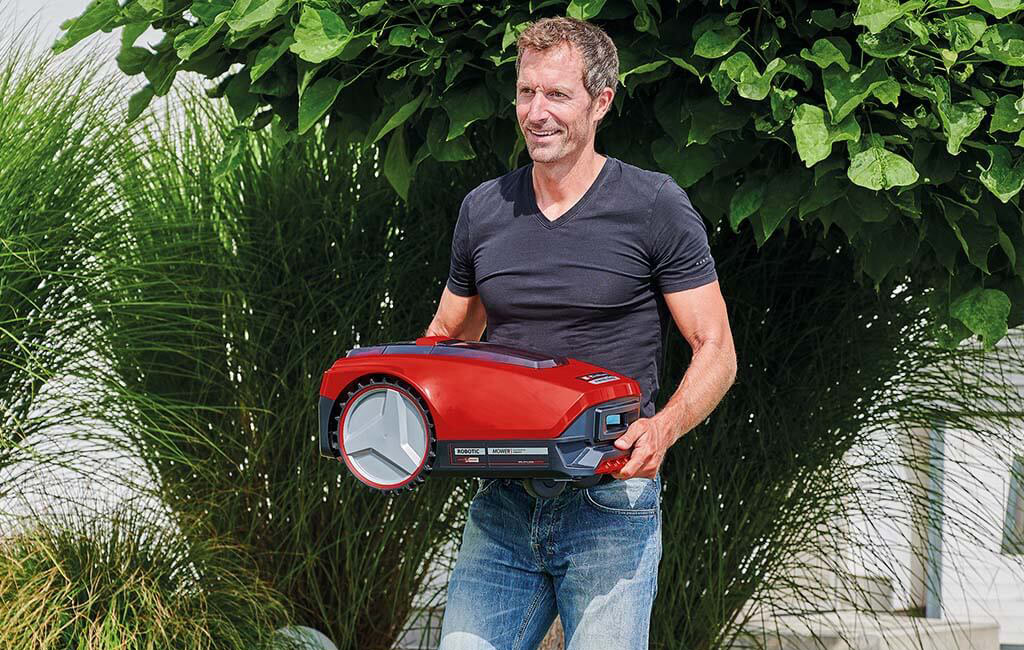
Taking care of your garden yourself: Step by step for the perfect lawn
Decided to set up your robotic lawn mower yourself? We'll walk you through what to look out for and the best order to do things in. And of course you can always find more detailed information in the supplied operating instructions. These are also available for download here and in the Einhell Service Shop.
Preparation is key
It is always advisable to make a sketch in advance – no matter how large or small a garden may be. In the sketch, draw the boundaries of the garden, the house, obstacles, paths, bushes, flower beds, trees, furniture, large ornaments and areas of water. If you have an overview of your garden, you'll be able to plan out on paper how and where you ideally want to lay the boundary cable before you get started.
If the planning is in place, you should – ideally before you lay the cable – manually trim any grass that has grown higher than 6 cm one last time with a lawn mower or trimmer. If you then programme the mowing times sensibly, the grass should not be able to grow this tall again over the entire garden season. The new robotic lawn mower takes care of this at regular intervals. Before it is ready to get going, loose objects such as toys should also be removed from the lawn.
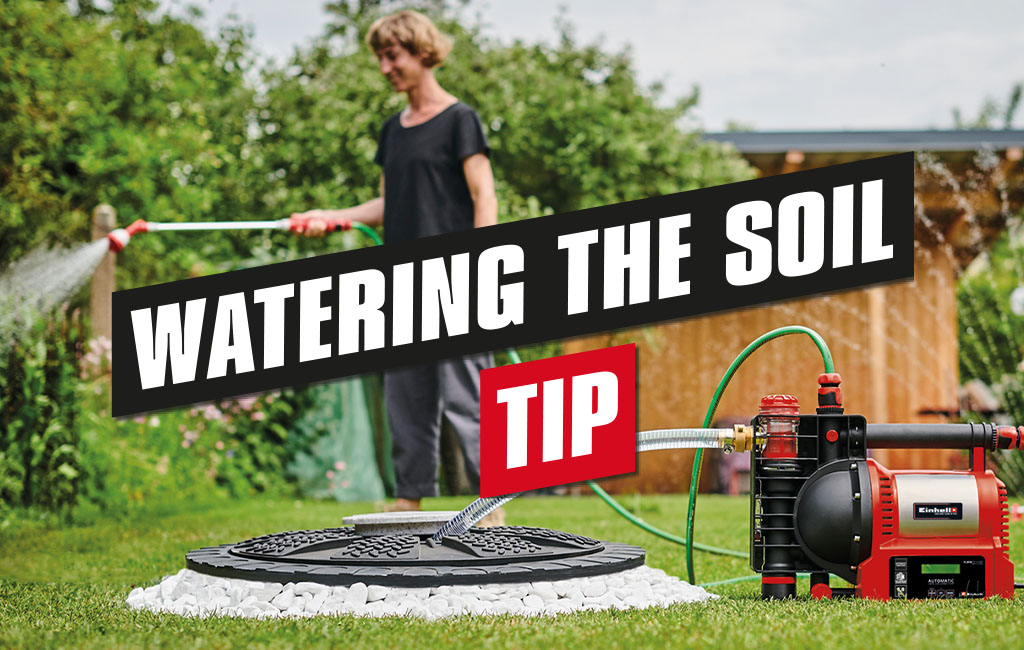
Extra-Tip
If you have very hard or dry soil, the fastening hooks may break when pressed into the soil. Here it helps to water the soil beforehand.
Sketching: Mowing zones and charging station position
You can now find out how to choose the limits of your mowing surfaces on the plan you have prepared. First, you'll need to find a suitable position for the charging station. For the station, you need an external power socket with permanent power supply in a dry place, protected from sun and rain. For additional weather protection, you will also find a robotic lawn mower garage as an accessory in the Einhell range. The charging station should also be placed on a level surface at the level of the turf sward. Behind the charging station, the boundary cable should run straight for at least 1 metre before making the first bend. In front of the charging station, i.e. on the side where the robotic mower enters and leaves the station, the wire should run straight for at least 2 metres.
Depending on whether your FREELEXO model has the multi-zone mowing function, you can think about whether it makes sense to define different starting points for your robot. This is how you determine on which days which zones are to be mowed. The FREELEXO models with the designation BT+ are also equipped with a second area mowing program. This allows you to define demarcated adjoining areas as a mowing surface by means of a boundary cable. For the robot can get to work there, you simply place it on the respective surface. Since no charging station is placed there, you should then carry it back to the main area of the charging station.
The charging station should be placed on a nearby power connection protected from the rain and sun.
Get your accessories ready
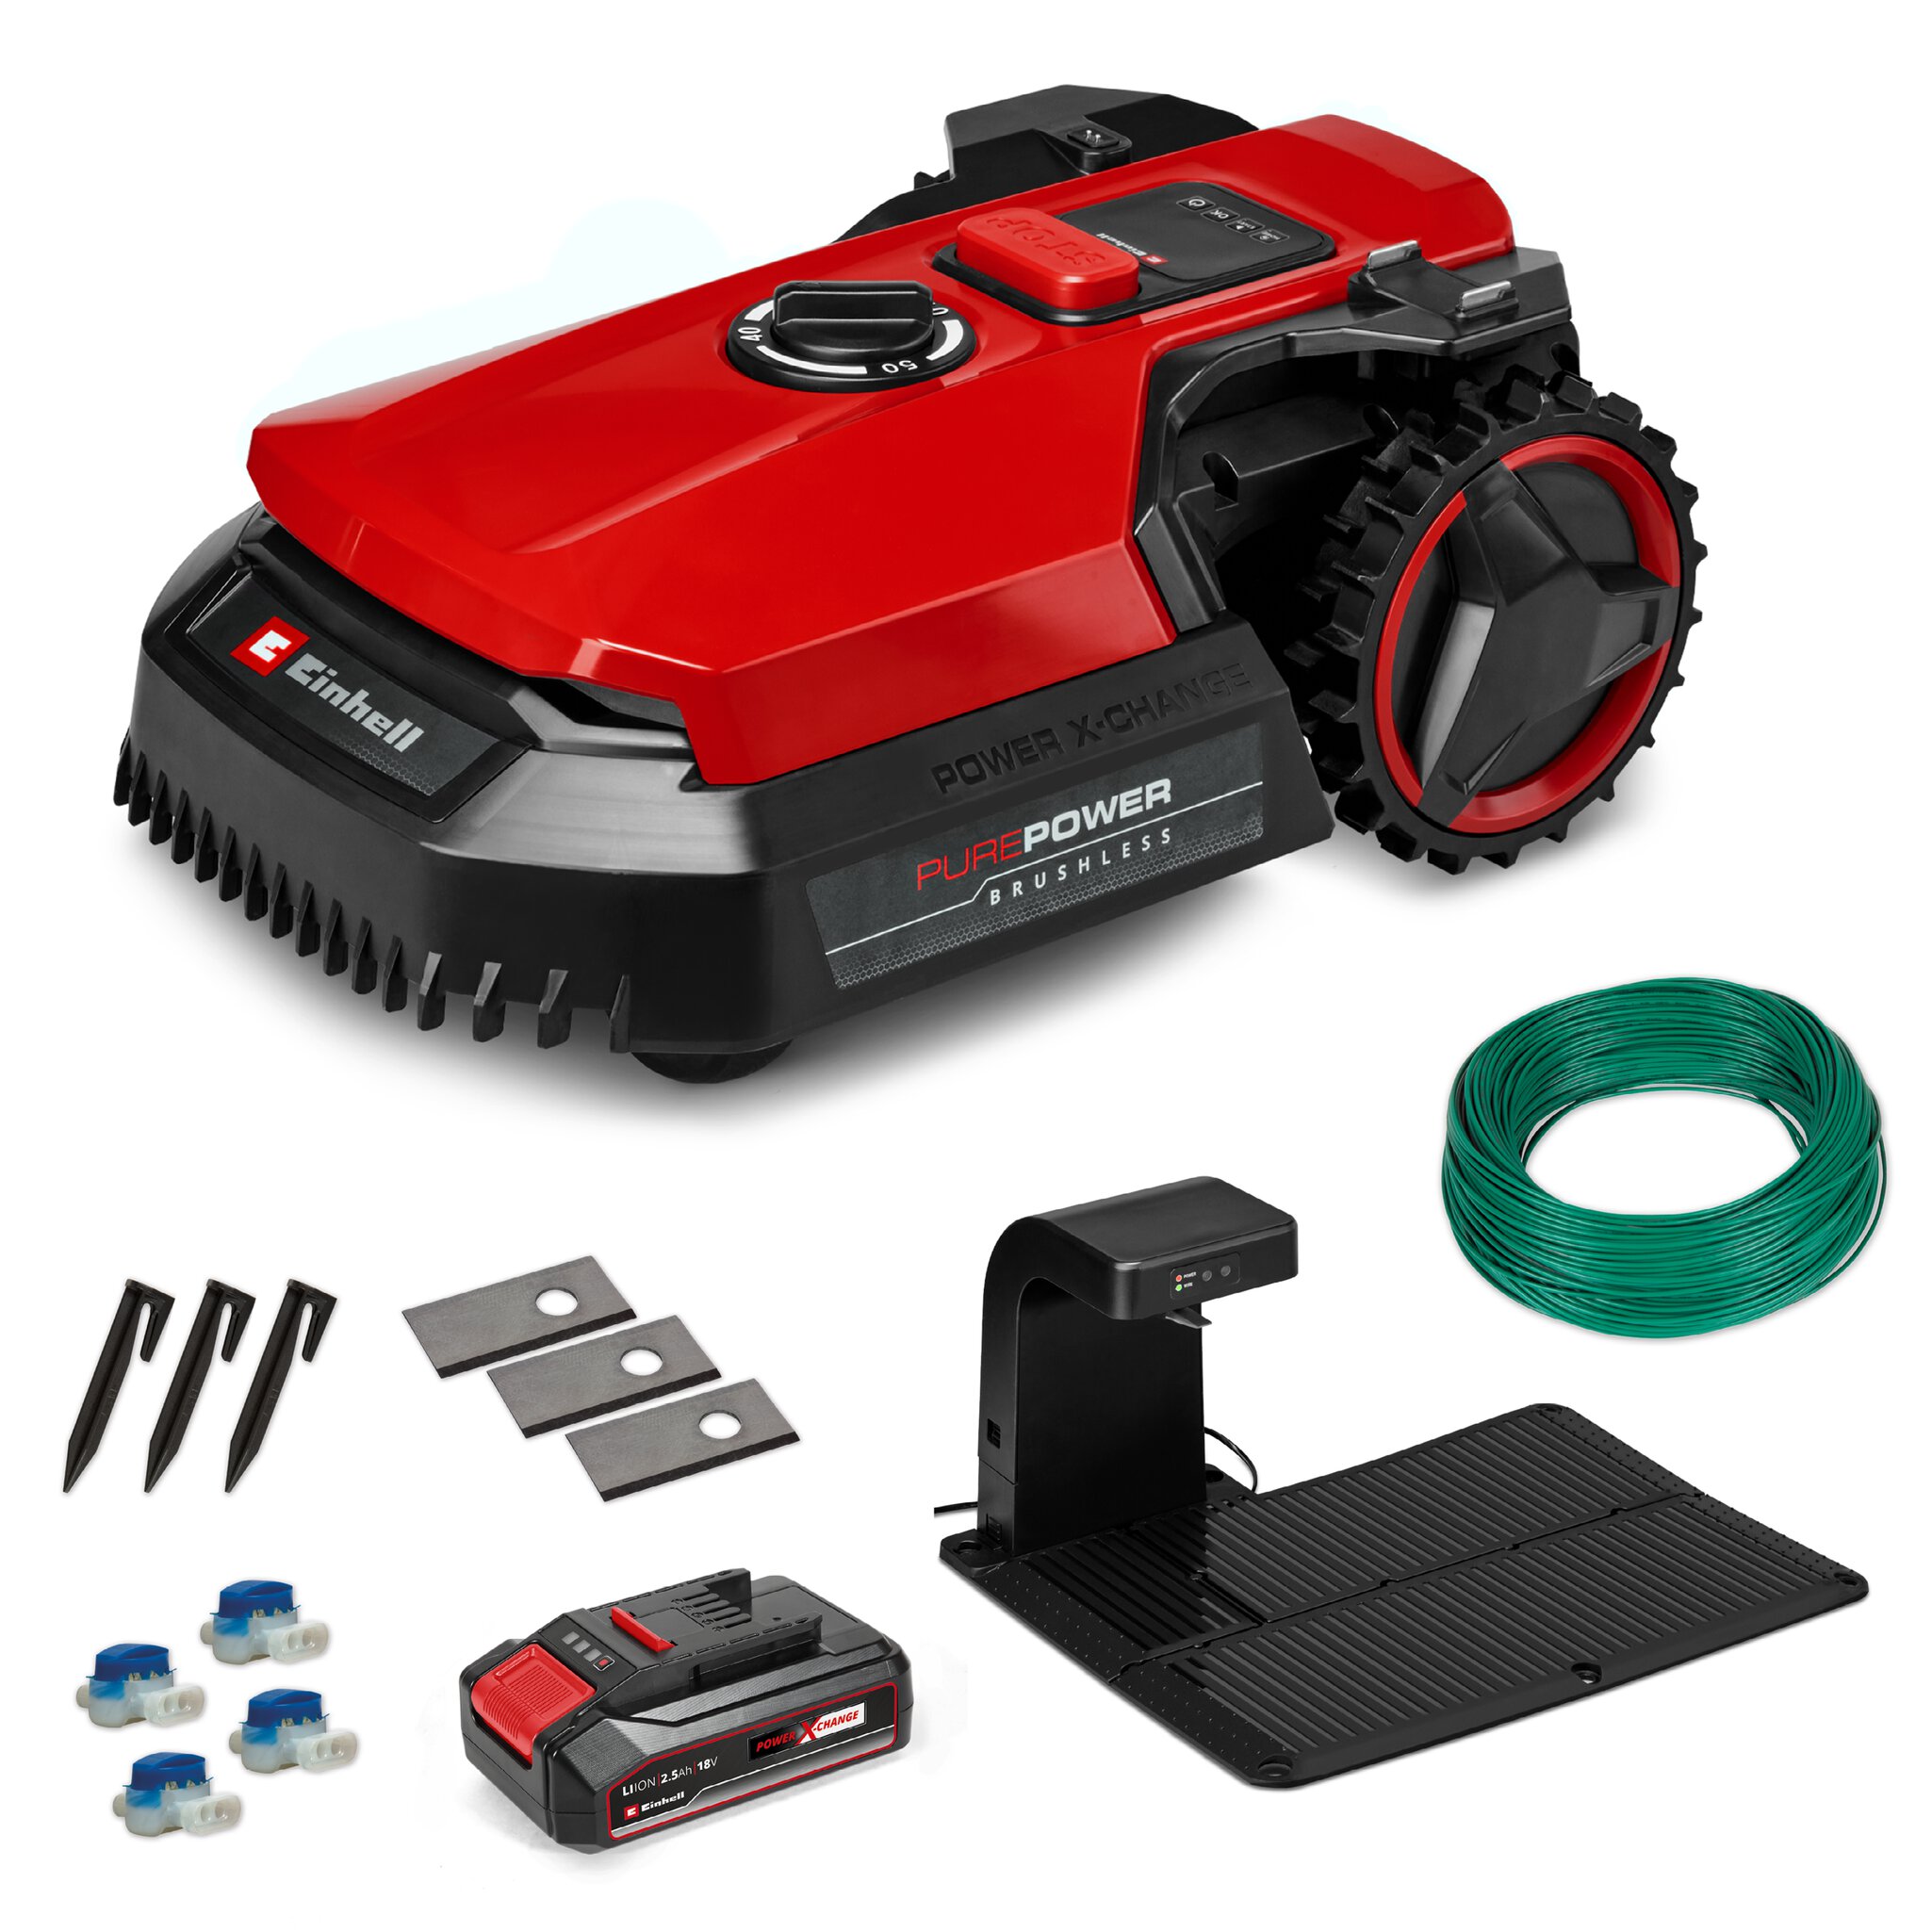
Depending on which robotic mower you have chosen, the necessary accessories – such as sufficient boundary wire, fastening hooks and connecting clamps – will already be included in delivery. A small ruler for measuring the distance between the boundary cable and obstacles is usually also included. You will also need the following accessories to install the boundary cable:
- Hammer
- Pliers
- Wire stripper
- Possibly: Spirit level, metre stick
The robotic lawnmower installation in 4 steps
Positioning the charging station
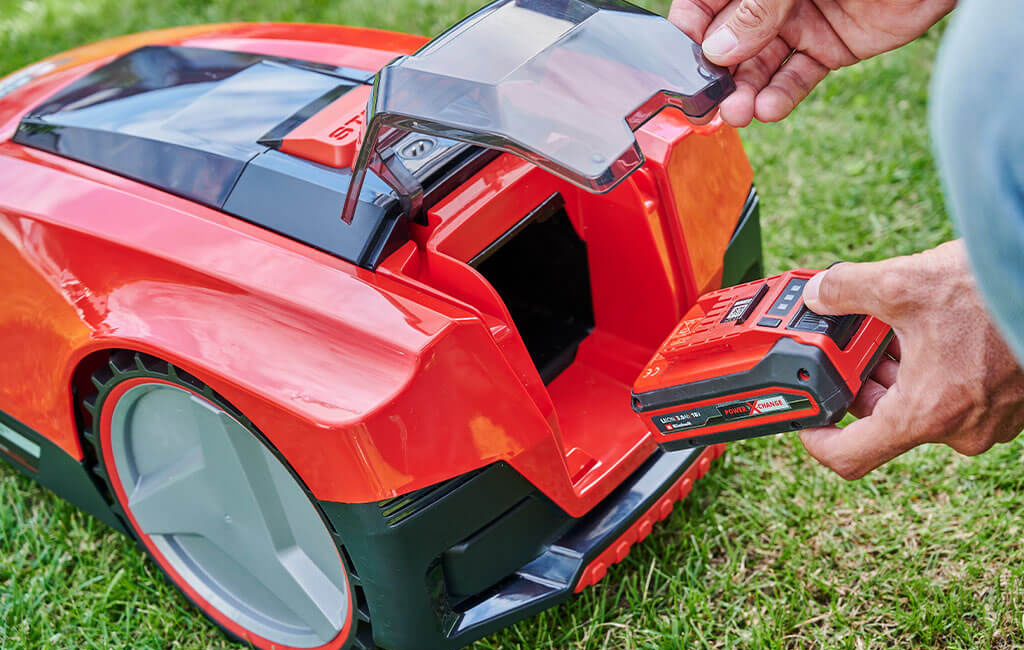
After you have positioned the charging station in a suitable place, you can connect it. For this purpose, the station is simply connected to the power supply and the mains plug is plugged into the socket. Once the power supply has been established, a green LED light flashes at the front and rear of the station. You can then insert the Power X-Change battery into the robotic lawn mower and drive it into the station yourself for charging.

Laying the boundary wire correctly
Basically, there are two ways to lay the boundary cable: above ground with fastening hooks and underground by burial. However, if you are laying the wire for the first time or if you plan to redesign your garden in the near future, you should lay it above ground for the time being. This makes it easier to make corrections without having to dig out the wire. By the way: If the wire is laid above ground, it will be overgrown after a short time, because it is laid very close to the ground. As a rule, it will no longer be visible by the next gardening season.
When laying the boundary cable, it is important to maintain the correct distances and to delimit all necessary obstacles. In addition, parallel wires should never overlap. So make sure you always place the cables parallel to each other.
Watch our video to find out what distances you should keep and how best to proceed. You can also find more information in the operating instructions.

Connecting the charging station
If the boundary wire has been laid and the robotic lawn mower has been charged, the station can be connected to the wires. Before you do this, you must disconnect it from the power supply. Both ends of the boundary cable are then stripped and inserted into the provided connections. For this purpose, the end of the cable that comes from the front side of the station, is passed through a channel on the underside of the charging station and inserted into the connection provided. The wire end coming from the rear is connected to the other connection. The best way to find out which cable is to be plugged into which connection is to refer to the operating instructions! Make sure that the cables do not cross each other! After the charging station has been reconnected to the power supply, the control LED will be a solid green when the cables are properly connected.

Test drive and setting up the mower
Before you can programme regular mowing times, you should check whether you have laid your cables correctly. A first test drive of the FREELEXO is planned for this purpose. You can find out how to do this in the following video.

Functions and settings of your robotic lawn mower
Your robotic lawn mower is a complex, fully automatic device that has many functions and settings. We make it easier for you to use the mower by programming it at the factory. These default settings suit most lawns, but can still be customised by you. We have listed which functions you can later adjust and which information you can retrieve from the app-compatible robotic lawn mower models via the Einhell FREELEXO app.
Programmable functions
- System settings: Language, time
- PIN code
- Cutting height
- Mowing in the rain
- Multiple start points for multi-area mowing
- Edge mowing function
- Schedule setting
- Defining secondary users / accounts
Retrievable information
- Operating status
- Error memory
- Mower statistics
- Info on the software version
- Device information
- Instructions download
- FAQs
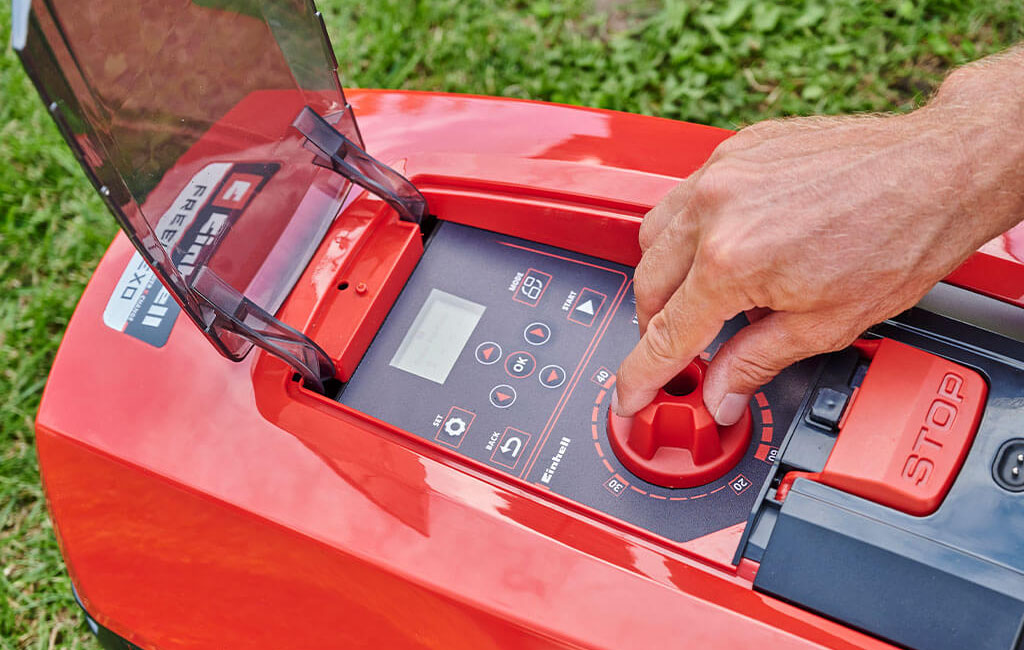
Depending on the model of the robotic lawn mower, different values and functions can be set directly on the robotic lawn mower or in the app.
In this article you will learn all about:

Published on 13.04.2022
Marina Liefke is an Online Editor at Einhell, where she deals with virtually all texts related to tools, garden equipment, and accessories. She acquires the necessary know-how through practical product training and close collaboration with the Einhell product managers. Her favorite tool is the PRESSITO cordless compressor because when the air is running out, it pumps it right back in.