


The best tips and tricks: How to clean your scarifier properly
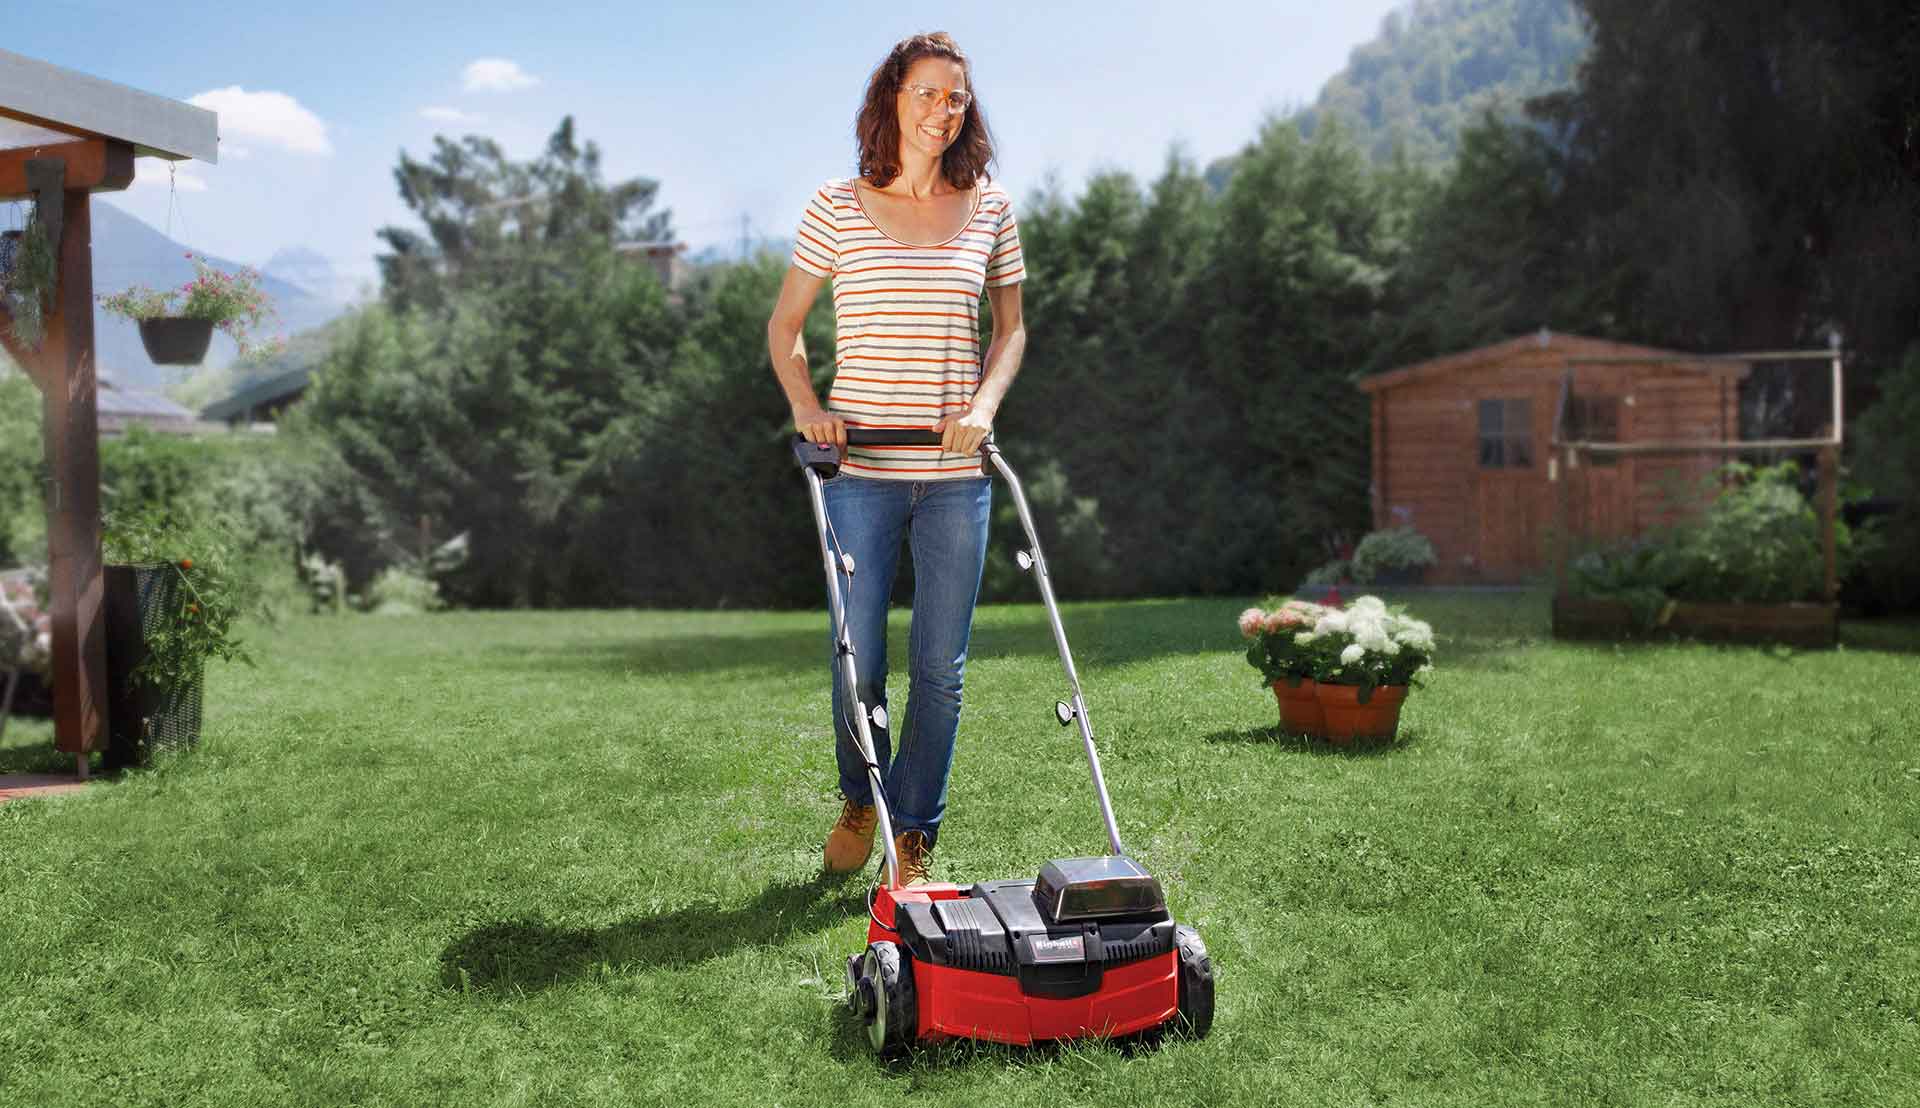
By regularly scarifying, you ensure that your lawn looks attractive and grows healthily. Not only does your soil benefit from regular care, but also your scarifier will only run at full capacity if it is properly maintained and cleaned, just like your lawn.
In this article, we will explain how to effectively maintain and store your gardening tool, as well as the benefits of thorough cleaning.
Cleaning the scarifier: Not only does the lawn benefit from regular care.
Why is it advisable to clean the scarifier after every use?
Often, a scarifier is stored unused in a basement or garage for an extended period during the winter months, as the lawn is not being worked on during this time. Long periods of inactivity contribute to a decrease in performance quality and the buildup of dust or dirt can lead to wear and tear. Therefore, it is even more important to thoroughly and effectively maintain and clean your scarifier - so that it is always ready for use when it comes time to scarify the lawn.
Usage also causes signs of wear: During scarifying, sweat, dust, and soil from the garden are left on the device. These may become lodged in hard-to-reach grooves. If the dirt is not properly removed, it can potentially render your device unusable.
This keeps the scarifier ready for use at all times.
How to properly maintain different types of scarifiers?
There are petrol-powered and electric scarifiers, with the latter being powered either by a power outlet or battery. Depending on the type of lawn or other surface you want to work on, a different device is best suited for scarifying your soil. To give you an overview, we have summarized tips for proper maintenance and the different models.
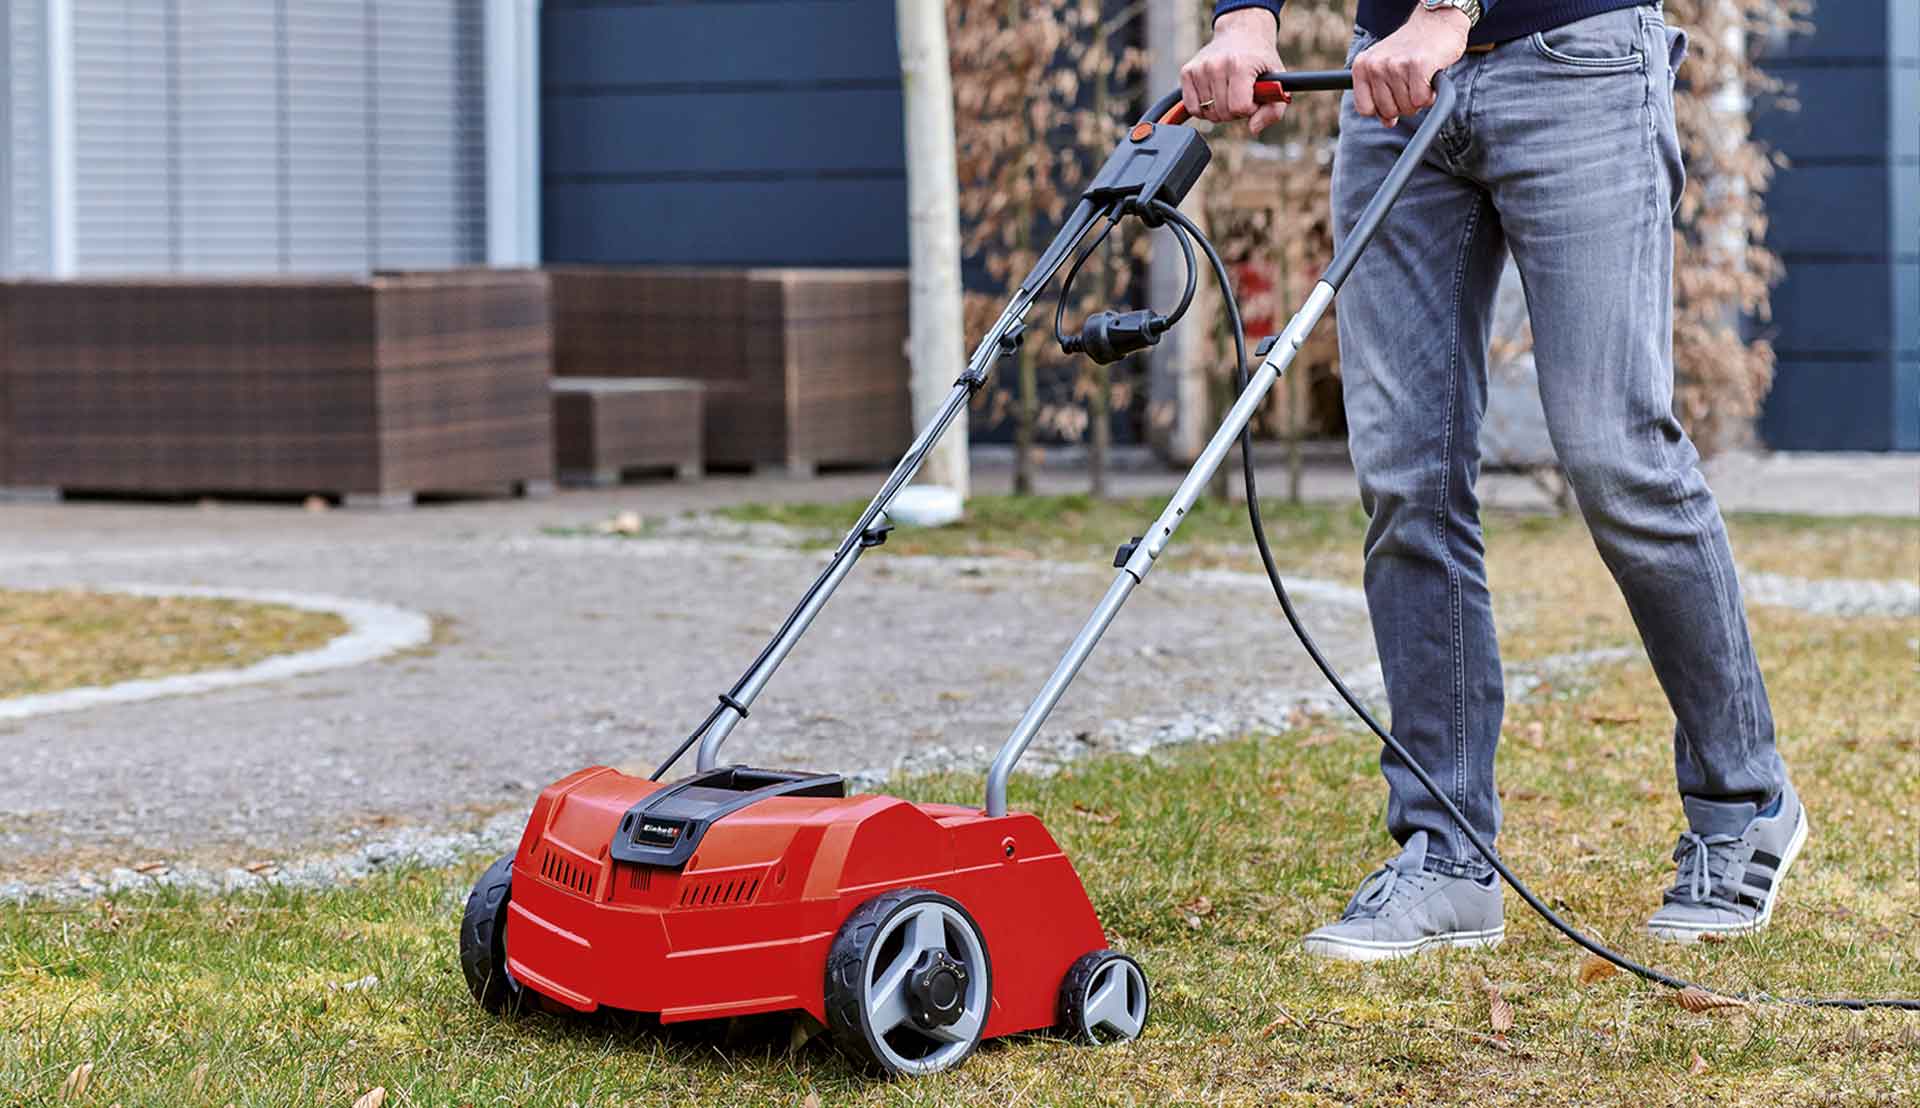
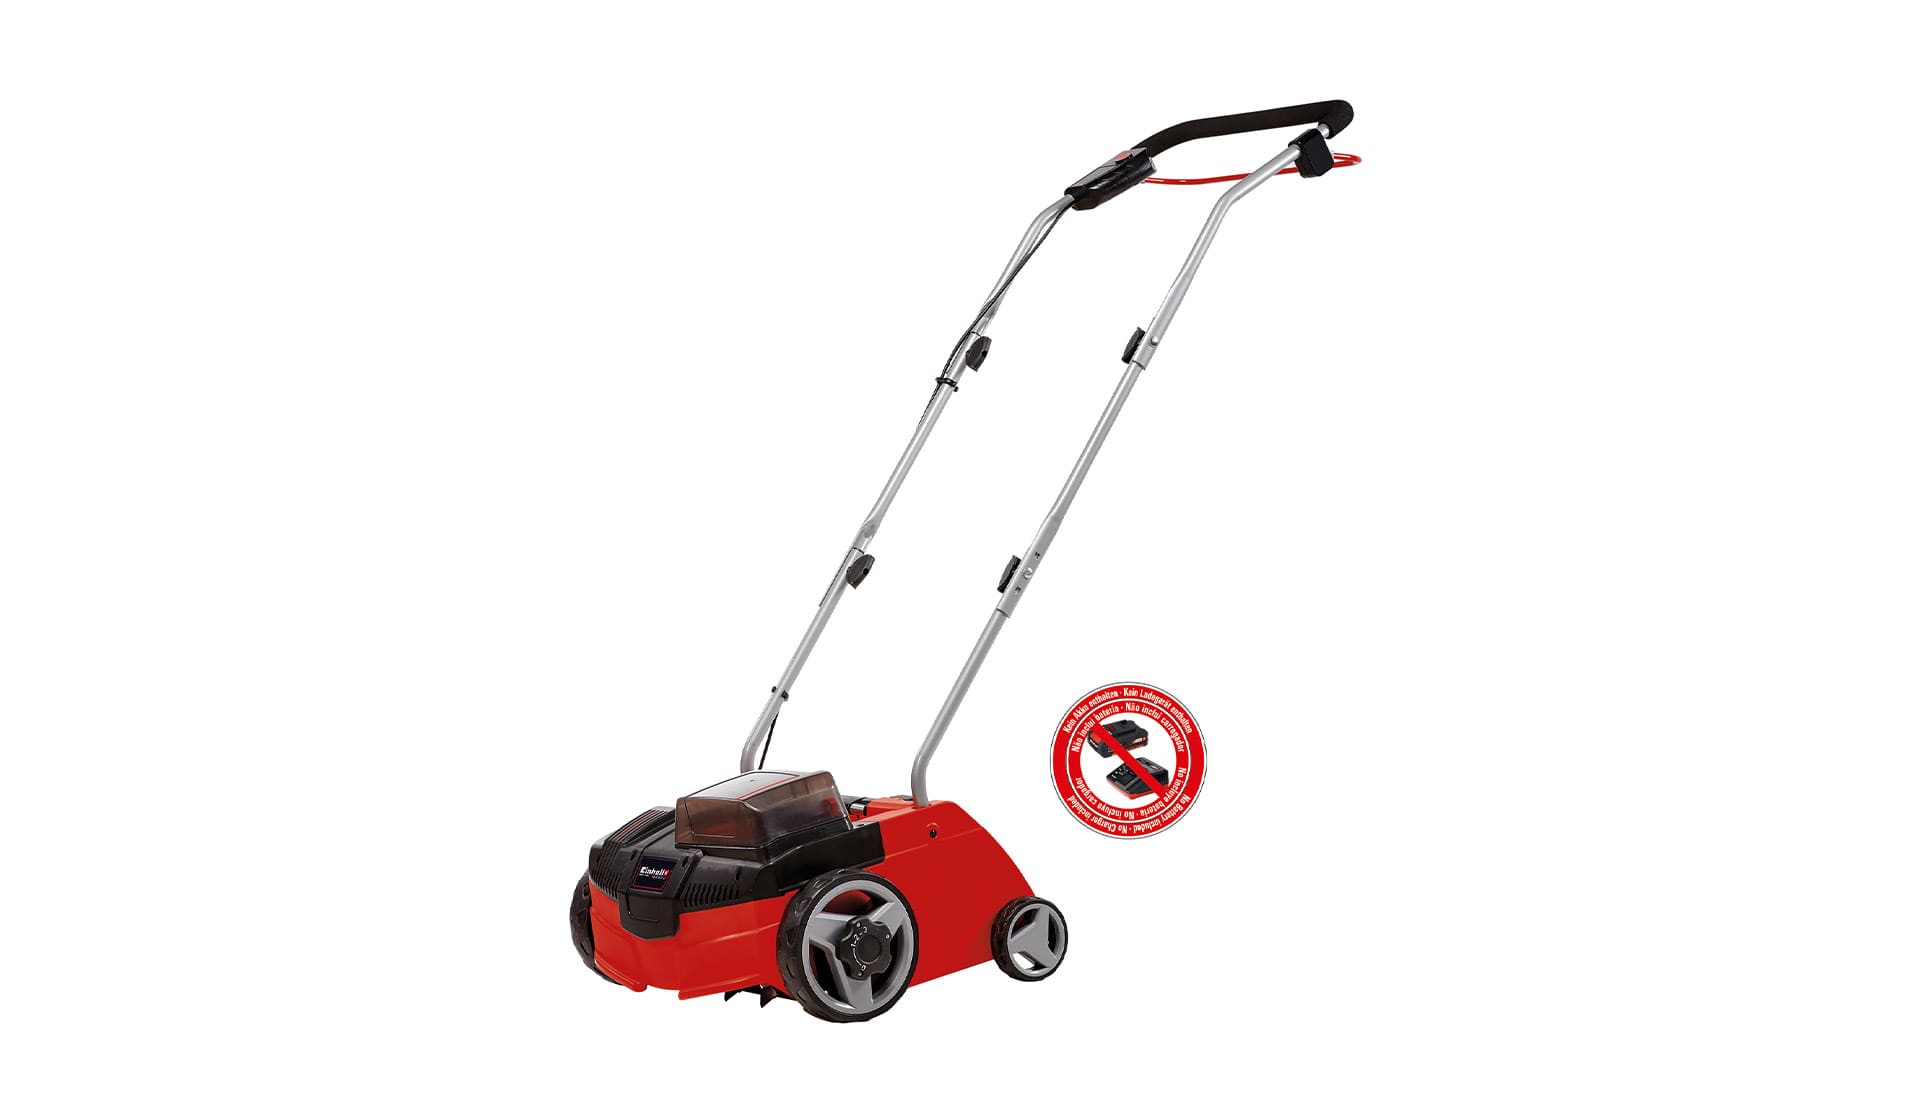
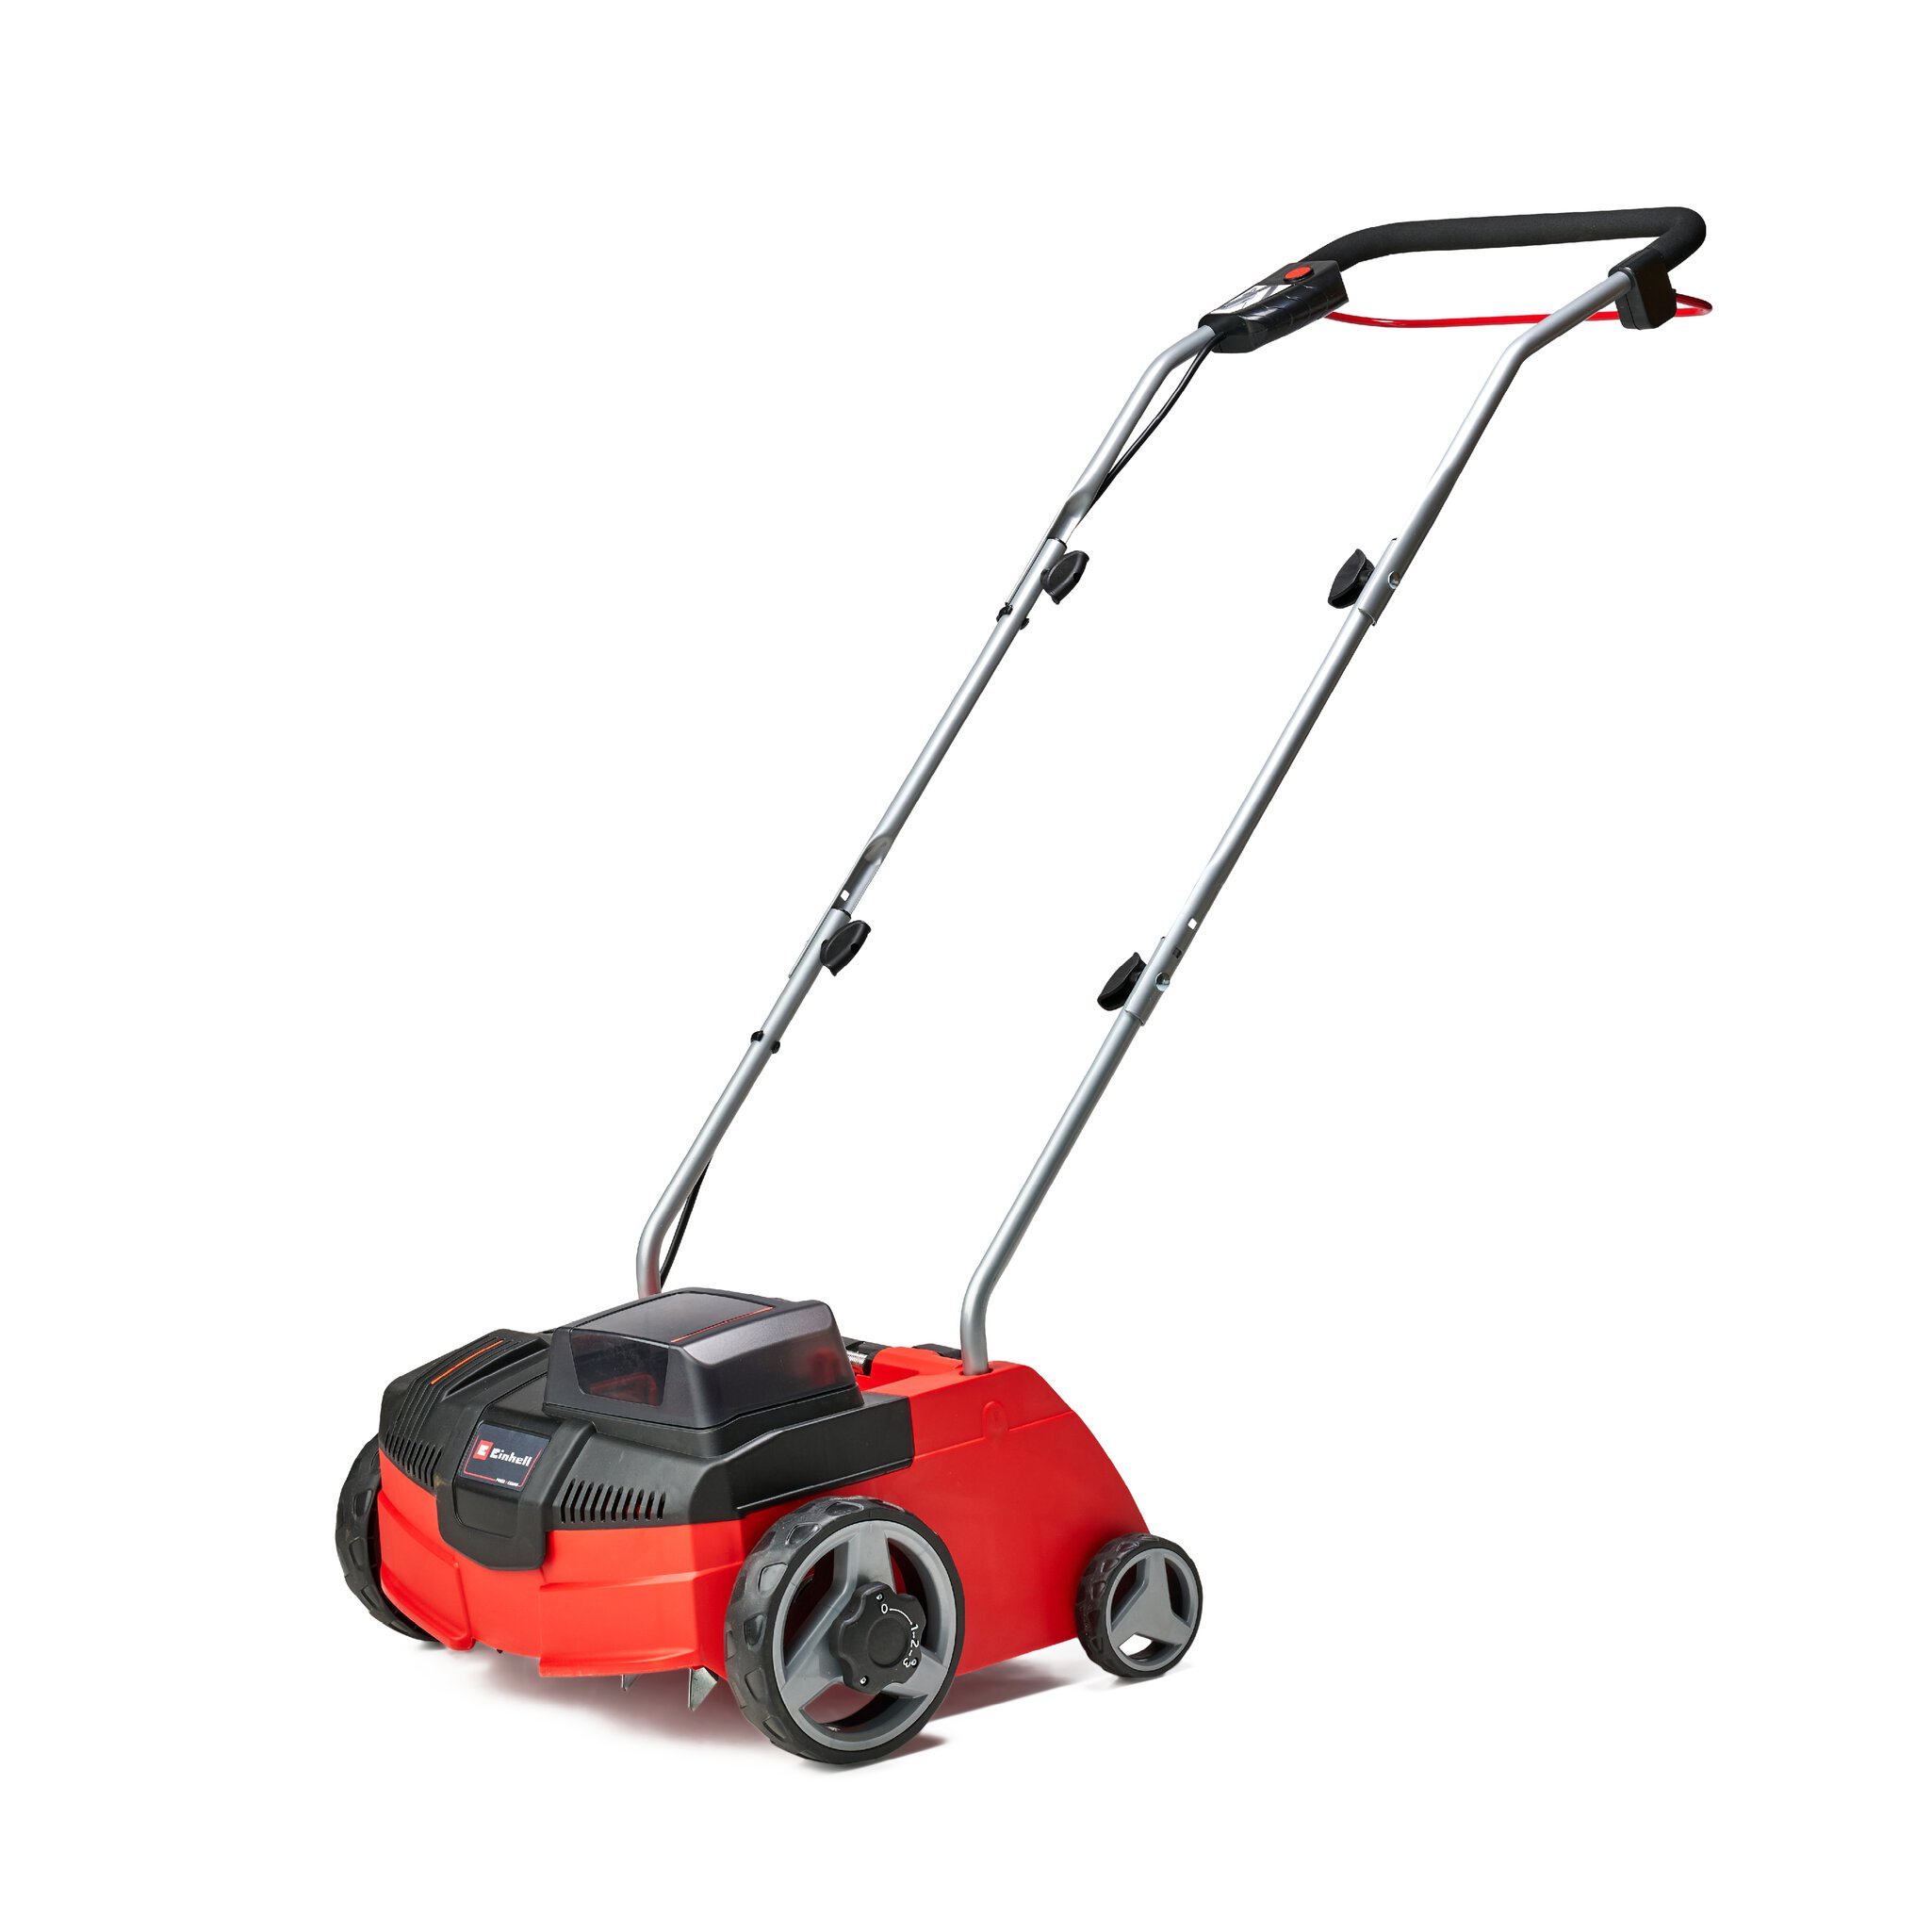
Cordless scarifier
As no power supply is required for use, you are particularly flexible when digging with a battery or hand-held verticutter. The only disadvantage is that once all the batteries are drained, you have to take a break. Because battery-powered verticutters are usually used for small soil areas or short working periods, you should pay attention to thorough maintenance and cleaning. When cleaning your verticutter, there are a few things to consider to be always ready for quick use.
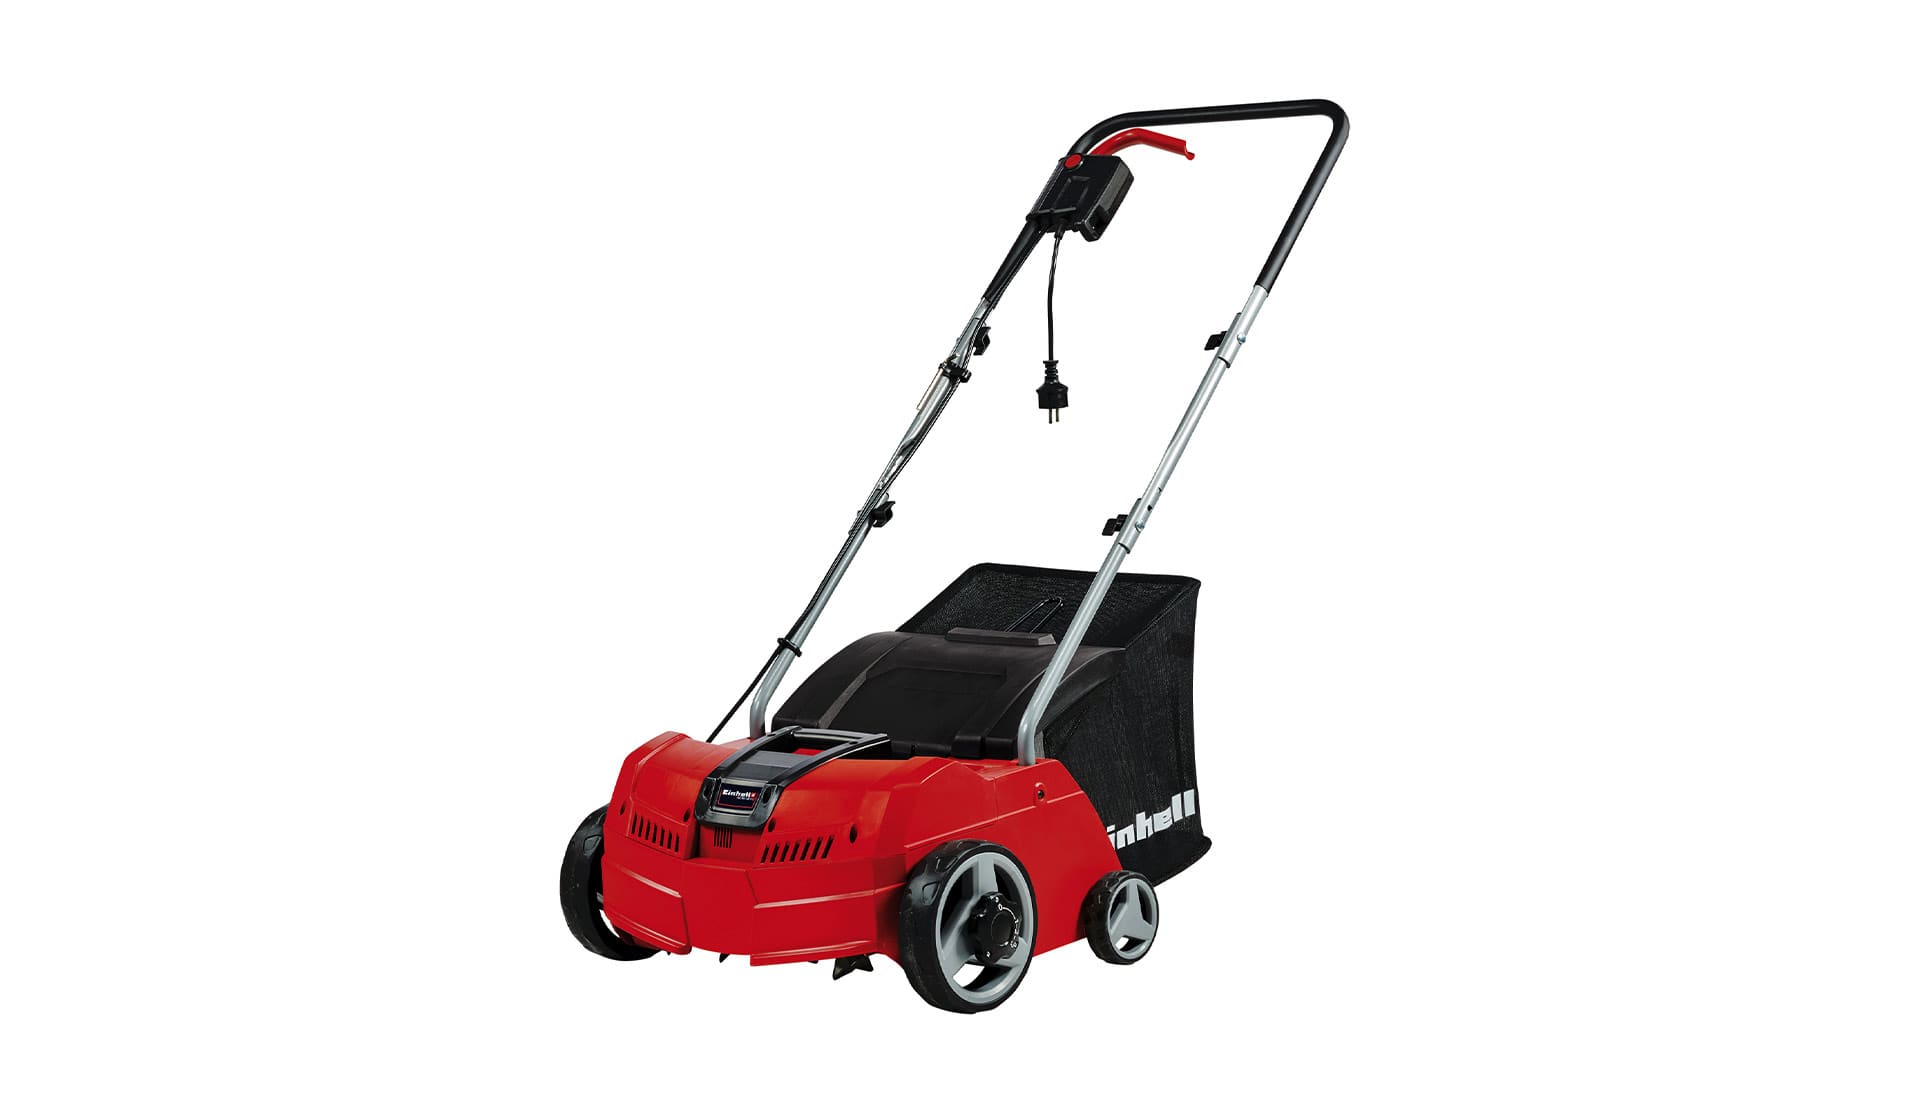
Electric scarifier
The electric model is best suited for scarifying medium-sized areas. You can scarify your lawn with it even for long periods without interruption, as the device is directly powered by the power cable. When working with corded devices, you should check the power cord and extension cord for signs of aging and damage before working on your lawn.
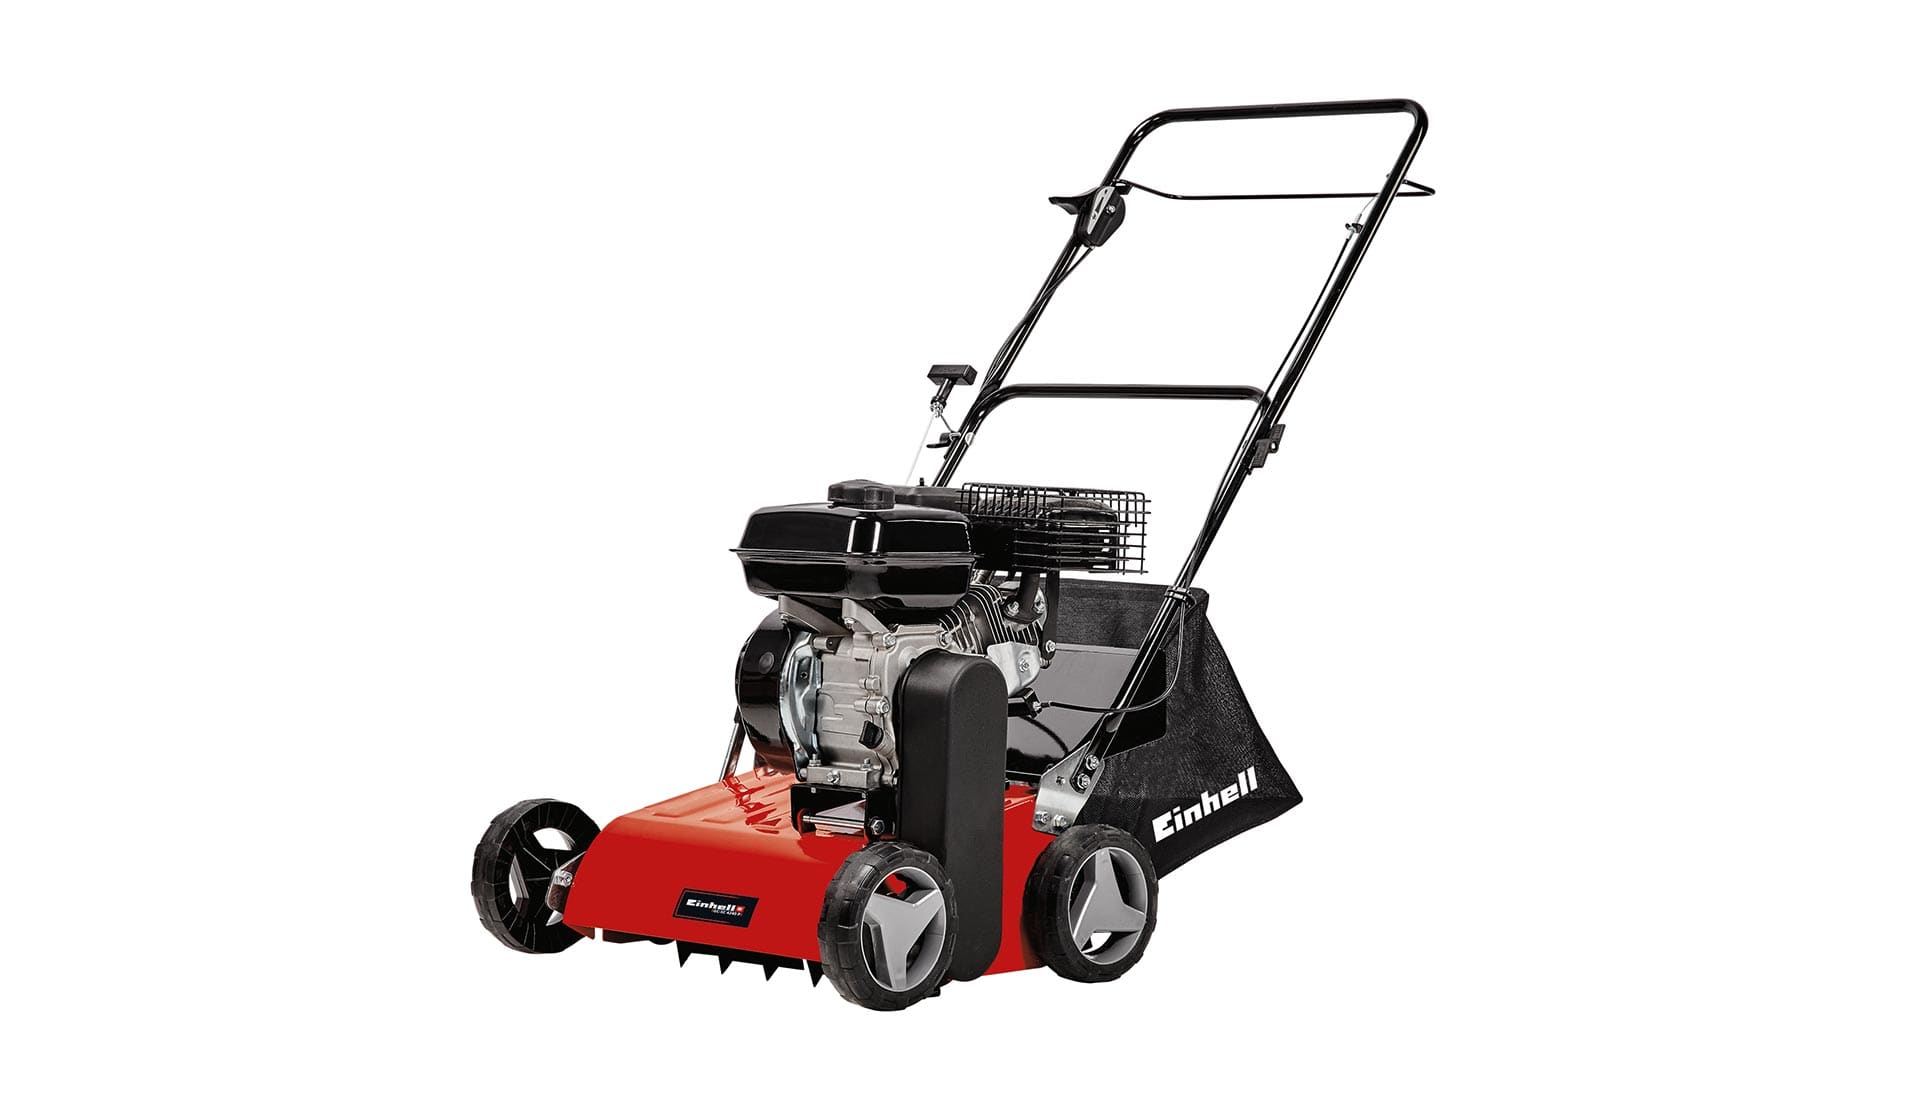
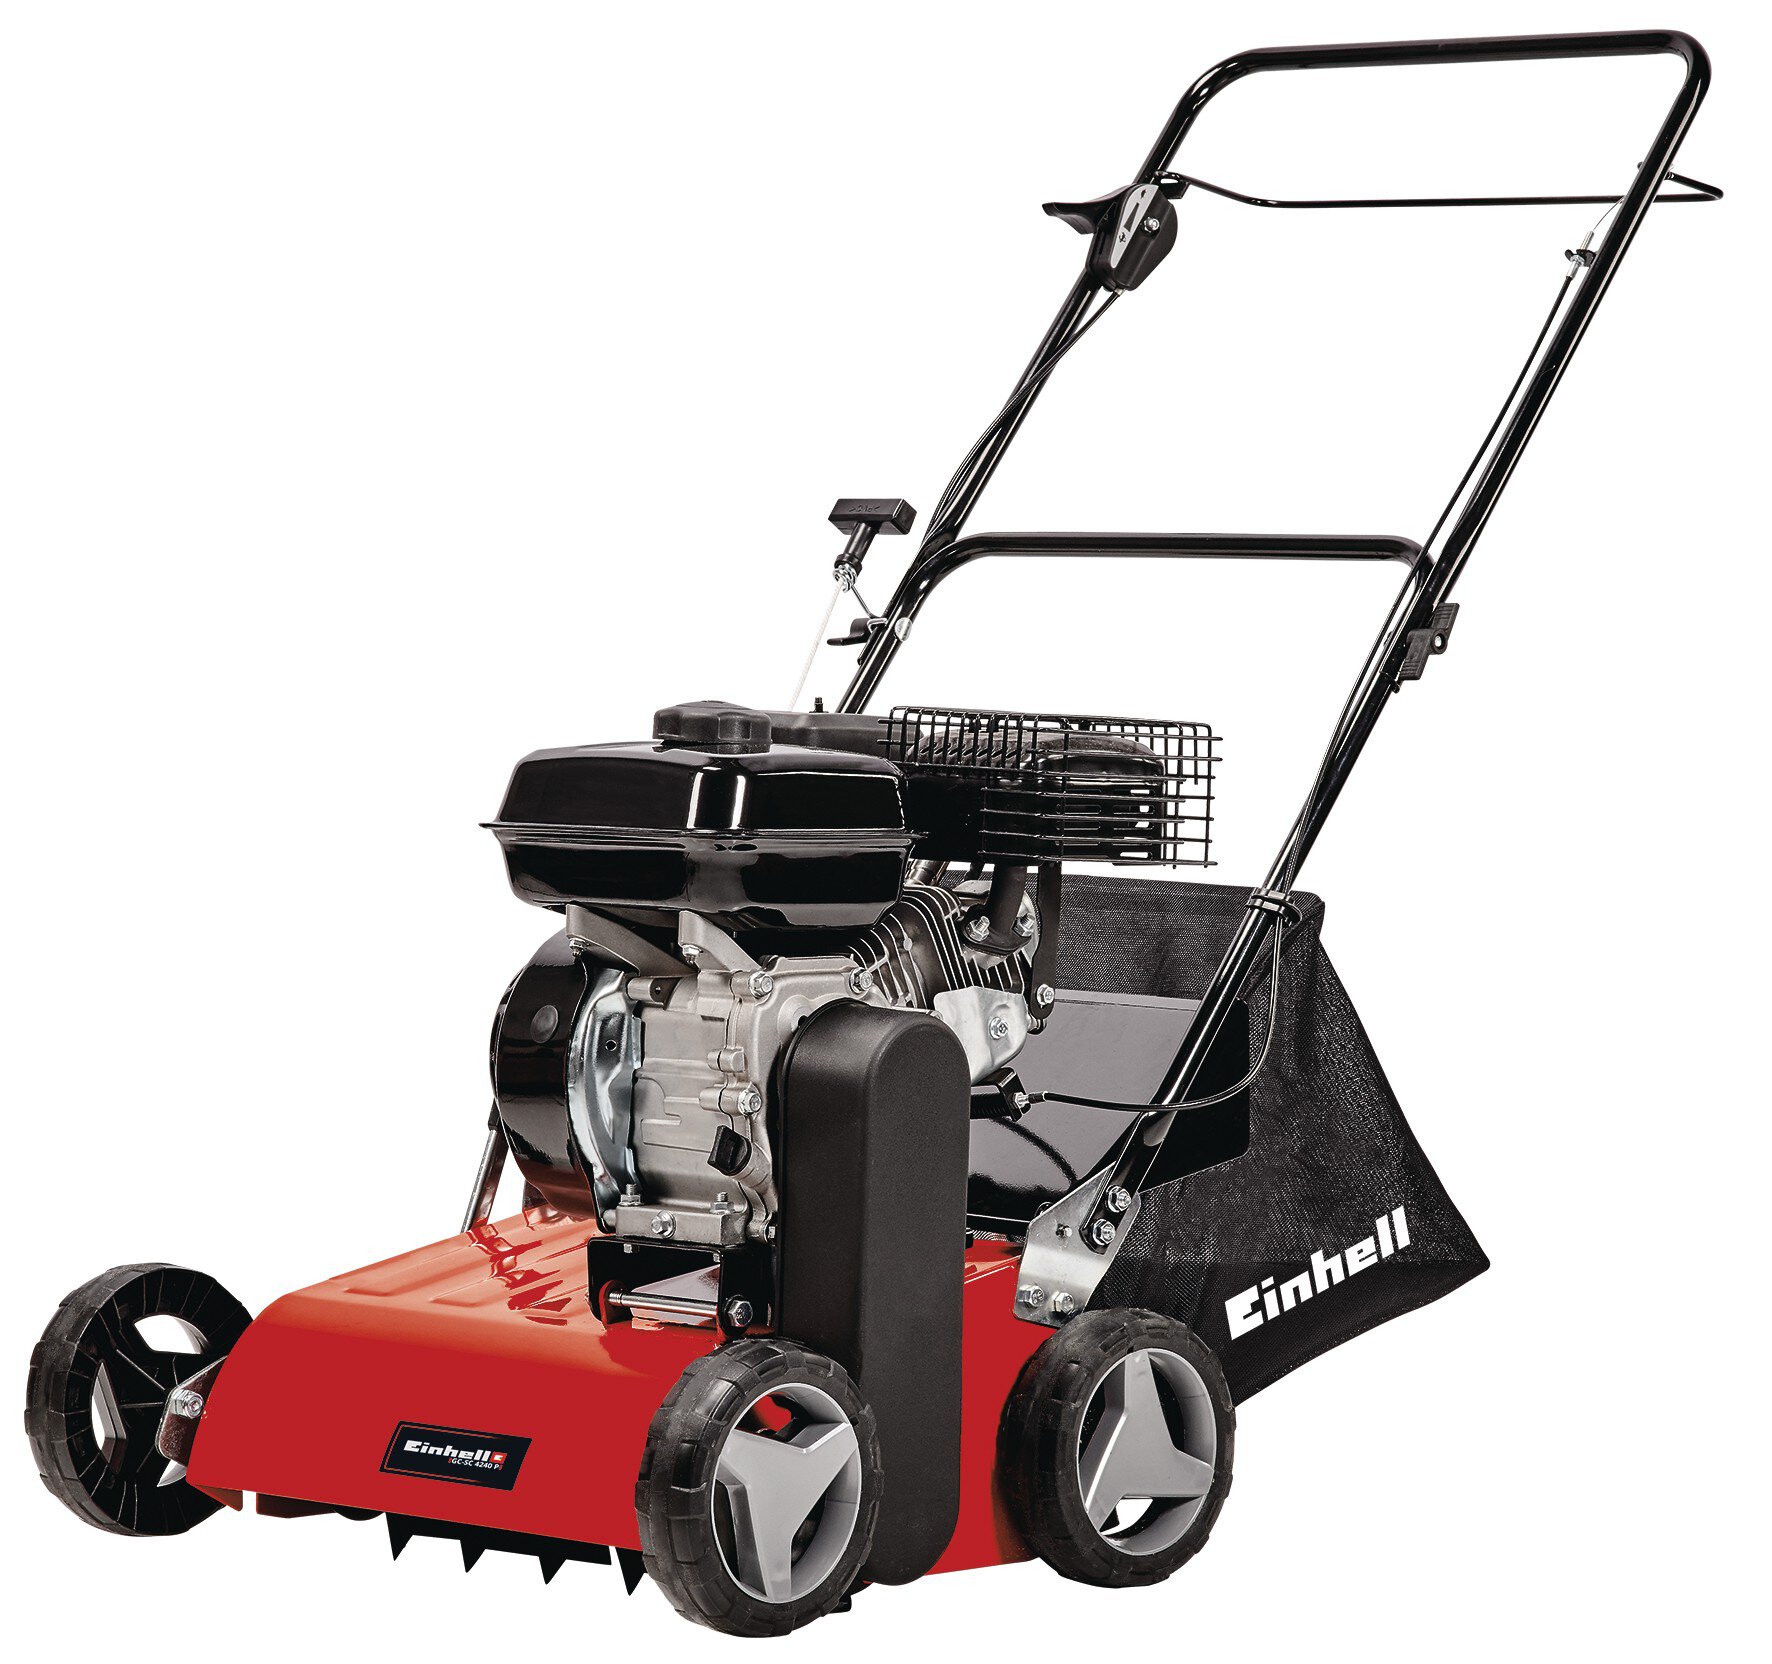
Petrol scarifiers
A petrol-powered scarifier is also suitable for a soil with a large garden area. If there are difficulties when starting the petrol scarifier, dirty or dysfunctional spark plugs are often the cause, which is why you should regularly check them. Additionally, checking the oil level and removing any dried oil residues is important to ensure smooth scarifying.
To get rid of dirt: How to clean a scarifier properly?
It is important to clean the verticutter thoroughly after each use to remove any dirt or debris such as root remnants or chunks of soil. This includes cleaning both the cutting tools and the anchor points where the blades are fixed. As soil residue from the garden is often not completely dry after verticutting, it is recommended to wait a day before cleaning the device. This makes it easier to clean the soil off the verticutter.
The easiest way to clean dirt and debris from the verticutter is to use a damp cloth and a mild cleaning solution. After cleaning with the cloth, you may use a small, elongated cleaning brush to remove any remaining dirt from even the smallest recesses and grooves of the garden tool. However, note that you should never clean an electric scarifier with too much water to prevent potential short circuits.
In addition to cleaning the main body of the scarifier, it's important to thoroughly clean the blades as well. To do this, remove the blades from their anchors and remove any dirt or debris. Store the blades in a container with a cloth to protect them from moisture. After cleaning, make sure all parts of the scarifier are completely dry to prevent rust and ensure efficient operation when using it to work on your lawn in the future.
Dry and secure: How to properly store a scarifier?
Proper storage is also crucial in addition to thorough cleaning and maintenance. Damp basement areas are not ideal as the electronics in the verticutter could be damaged by moisture. Especially the motor and cutting tools of the verticutter should be covered to protect against rust, dust, and moisture. This ensures smooth verticutting operations over the long term.
For proper storage of the equipment, we recommend a dark, dry storage space in the garage, basement, or shed in your garden. Ideally, the verticutter should be covered after each cleaning process to provide additional protection. You can use traditional cover films or any other type of protective coverings.

Properly storing your lawn scarifier.
Conclusion: Proper maintenance of your scarifier ensures a flawless lawn in your own garden!
With our cleaning and maintenance tips, you can quickly become a capable caretaker and benefit from a functioning verticutter for many years to come. This will enable you to use it whenever you need to and keep your lawn in great shape, even after a long winter break. For even more tips on how to properly care for your lawn, check out our guide here.

In this article you will learn all about:

Published on 21.04.2021
Tom Weber is a product specialist at Einhell. In his blog posts, he not only shares his in-depth expertise in using various Einhell devices but also provides inspiration and instructions for DIY projects that every home improvement enthusiast can tackle at home.