


Wooden Photo Frame
DO IT YOURSELF
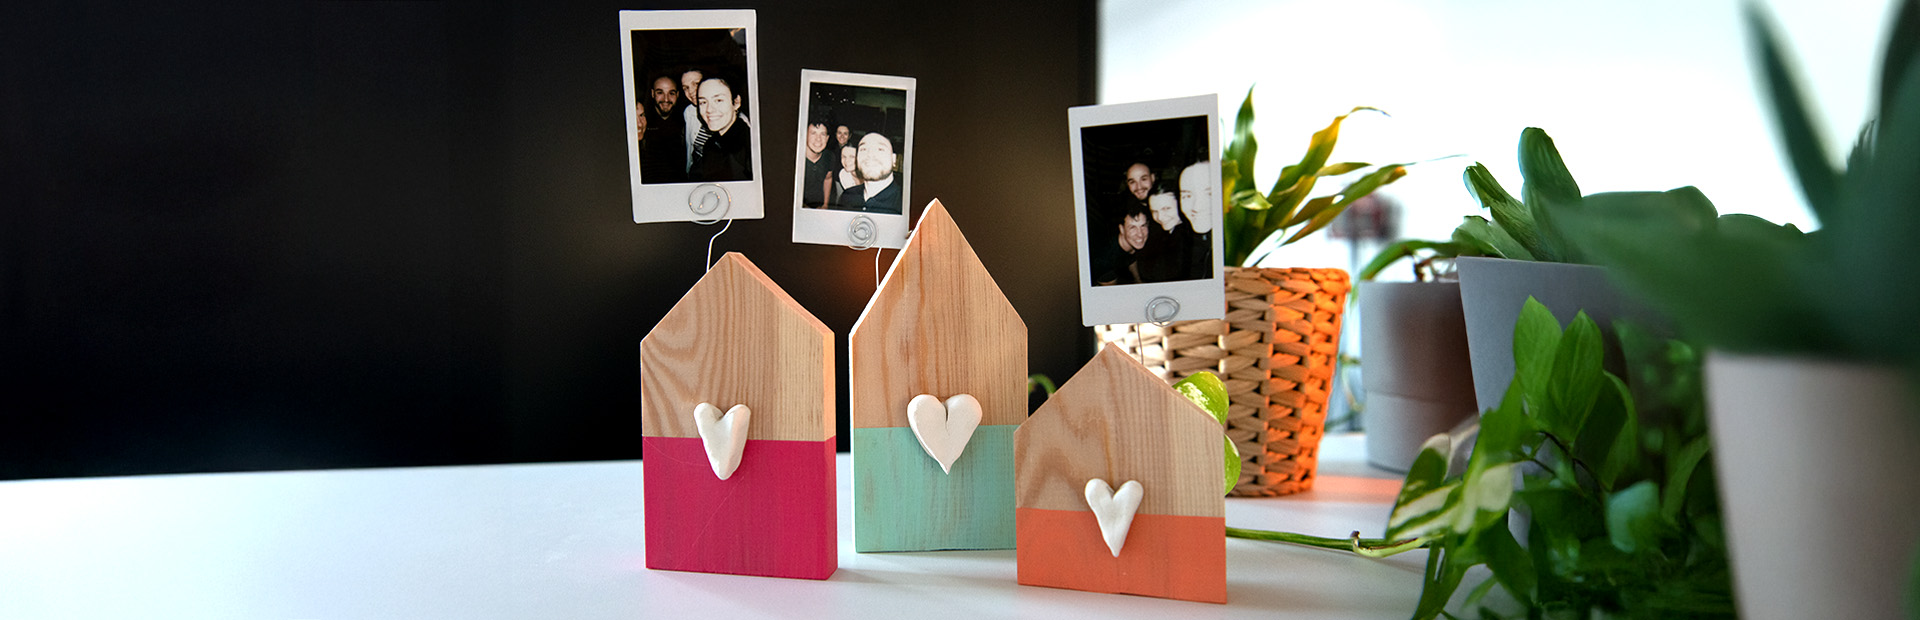
Valentine’s Day is the perfect occasion to express big feelings through small gestures. Handmade gifts have a very special value – they are personal, individual and truly come from the heart.
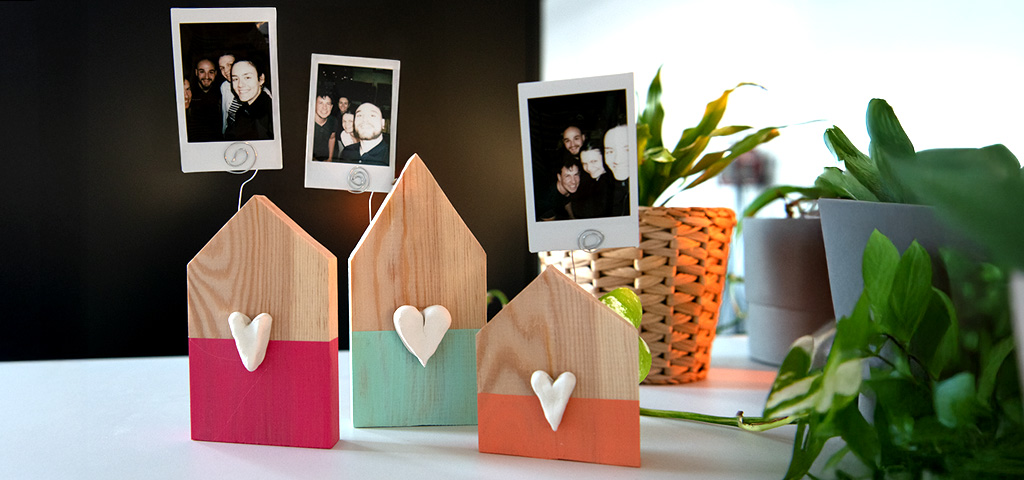
This DIY project combines natural wood with thoughtful details and is ideal for showcasing shared memories in a stylish way. The handmade photo holder is a charming gift idea for Valentine’s Day and shows just how easily emotions can be transformed into a decorative one-of-a-kind piece.
In this post, we’ll show you how to quickly and easily make your own wooden photo frames.
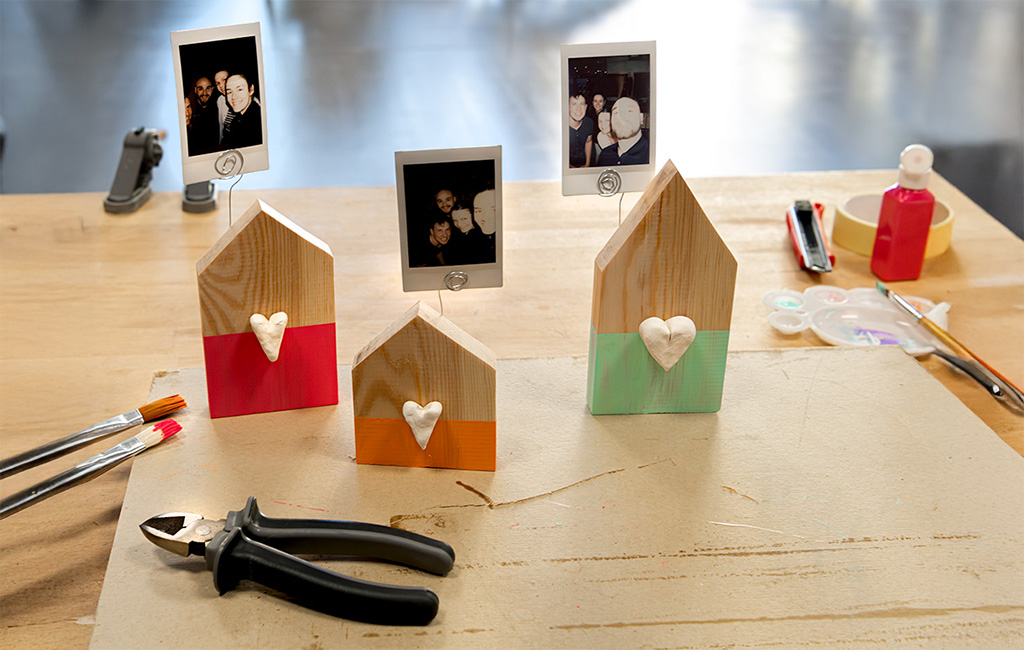
Tools and Materials
Material
- Holzrest (Fichte)
- Acrylfarbe oder Holzfarbe
- Lufttrocknender Ton
- Draht
- Foto oder Karte zur Dekoration
Instructions: How to Build a Wooden Photo Frame
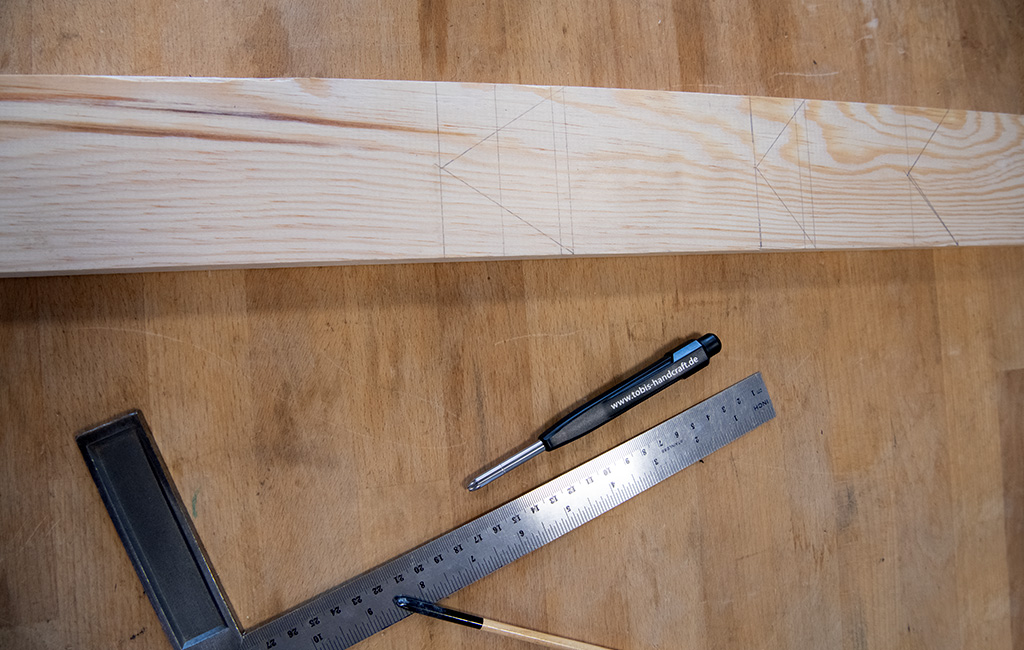
Step 1: Draw the House Shapes onto the Wood
First, transfer the outlines of the houses onto the wood using a pencil. You can use a template or draw the shapes freehand. Make sure the lines are clear and easy to see, as they will serve as a guide when cutting later on.
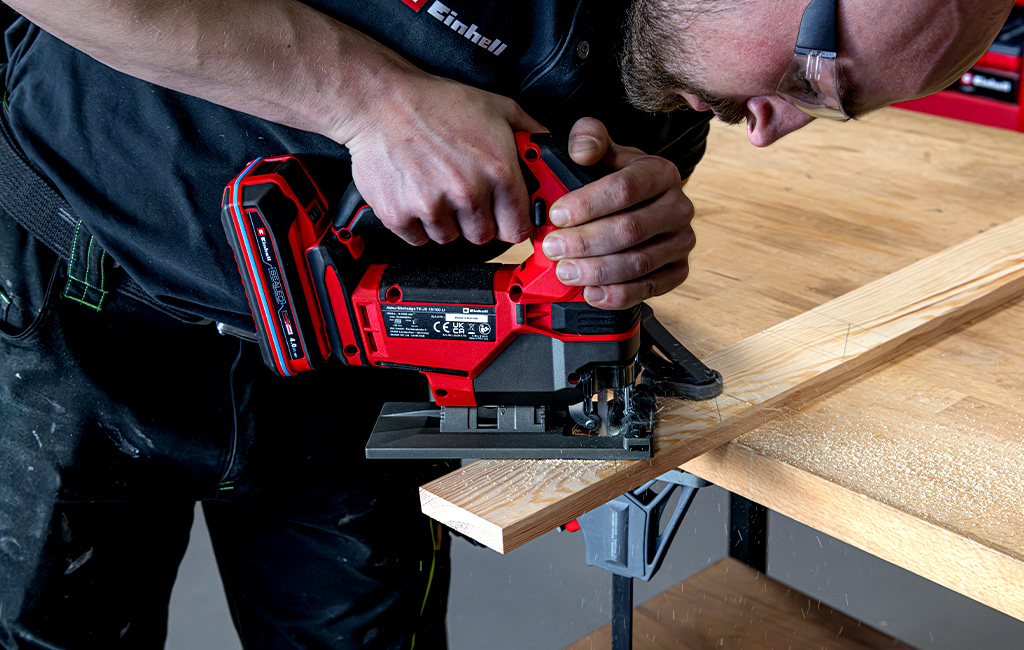
Schritt 2: Holz zuschneiden und schleifen
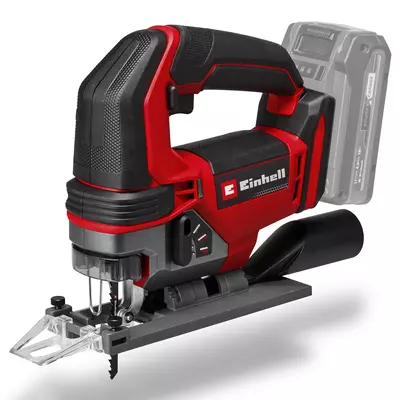
Use the cordless jigsaw to cut the piece of wood along the drawn lines to the desired shape and size.
❱❱ Tip: Small leftover pieces of wood are ideal for this project.
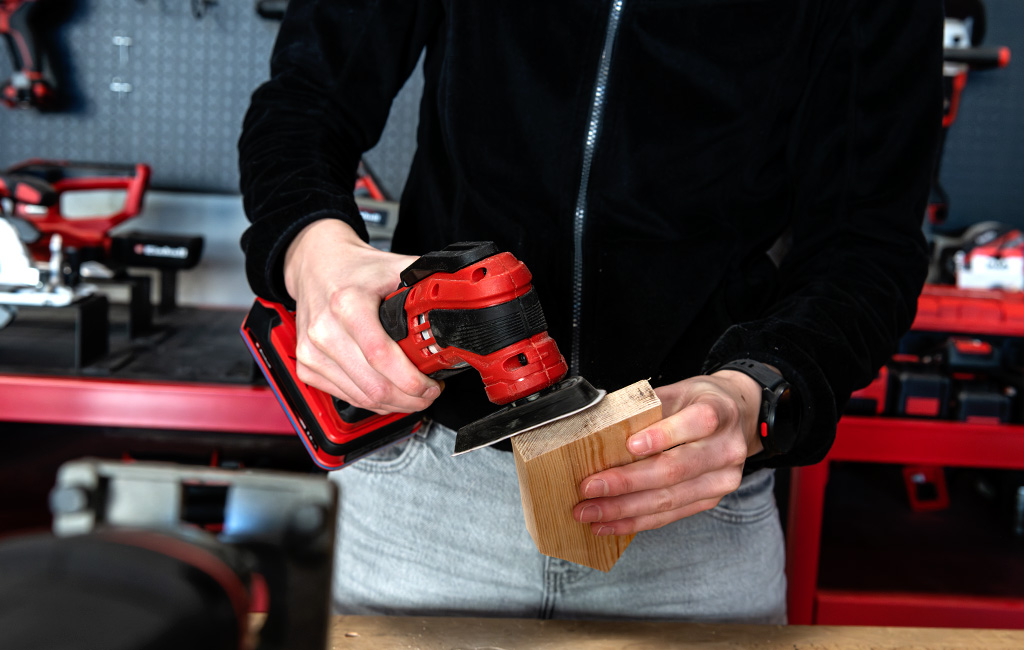
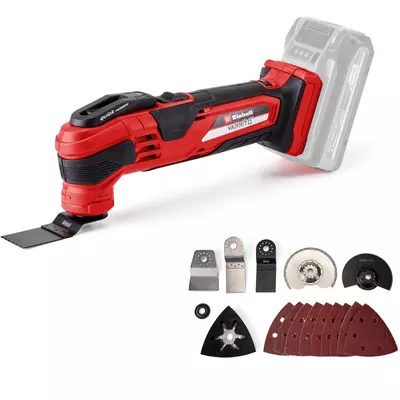
Step 3: Sanding
Now sand the wood thoroughly using the VARRITO with its triangular sanding pad until all surfaces are smooth and pleasant to the touch.
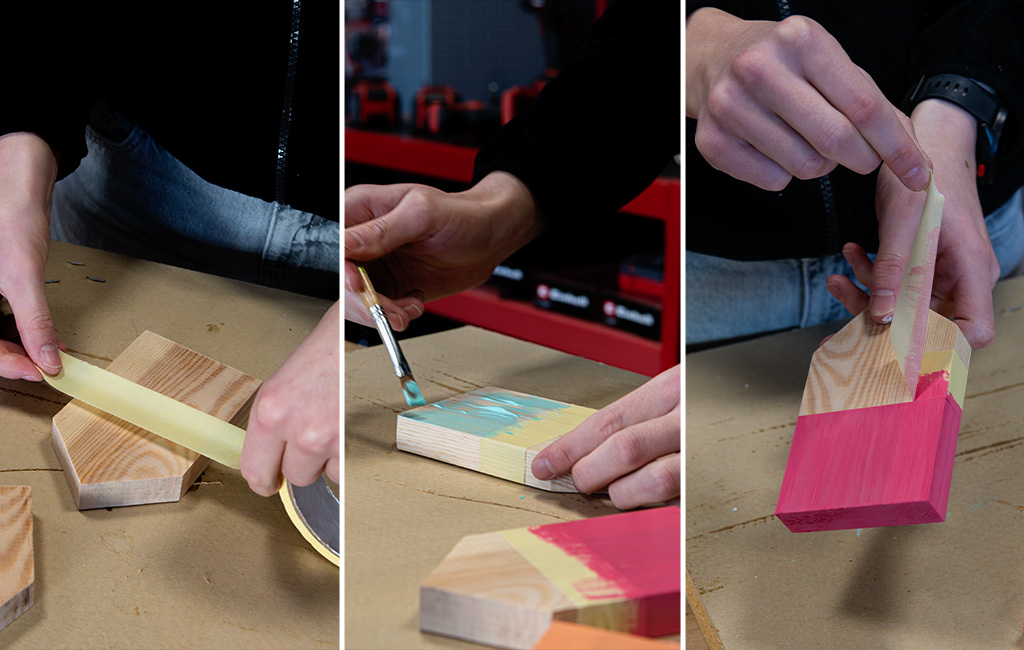
Step 4: Add Colour to the Wood
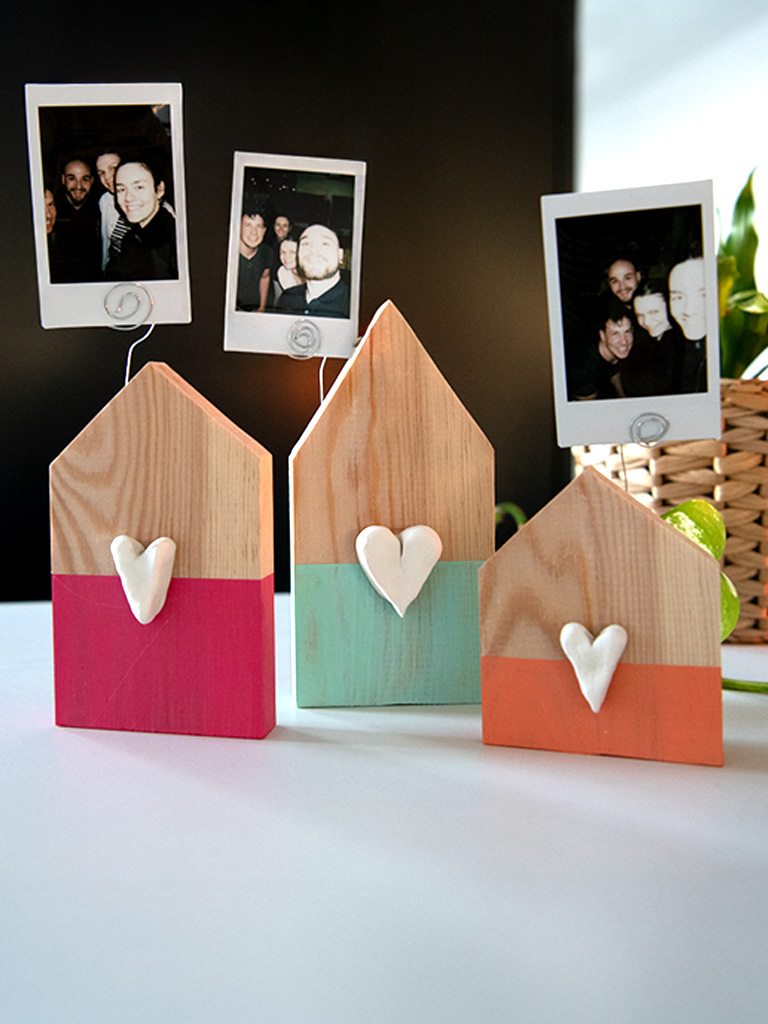
Now paint one half of the wooden piece with colour. Whether pastel, bold or subtle – choose whatever you like. The combination of natural wood and colour creates a modern, fresh look.
Allow the paint to dry completely afterwards.
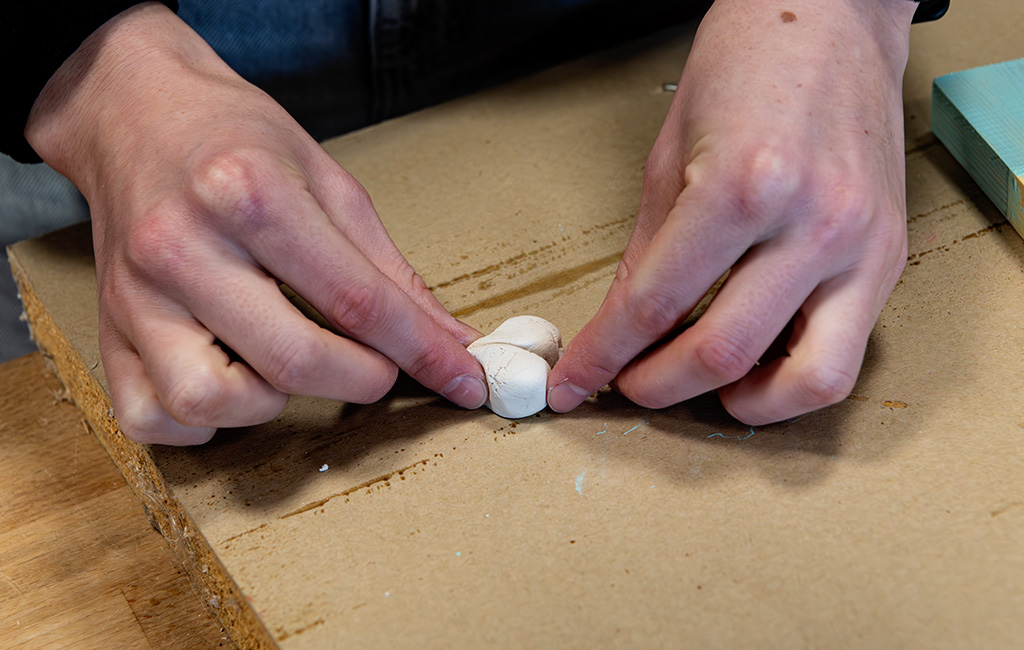
Step 5: Shape a Heart from Clay
Shape a small heart from air-drying clay. Make sure the back is as flat as possible so it will adhere well to the wood later on. Then allow the heart to dry completely – depending on the clay, this can take several hours.
❱❱ Tip: Alternatively, you can try other shapes, such as stars or circles.
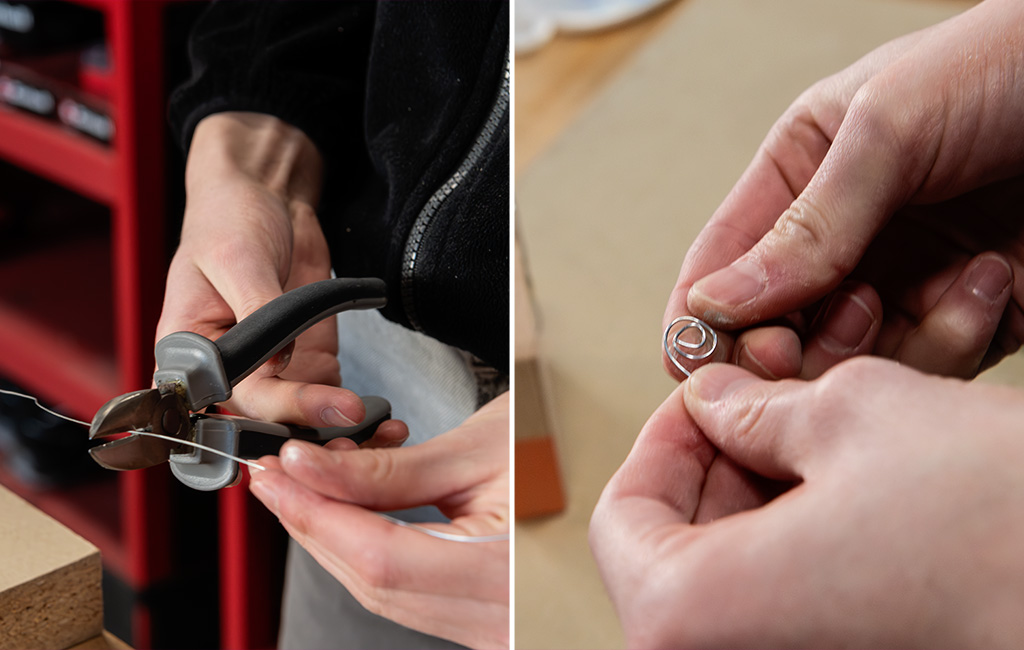
Step 6: Cut the Wire & Form a Spiral
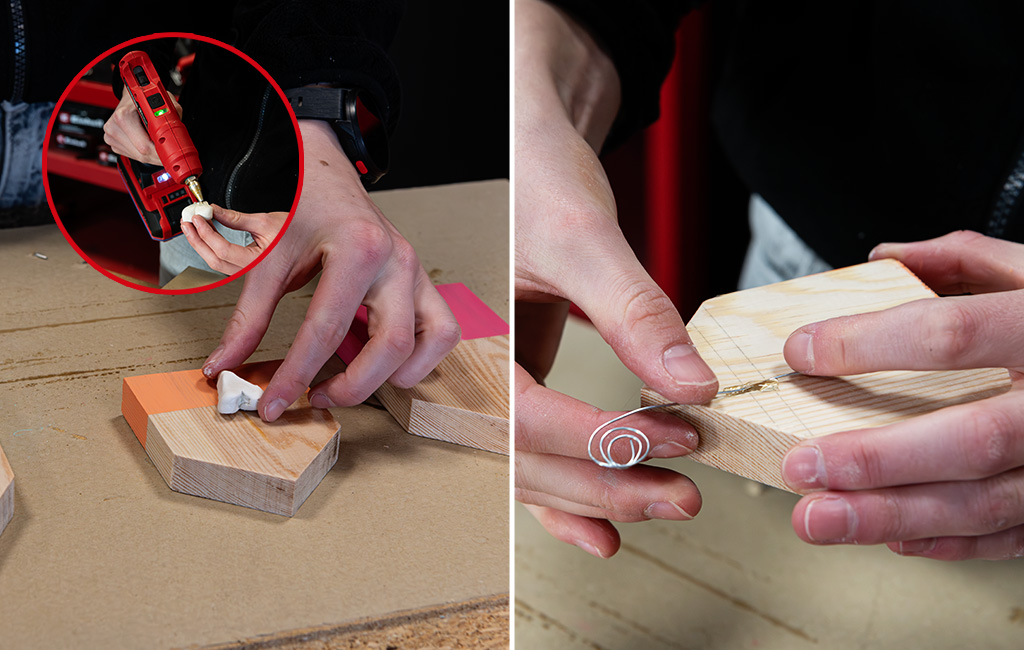
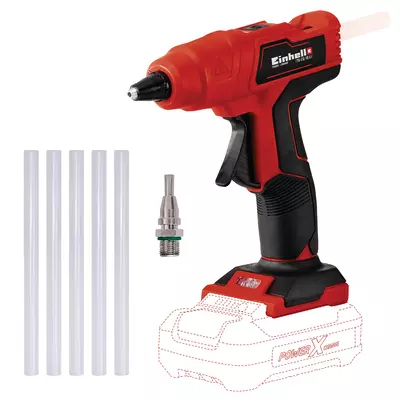
Step 7: Glue on the Heart & Wire
Once the heart has dried completely, attach it to the centre of the wooden piece using the cordless hot glue gun. Press it gently until the glue has set. Then simply fix the wire with the spiral to the back using hot glue.
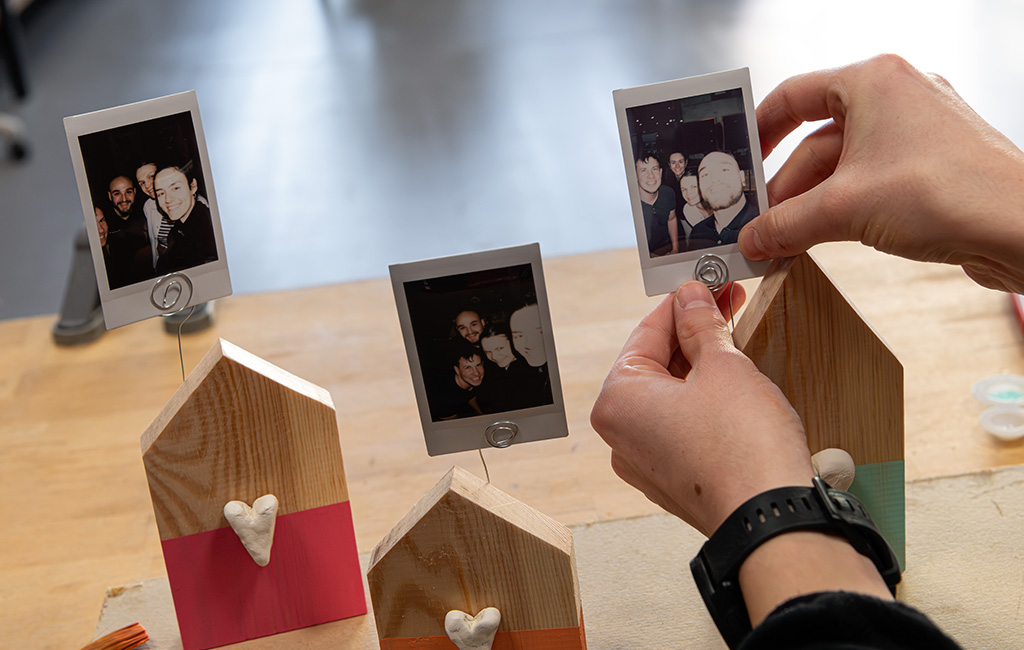
Step 8: Insert the Photo & Decorate
Now comes the best part: clip in a photo, a postcard or a small message.
Your handmade photo holder is finished! A small, heartfelt decorative piece with a personal touch – perfect as a Valentine’s Day gift or to keep your most special memories on display.
❱❱ Have fun making, decorating and gifting it!
In this article you will learn all about:

Published on 23.01.2026
Whether it’s smart tool tips or exciting DIY projects: Philip shares his passion for powerful equipment and clever solutions for everyday home improvement. For many years, he has been training both Einhell employees and external partners, providing product knowledge and demonstrating hands-on applications. With plenty of expertise and enthusiasm, he also brings his own project ideas to life and lets his community follow along. His content combines practical expert knowledge with creative inspiration for every workbench.