


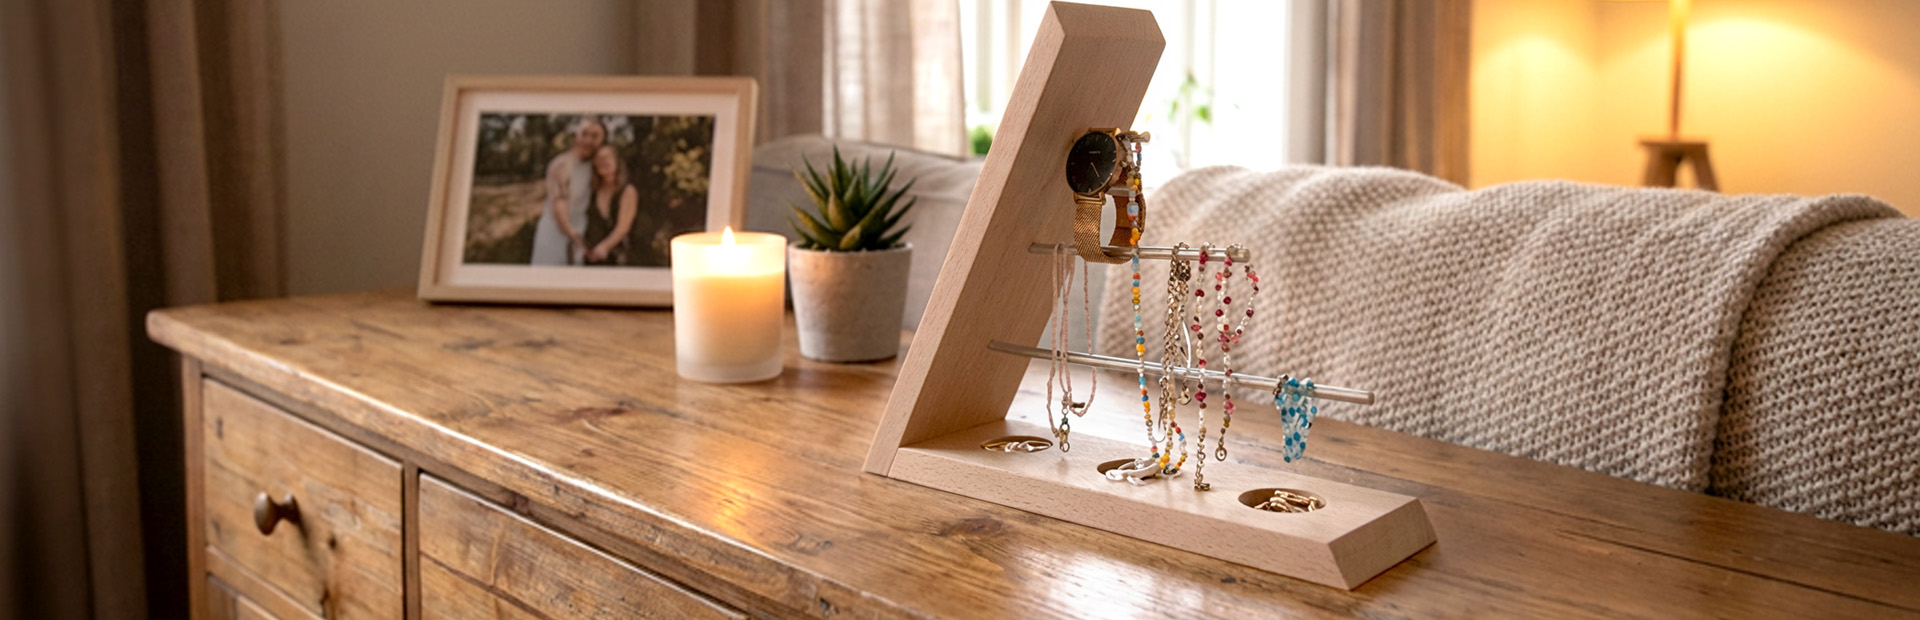
Wooden Jewellery Stand
DO IT YOURSELF
Handmade gifts carry a very special meaning on Valentine’s Day. They express appreciation, time and love – right down to the smallest detail. This wooden jewellery stand brings all of that together. The combination of wood and metal rods makes this DIY project a stylish and personal gift idea that will bring joy far beyond Valentine’s Day. Whether for your partner, as a thoughtful gift for your best friend, or simply for yourself: this jewellery stand is not only practical, but also a modern home accessory that presents jewellery pieces in an elegant way.
In this guide, we will show you step by step how to easily build this wooden jewellery stand yourself.
In this article, you will learn how to build a wooden jewellery stand quickly and easily.
Tools and Materials
Tools
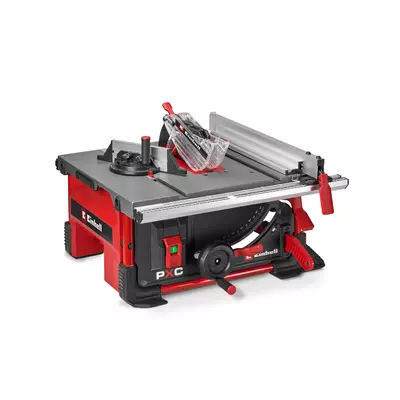
- Cordless Table Saw
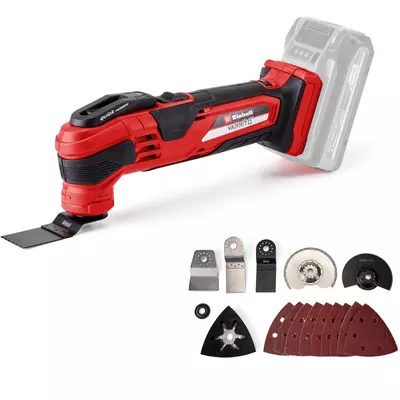
- Cordless Multitool VARRITO
- Cordless Drill
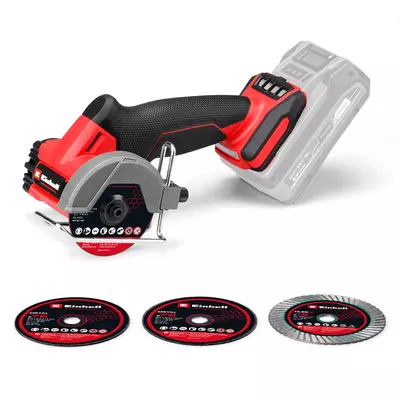
- Cordless Cut-Off Grinder
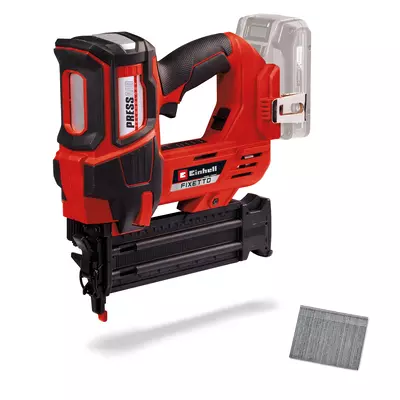
- Cordless Nailer FIXETTO
- Forstner drill bit, 45 mm
- Wood drill bit, 6 mm
- Angle gauge
- Folding rule
- Pencil
- Screw clamps
Material
- Beechwood board
- 70 cm long × 10 cm wide × 2 cm thick
- Aluminium rod
- 60 cm long, Ø 6 mm
- Wood glue
Instructions: Building the jewellery stand
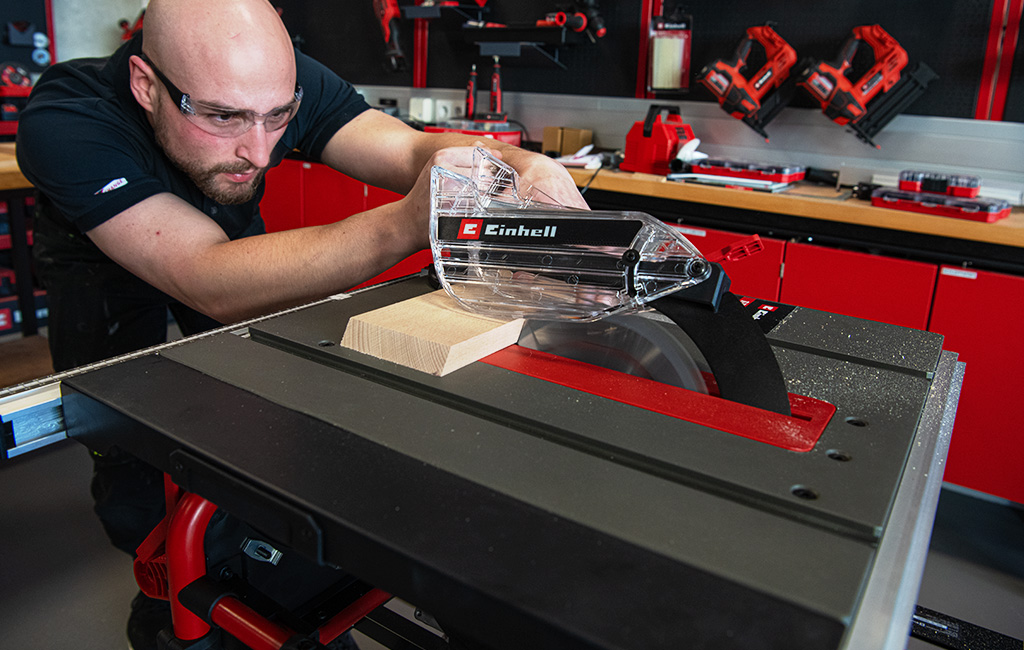
Step 1: Cutting the wooden boards to size
First, cut the wooden board into two pieces, each 30 cm long. Bevel the ends at a 30-degree angle. A cordless table saw is best for this, but you can also use a cordless circular saw, jigsaw or mitre saw.
❱❱ Note: This cut is crucial, as the boards will later be joined at exactly this angle to create the shape of the jewellery stand. Afterwards, sand the angled ends using the VARRITO.
💡 Tip: Check the angle with an angle gauge before beveling to ensure both boards match exactly.
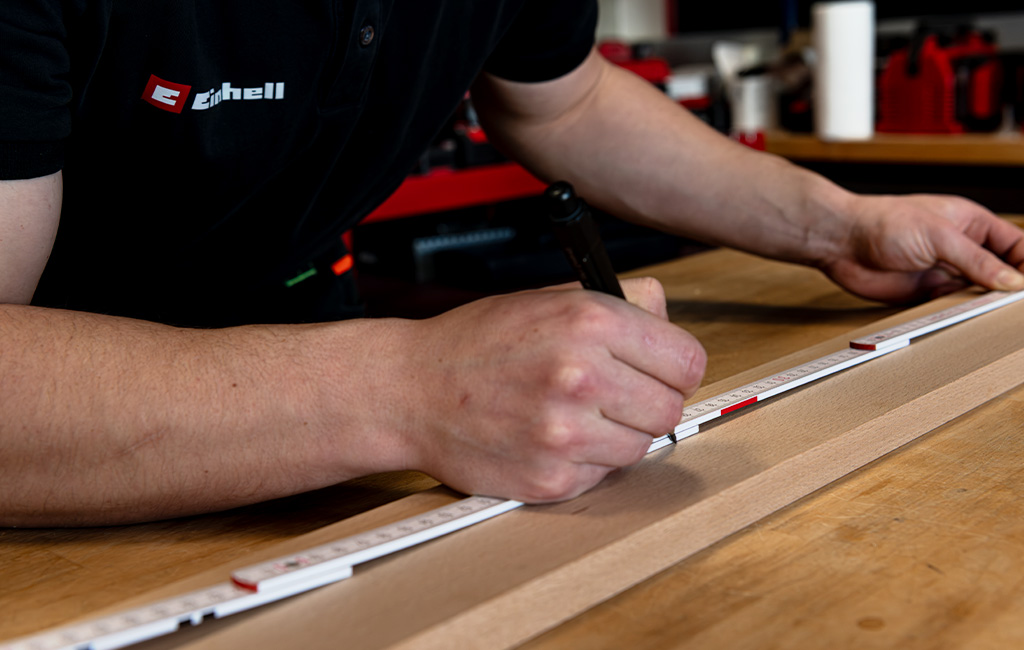
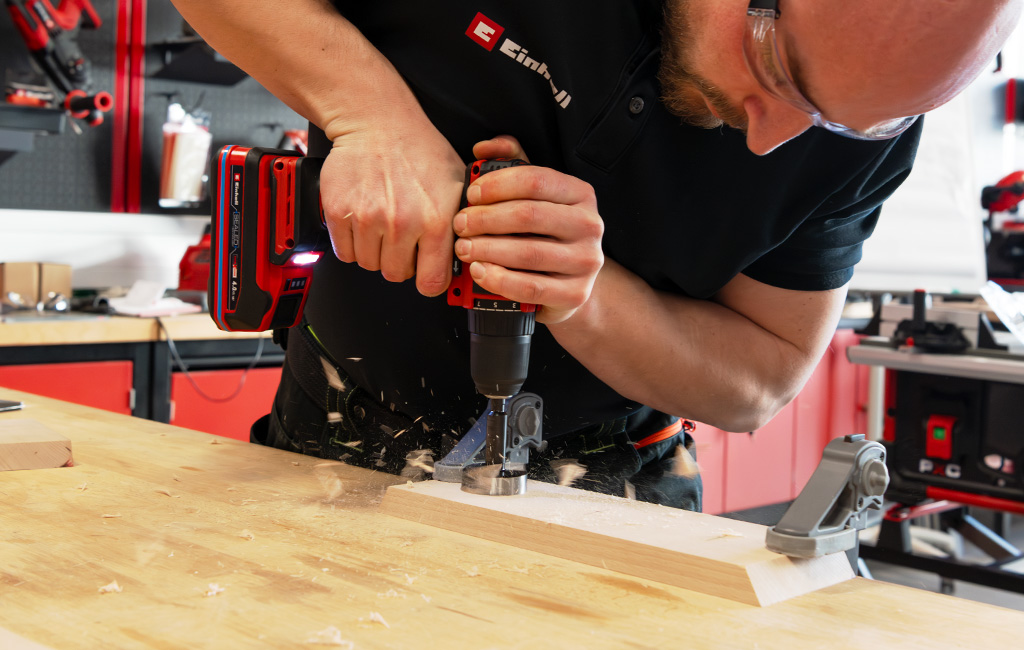
Step 2: Drilling recesses for jewellery
Now draw a vertical centre line on one of the boards using a folding rule and pencil. Measure the spacing for the three jewellery recesses and mark the drilling points evenly along the line. Using a 45 mm Forstner bit and the cordless drill/driver, drill the three recesses at the marked positions.
❱❱ Tip: Make sure not to drill all the way through the wood so that small trays are created for rings and earrings.
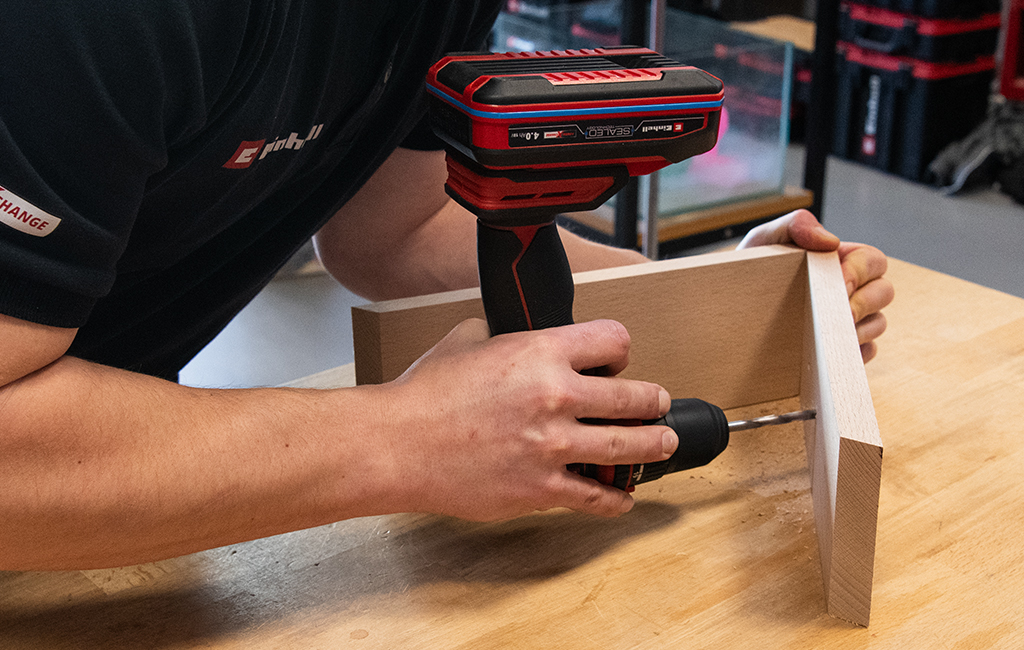
Step 3: Drilling holes for the metal rods
Next, take the second wooden board. Drill the holes for the metal rods into this board.
❱❱ Tip: These holes must also be drilled at a 30-degree angle so that the metal rods stand upright once the two boards are joined. Position the cordless drill/driver at the corresponding angle.
Step 4: Sanding the recesses and drill holes
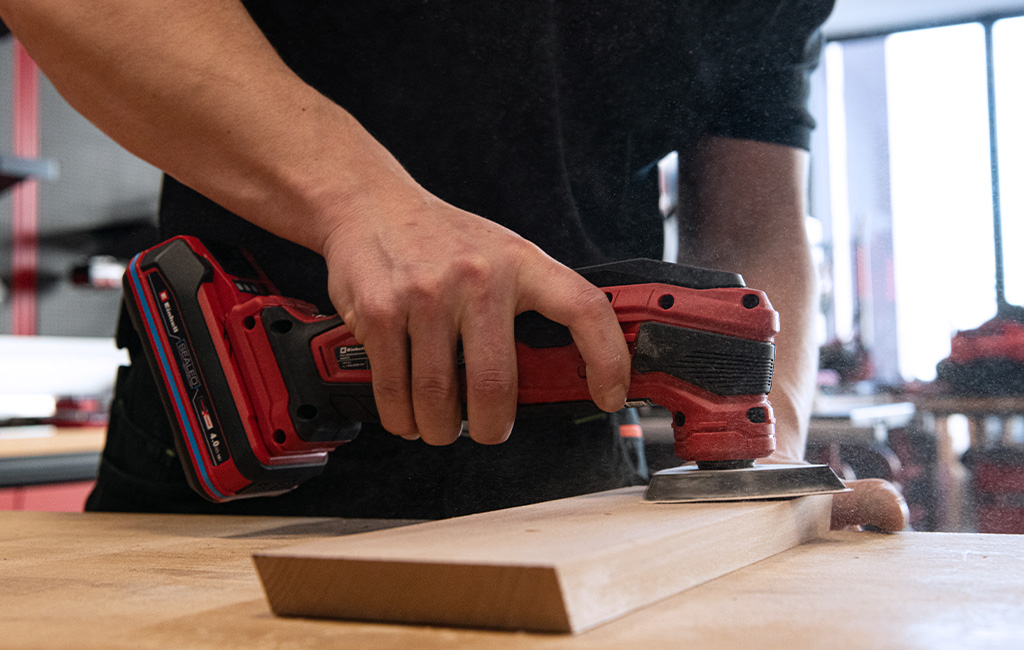
For a clean, high-quality finish, carefully sand the jewellery recesses drilled with the Forstner bit as well as the holes for the metal rods.
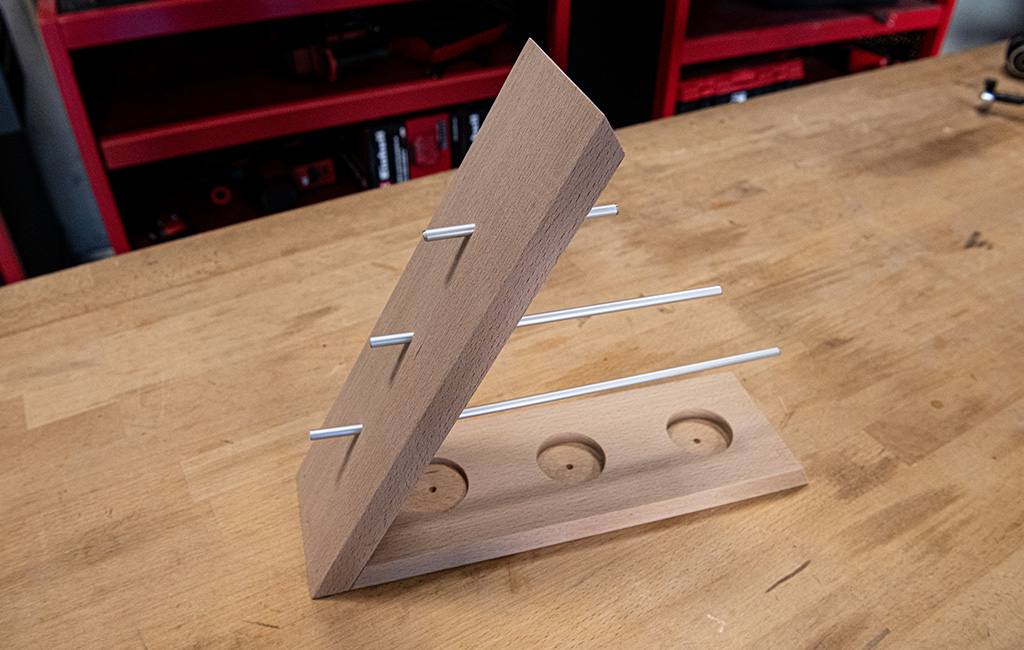
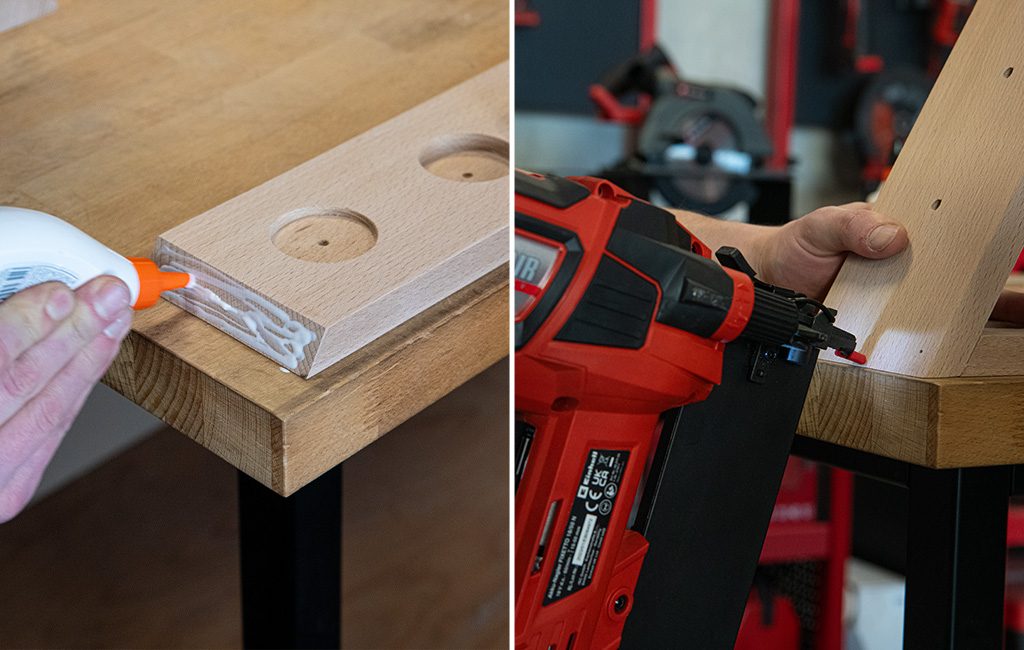
Step 5: Gluing and nailing the wooden boards together
Apply wood glue to the bevelled edges and join the two boards together to form a stable 30-degree wooden angle. Secure everything with screw clamps and additionally fasten the boards using the FIXETTO cordless nailer. Allow the glue to cure completely.
Step 6: Cutting and inserting the metal rods
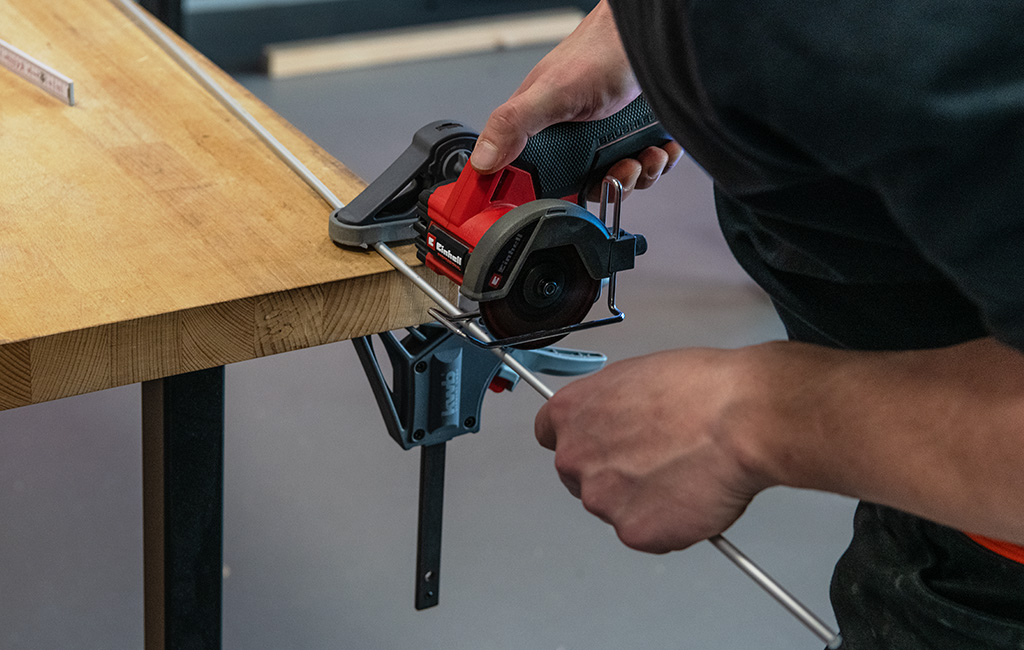
Now cut the metal rods to the required length using the cordless cut-off grinder so that they fit precisely into the prepared drill holes. Alternatively, you can use a cordless angle grinder. Once everything is fully dry, insert the metal rods into the drilled holes.
Finished: Your handmade, stylish jewellery stand!
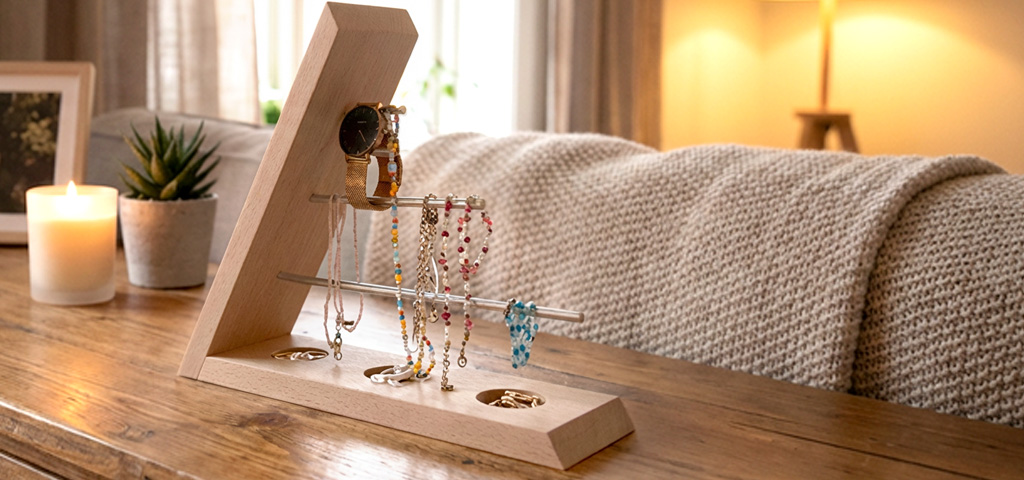
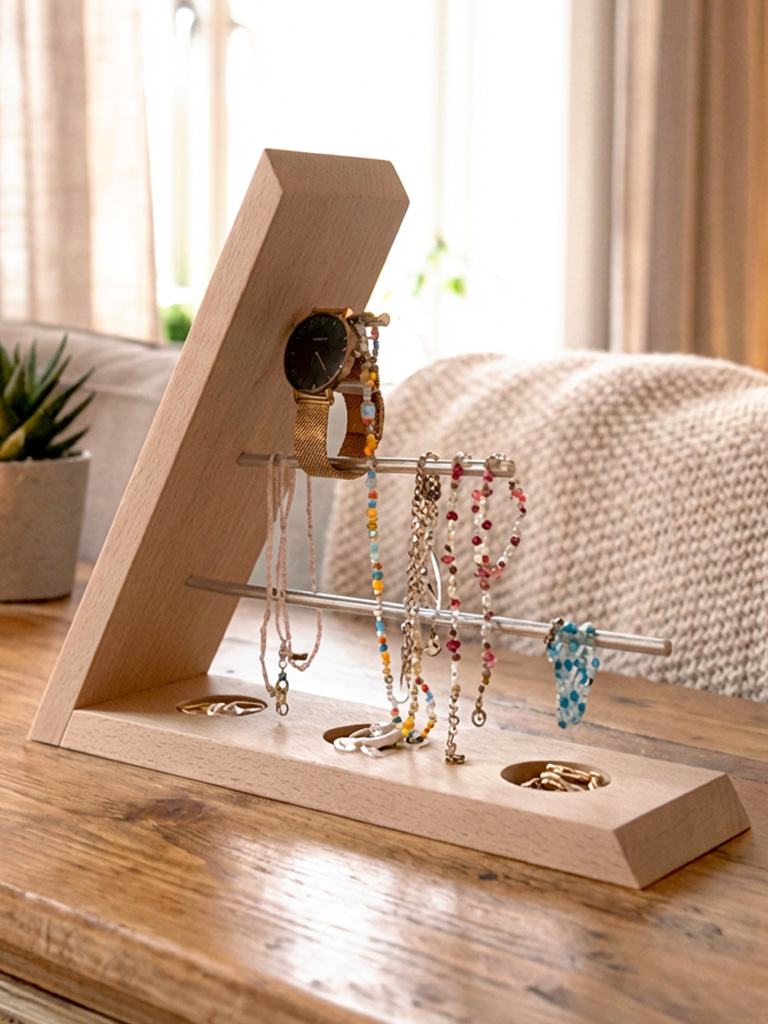
Made with love and ready to be gifted: your wooden jewellery stand. A minimalist DIY project with clean lines that keeps things organised and makes a heartfelt Valentine’s Day gift.
Have fun recreating it!
The finished wooden jewellery stand – minimalist, practical and perfect as a handmade gift.
Suitable Tools for the Project
Here you'll find Einhell tools and accessories that are perfect for bringing this DIY project to life.

In this article you will learn all about:

Published on 23.01.2026
Whether it’s smart tool tips or exciting DIY projects: Philip shares his passion for powerful equipment and clever solutions for everyday home improvement. For many years, he has been training both Einhell employees and external partners, providing product knowledge and demonstrating hands-on applications. With plenty of expertise and enthusiasm, he also brings his own project ideas to life and lets his community follow along. His content combines practical expert knowledge with creative inspiration for every workbench.