Discover the Einhell robot lawnmower
Turn mowing time into leisure time
You want a beautifully maintained green lawn without having to mow it yourself? Simply leave it all to the different devices in our new range of robot lawn mowers. Whether small gardens or large lawns: with various models, accessory kits and adjustment options, there is the right robot for every garden. The highlight for all members of the Power X-Change battery family: the robot lawn mowers are part of the battery system! Simply use the same batteries as in cordless screwdrivers, lawn trimmers etc. The robot lawn mower will already be making its rounds in the garden on its own and can also be controlled very conveniently via app.
A new age of mowing has dawned! Are you still mowing, or already relaxing?
Robot lawn mower video

The robot mower models at a glance
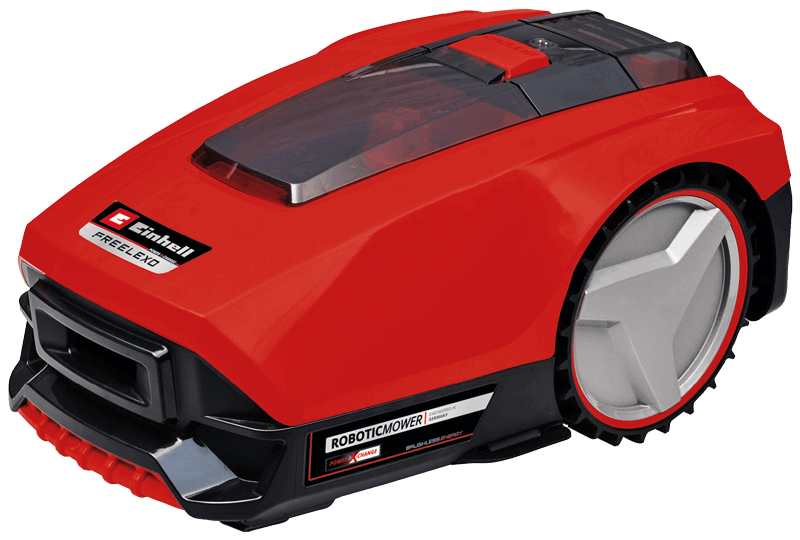
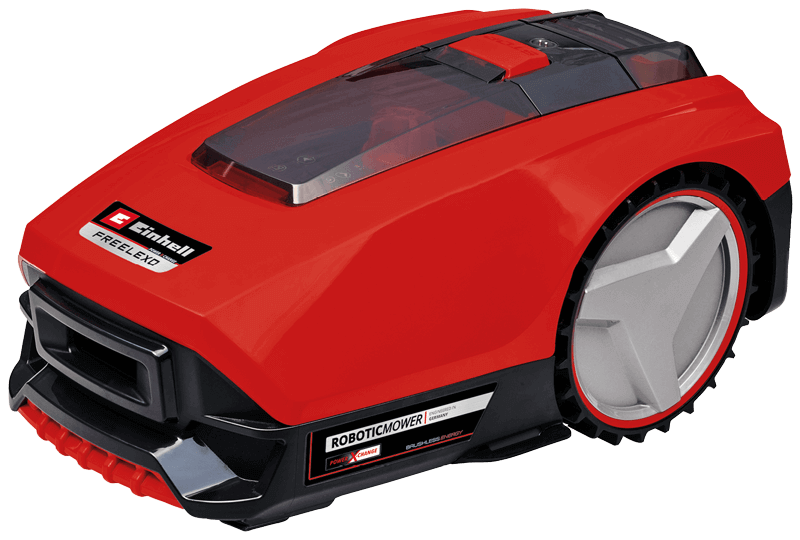
Freelexo
The classic one. As part of the Power X-Change family, the Freelexo is compatible with all batteries in the system. After mowing the lawn, do you want to continue using the battery in the hedge trimmer? No problem!
- • Programmable working time
- • Intuitively operated keypad
- • Mowing programme for secondary areas
- • Rain sensor
- • ECO mode of the charging station
- • Safety sensor system with impact, tilt and lift sensors
- • Up to 35% slope
- • Cutting height adjustment (20-60 mm)
- • Theft protection via PIN code
To the models
Freelexo 300 Solo | Freelexo 350

Freelexo BT
The interactive one. Thanks to the Bluetooth function, individual setting options are available for the Freelexo BT via app control.
- • Part of the Power X-Change battery system
- • Multi-area function for winding lawns
- • App control via Bluetooth for individual setting options
- • Working time programmable in personalised schedules via app + keypad
- • Maximum slope: 35%
- • Rain sensor
- • Safety sensor system with impact, tilt and lift sensors
- • Cutting height adjustment (20-60 mm)
- • Theft protection via PIN code
To the Models
Freelexo 400 BT | Freelexo 450 BT Solo | Freelexo 450 BT
Freelexo 500 BT | Freelexo 600 BT
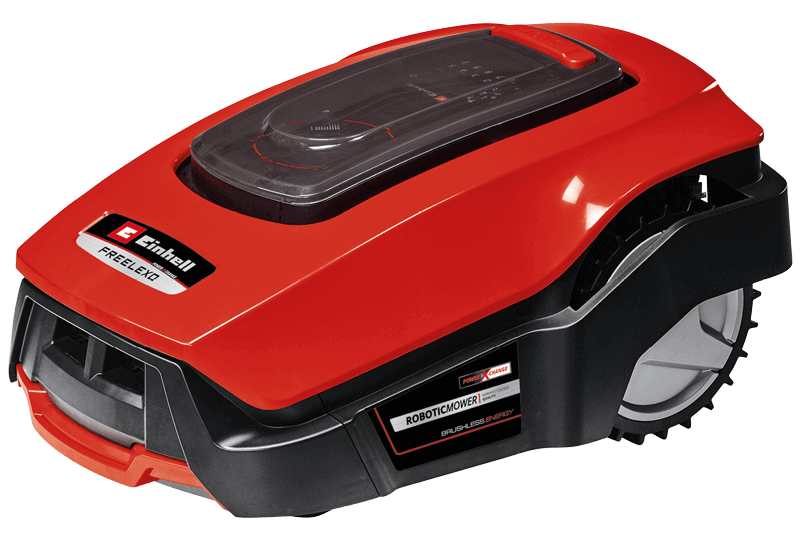
Freelexo LCD BT
The all-rounder. Thanks to the additional LCD display, the Freelexo LCD BT is particularly easy and convenient to operate in combination with the app control.
- • Part of the Power X-Change battery system
- • Multi-area function for angled lawns
- • App control via Bluetooth for individual setting options
- • Working time programmable in personalised schedules via app + LCD display
- • Maximum slope: 35%
- • Rain sensor
- • Safety sensor system with impact, tilt and lift sensors
- • Cutting height adjustment (20-60 mm)
- • Theft protection thanks to PIN code
- • LCD display
To the Models
Freelexo 800 LCD BT Solo | Freelexo 900 LCD BT | Freelexo 1200 LCD BT
Freelexo LCD BT+
The top performer. The Freelexo LCD BT + combines all the advantages in one device from app control to LCD display to spot mowing function.
- • Part of the Power X-Change battery system Bluetooth/APP for individual settings
- • Intuitive keypad with LCD display
- • Programmable working times - personalisable to the day
- • Multi-area function for complex lawns
- • Spot Mowing
- • Mowing programme for secondary areas
- • ECO Mode of the charging station
- • Safety sensor system thanks to impact, tilt and lift sensors
- • PIN code for theft protection
- • Rain sensor
To the Models
Freelexo 500 LCD BT+ | Freelexo 750 LCD BT+

GC-RM 500
The entry-level model. Thanks to the installation equipment for gardens up to 500m², you no longer have to worry about the wire length and the required hooks with the GC-RM 500 robotic lawnmower.
- • Recommended lawn area for the robotic lawnmower: 500m²
- • Programmable working time
- • Maximum slope: 35
- • Rain sensor
- • Safety sensor system with impact, tilt and lift sensors
- • Cutting height adjustment: 20 - 60 mm
- • Theft protection thanks to PIN code
To the Model
GC-RM 500
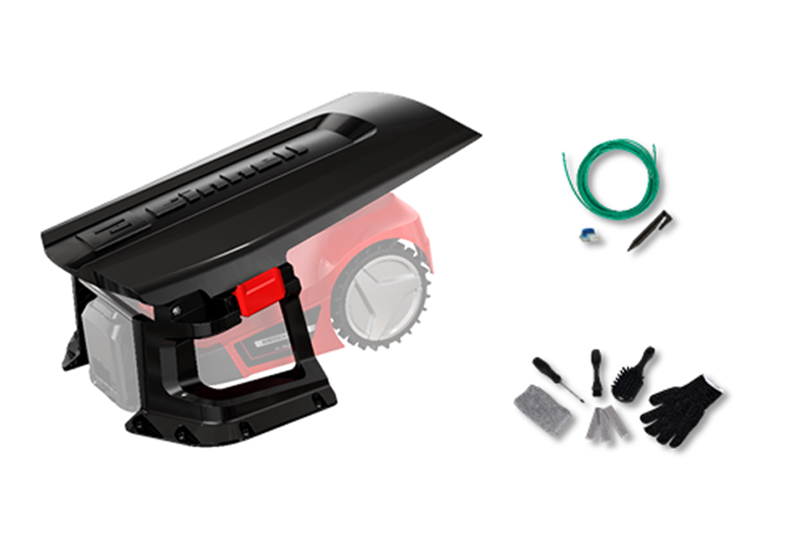
Accessories
If you already have an Einhell robotic lawn mower, we can support you with the following accessories:
- • Garage (coming soon)
- • Cleaning kit (coming soon)
- • Repair kit (coming soon)
Services for your robot lawn mower
Garden Check
You would like to buy a mowing robot, but don't know yet which one fits best to your garden? With the help of our garden check you will find the right mower model!
If you have already purchased a mowing robot, we will be happy to advise you on how to optimize your garden to achieve the best possible efficiency when using your mowing robot.
Installation Service
Already purchased a robot lawn mower, but need help installing it in your garden? No problem – take advantage of our installation service and reap the benefits! Make an appointment and within 14 days a technician will visit you to professionally carry out the installation of the boundary wire. If desired, the wire can be laid underground with a professional laying machine.
Winter Service
Not sure how to store your robot lawn mower over winter, or don't have space to keep it during the cold winter months? With our Winter Service you can have your mowing robot taken care of during the cold months. Simply send us your robot lawn mower via our service, free of charge, and have it cleaned inside and out. You can select between different Winter Service options.
Warranty Extension
Our free additional service especially for you - register your new Einhell product within the first 30 days of purchase and benefit from the extended warranty. After registration, the robot lawn mower's warranty is extended by an additional year, to a total of 3 years. 3-2-1 and get going - pick up the serial number on your Einhell product and go to the registration form!
Sparepart Service
Longterm, reliable, perfect fit: Our subsidiary iSC GmbH supplies you and your Einhell products with all possible spare parts. Even after the expiry of the statutory guarantee period, you can maintain your Einhell products in the event of damages or wear and tear, professionally and with original components.
Repair Service
As a 100% Einhell subsidiary iSC GmbH stands not just for high-quality original spare parts but also, as Einhell's representative for the exceptional Einhell service. In our in-house workshop, specialized repairers take care of every single repair case and ensure that your mowing robot is quickly ready for full operation again.
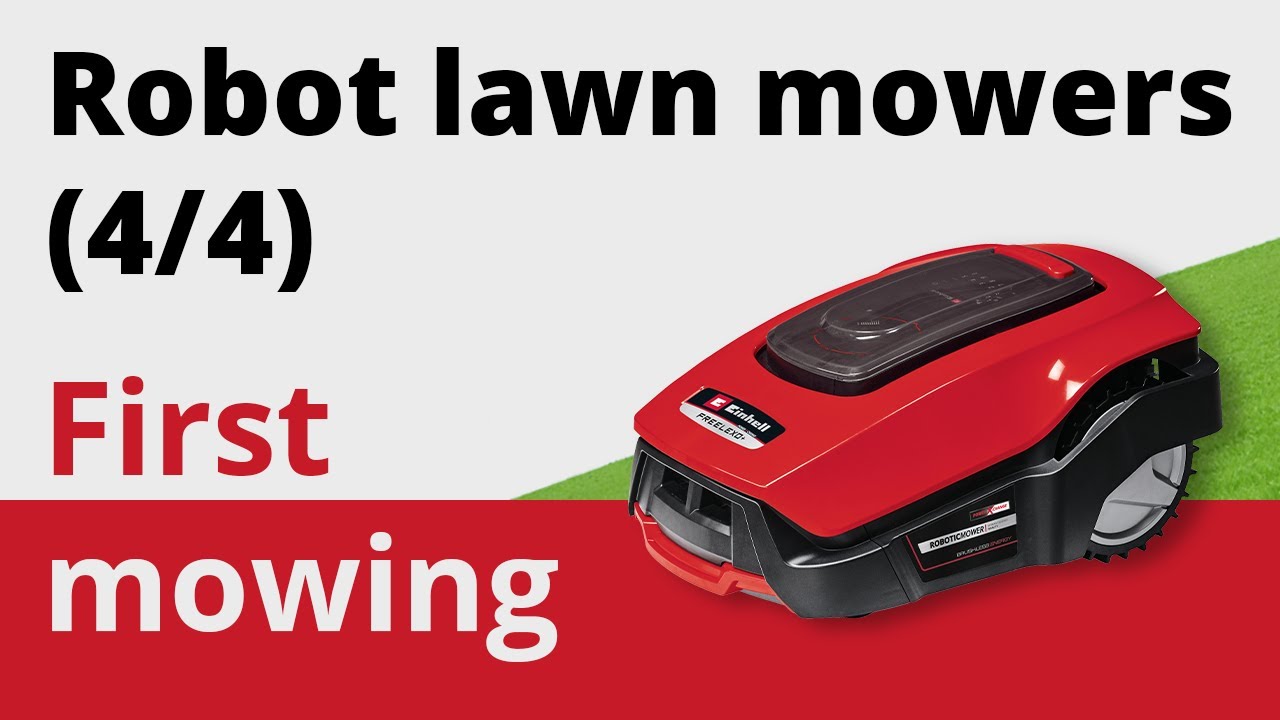
How to setup your robot lawn mower
Step by step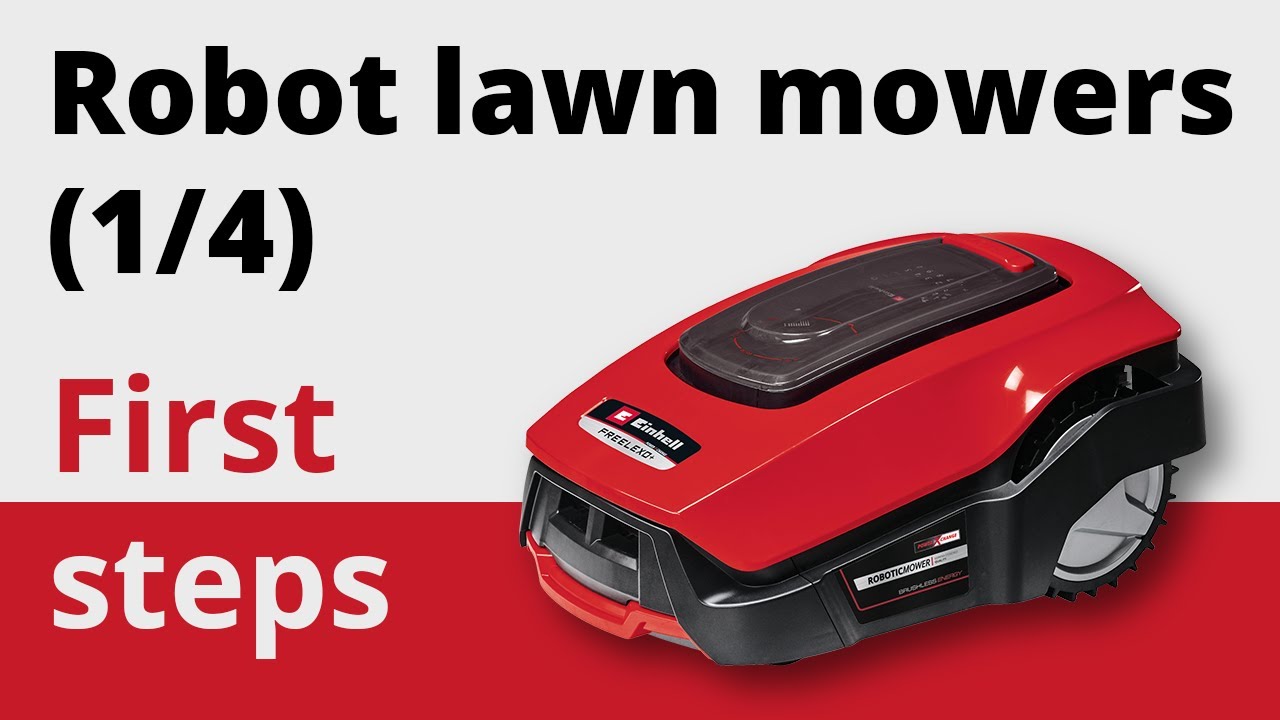
Do you have questions about the installation of the robot lawn mower or the services?
We answer the most common questions
#Installation - Where can I find further help on installing and commissioning the robotic lawnmower?
Information and help including video instructions can be found in section DIY installation videos.
#Installation - What do I need to do before installation?
• First make a sketch. Draw in all obstacles and make a plan for how you want to protect them.
• Cut your lawn to a maximum length of 60 mm.
• Remove any loose objects from the lawn that could damage the mower or be damaged by the mower.
• Foliage and leaves do not need to be removed, as they will be shredded by the mower.
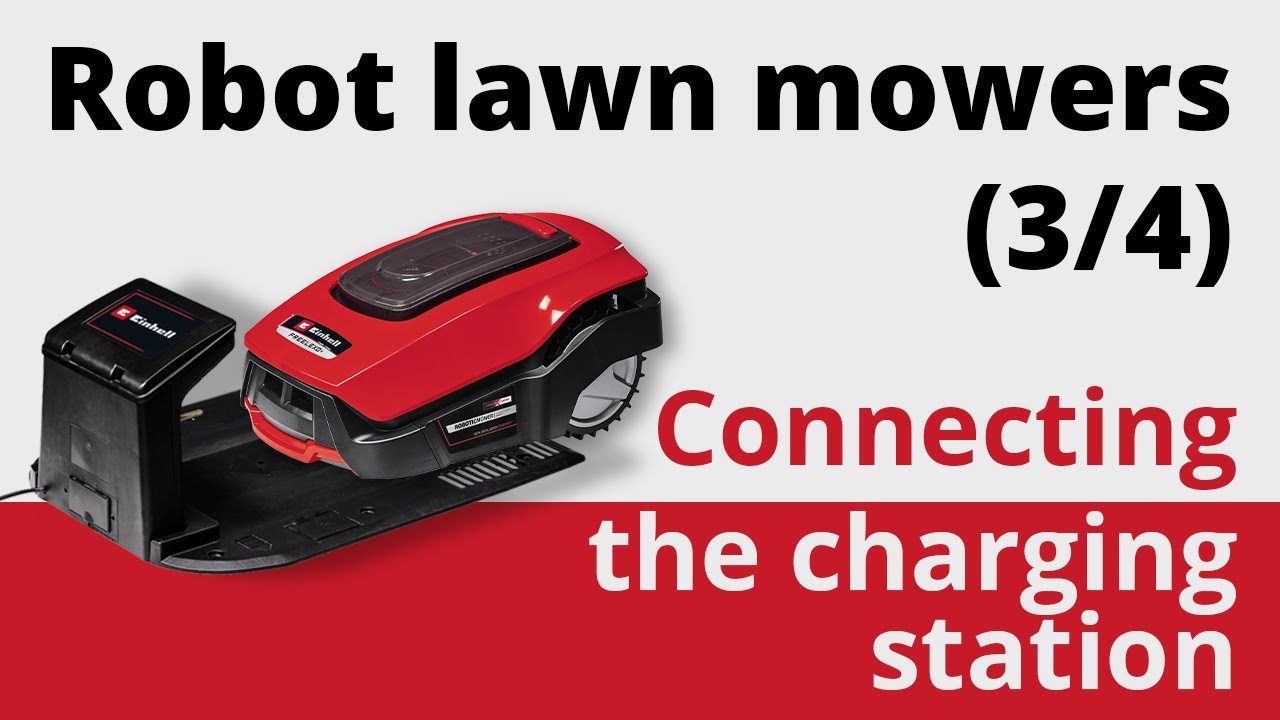
#Installation - Where should the charging station be placed?
• An external power outlet that provides a permanent power supply is required. The power cable on the charging station is 10 m long. Make sure not to place the cable on the surface to be mown.
• The charging station must be placed on a flat surface.
• It must be possible to place the boundary wire at least 1 m straight in front of the charging station.
• Place the charging station in a shaded area.
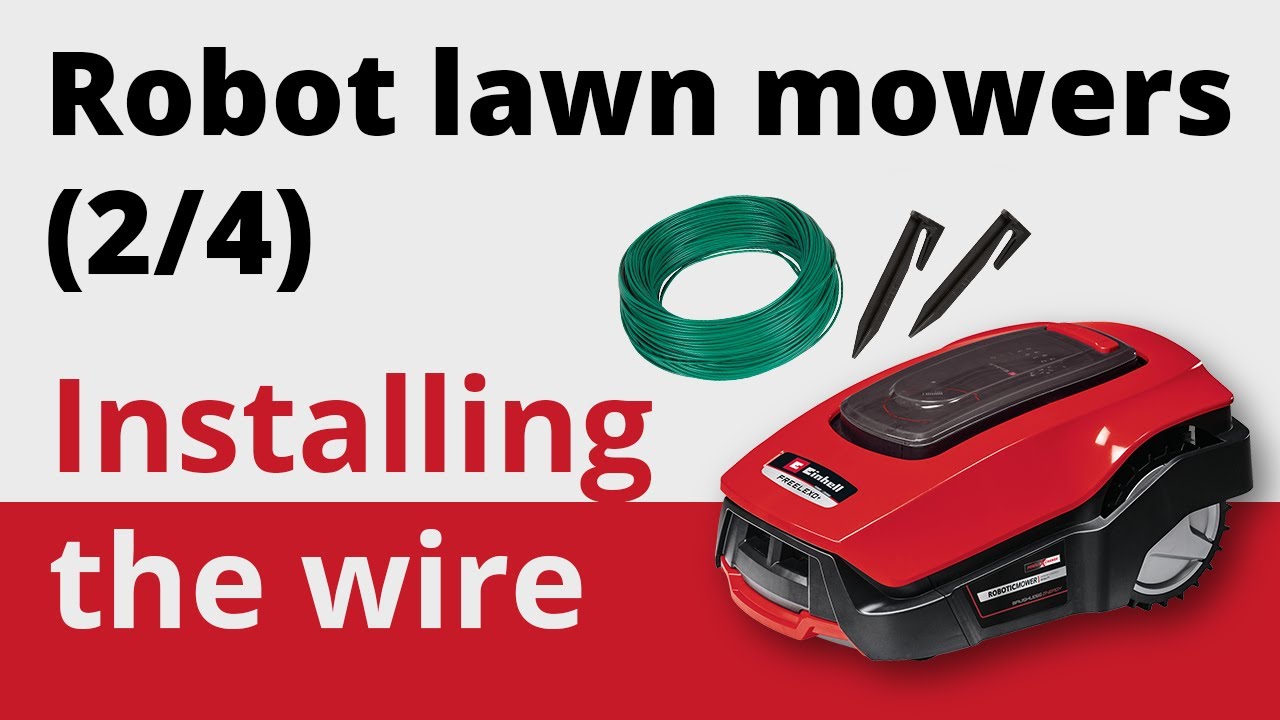
#Installation - How can the boundary wire be laid?
The wire can either be laid on or up to 5 cm deep in the ground. So that you can make corrections to the wire in the first few days, it is recommended to place it on the ground. After a few weeks, the wire will be overgrown and barely visible. When laying the wire above the ground, make sure that it lies flat on the ground, even in uneven sections. In these cases, use more mounting pegs to prevent the wire from being damaged by the robot lawn mower.
#Installation - What should I look out for when laying the boundary wire?
Minimum distance:
Keep at least 30 cm distance from obstacles, walls, raised paths, gravel, bark, mulch, low beds and similar.
Corners:
Do not lay the wire in 90° corners. Divide the corners into 2x 45° angles.
Gradients:
Permissible gradient on the upper part of a slope: 35% with a minimum distance of 30 cm. Permissible gradient on the lower part of a slope: 17% with a minimum distance of 40cm. WARNING: Danger of slipping when lawn is wet.
Ground level edges:
On paths or patios where the transition to lawn is not raised, the boundary wire can be laid directly on this edge.
#Installation - How should the boundary wire be connected the charging station?
Model A
Valid for the following devices:
Without display - Article number:3413940; 3413941; 3413942; 3413943; 3413944; 3413945; 3413946; 3413947; 3413948; 3413949; 4326363
With display - Article number: 3413950; 3413951; 3413953; 3413955; 3413952; 4326368
• The end of the wire at the back of the charging station (the side with the contacts) must be connected to the "S1" terminal.
• The end of the wire at the front of the charging station (flat side of the charging station) must pass under the centre of the charging station. Use the guide provided and then connect the end of the wire to the "+" terminal.
• Once you have finished and checked the installation, the ends of the wires must be cut so that there is a maximum of 10 cm protruding length.
WARNING: The wires must not cross each other.
Model B
Valid for the following devices:
Without display - Article number: 3413961; 3413962
With display - Article number: 3413980; 3413981
• The wire end on the rear side of the charging station (side with the contacts) must be passed through the hole (strain relief) in the connection area and connected to the right-hand, red connection.
• The wire end on the front side of the charging station (flat side of the charging station) must be routed centrally under the charging station.
Use the groove provided and then connect the wire end to the left black connector .
• After completing and checking the installation, the wire ends must be shortened to a maximum of 10cm protruding length.
• CAUTION: The wires must not cross each other.
#Installation - Can the lawn be scarified after the boundary wire has been laid?
Scarifying is possible if you have laid the boundary wire underground. A scarifier usually only cuts up to 5 mm into the turf, whereas the boundary wire is laid up to 5 cm below the surface. If the boundary wire has been laid above the ground, the wire may be cut by scarifying.
#Installation - What is the maximum length of the boundary wire?
With all models, the maximum wire length is 250 metres. If the total length of the boundary wire exceeds the permitted total length, proper operation cannot be guaranteed.
#Installation - What is the minimum width for narrow points?
Passages or corridors must have a minimum width of 140 cm (or 80 cm between the boundary wires) and a maximum length of 8 m. If these requirements are not met, it cannot be guaranteed that this area will be mowed reliably.
#Service - How long is the robot lawn mower's warranty?
The standard warranty period is two years. By registering your mower, you can extend the warranty by one year.
#Service - How can I get help with servicing and repairs?
The robot can be repaired by Einhell Service. You can find information about the service partner under the following link: Find Repairservice!
#Service - Is there a professional set-up service for the robot?
Our service partner will be able to set up the robot lawn mower for you. Einhell can also provide winter servicing and storage. This service will incur a cost. You can find more information at: Lawn Mower Service
#Service - Can the manufacturer provide winter servicing and storage for the mower in the winter?
Our service partner will be able to set up the robot lawn mower for you. Einhell can also provide winter servicing and storage. This service will incur a cost. You can find more information at: Lawn Mower Service
#Service - Where can I find spare parts for the mower?
All spare parts and accessories are available in our "Einhell Service" online shop. You will need the item number and ID number for your device to be able to find the right spare part.
You can find more information at: https://www.einhell-service.com/
#Service - My lawn is mowed improperly, the blades of grass tear off and the lawn changes color. What can that be?
Check the knives. If these are very dull, the lawn can no longer be mowed properly. This leads to a whitish discoloration of the lawn because the blades of grass are torn off and frayed.
#Service - Why does the robot lawn mower start to move in the wrong direction when returning to the charging station after it has come into contact with the boundary wire?
When the robot lawn mower returns to the charging station it searches for the boundary wire. To ensure that the robot lawn mower enters the charging station at the right angle, it first travels a short distance in a clockwise direction along the wire. The mower then turns in the right direction and follows the boundary wire. This ensures that the robot lawn mower always enters the charging station centrally and straight.
#Service - Does the mower have theft protection?
The robot lawn mower is protected by a PIN code, which prevents unauthorised use. A warning alarm also sounds if the mower is lifted up.
#Service - I have forgotten my PIN. What should I do?
Model A
Valid for the following devices:
Without display - Article number: 3413940; 3413941; 3413942; 3413943; 3413944; 3413945; 3413946; 3413947; 3413948; 3413949; 4326363
With display - Article number: 3413950; 3413951; 3413953; 3413955; 3413952; 4326368
You can request a new PIN if you have lost yours. Simply follow these steps. Have the receipt and serial number for your robot lawn mower ready. You will need these to get your PIN. You will also need a USB stick that does not have any data on it.
1. Connect the USB stick to the USB port as shown.
2. Switch the main switch to the ON position.
3. Press the POWER button and the OK button at the same time and hold them down briefly. The robot lawn mower will now start up in boot mode.
4. Press the button 1 (or "Set Work Time") on the keypad.
5. Remove the USB stick. Read the data from the USB stick on a computer. The robot lawn mower will have generated a text file (*.txt). This file contains a PUK, a personal unlocking code. Contact customer services to get your PIN.
Model B
Valid for the following devices:
Without display - Article number: 3413961; 3413962
With display - Article number: 3413980; 3413981
You can request a new PIN if you have lost yours. Simply follow these steps.
Have the receipt and the serial number of the robot lawn mower ready. You need them in order to get your PIN.
1. Connect an empty USB stick to the USB connection (at the bottom of the device).
2. Switch on the main switch (ON).
3. The robot lawn mower will automatically save the PUK to your USB stick and will then end the operation with a beep.
4. Pull out the USB stick. Import the data from the USB stick to a computer. A text fi le (*.txt) will have been created by the robot lawn mower. This fi le contains a PUK, a personal code. Please contact the customer services team to obtain your PIN.
For model B with display, you also have the following option to access the mower's PUK:
You can request a new PIN if you have lost yours. Simply follow these steps.
Have the receipt and the serial number of the robot lawn mower ready. You need them in order to get your PIN.
1. Press and hold the „SET” button for 6 seconds in locked status.
2. The PUK will now appear in the display. 3.
3. Wenden Sie sich an den Kundendienst, um Ihre PIN zu erhalten.